The Source Context Step
To record more than one source image or movie into a PASeq you need to add what called a Source Context step.
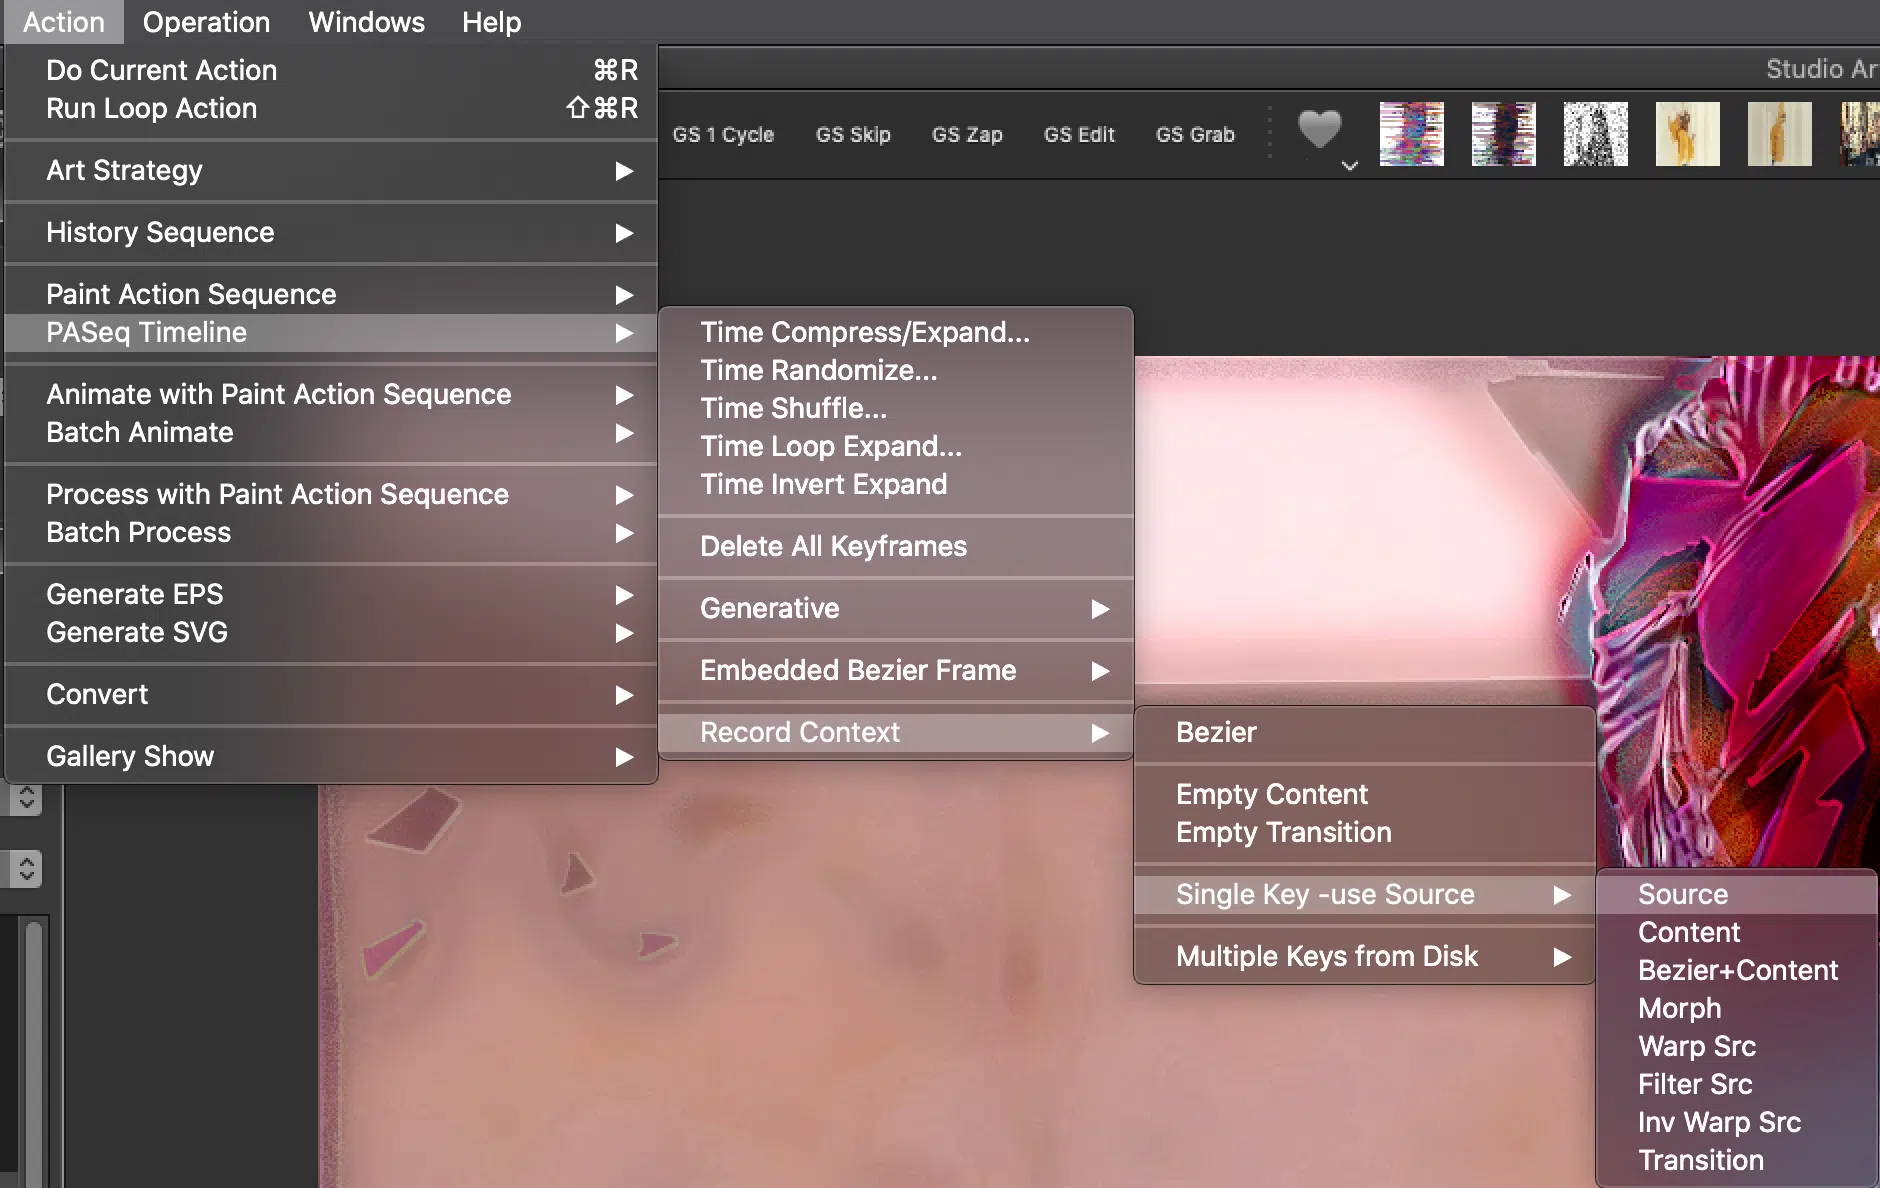
So when you want to change the source in the PASEq you choose Action > PASeq Timeline > Record Context > Single Key – Use Source > Source.

Bear in mind that it is recording where the image is stored so if you move it or rename it won’t find it. A good rule of thumb is to create folders especially for this so you don’t inadvertently move things. You should not save them in the Studio Artist folder, some systems have issues with that so best to save them elsewhere.
Overwriting the Source Image/movie in the PASeq Step
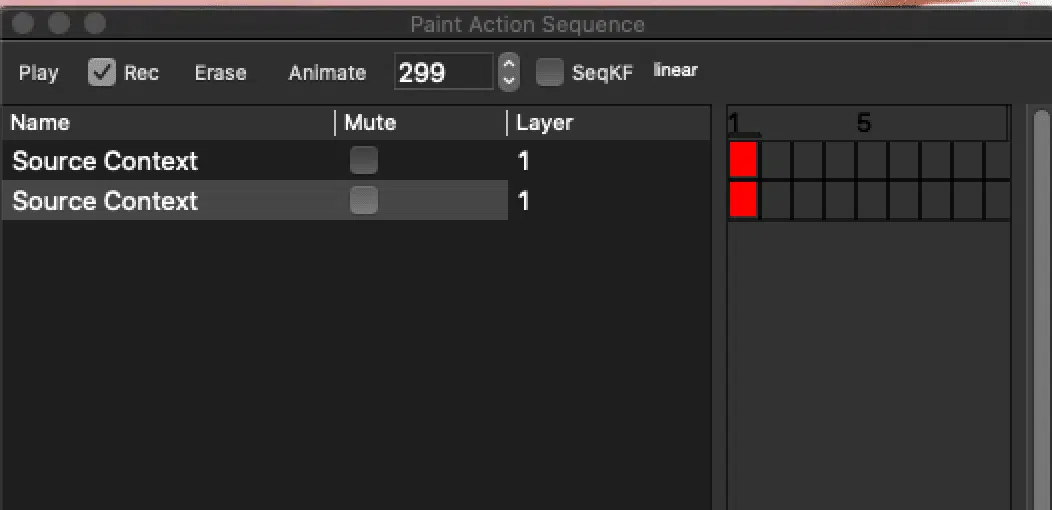
Once you record one Source Context step you can just copy it and move it where you want in the PASeq and then load a new source image and then hold down the c key and click on the Source Context step (red square) to overwrite it with the new loaded source image.
That way you won’t have to go though the whole menu thing you can just copy any Context Content step that has a source and just replace the source image with the c key.

Layers vs Compositing
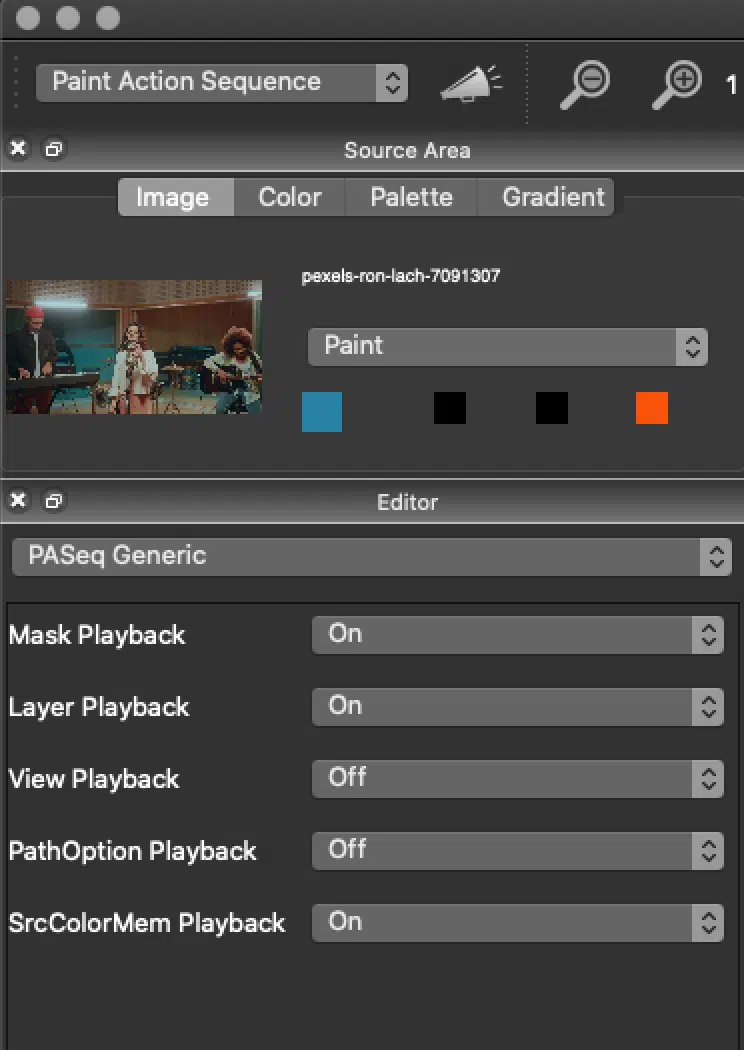
The other thing to be mindful of is that everything has compositing so that’s a way to layer things in without using layers. You’ll notice that none of our PASeq uses layers. However you can use both if you want. Sometimes layers are handy. If you do use layers or masking in PASEq you need to turn on the Layer and/or Mask Playback in the PASeq editor.

Image Brushes
You can also use image brushes to paint images into the canvas as well. If you want to move those around you need to manually step through your PASEq and when you get to the step play it, then undo it (important: make sure your record button in unchecked in the PASeq) and then repaint where you want the image to appear. (6.0 will have the ability to use hotkeys move and rotate and scale image brushes).


