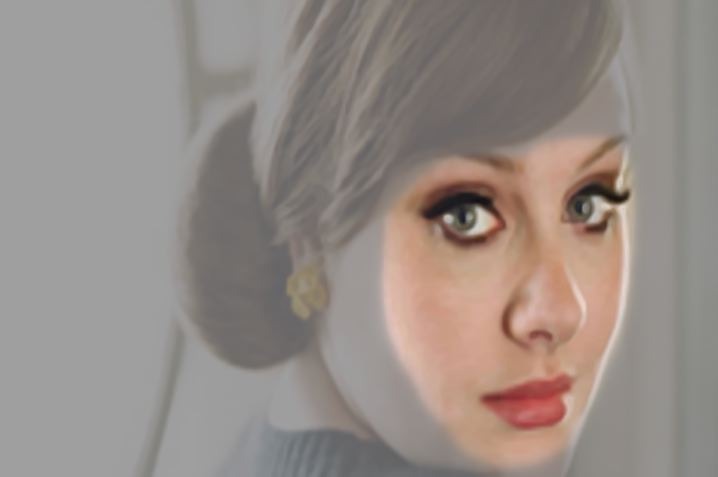
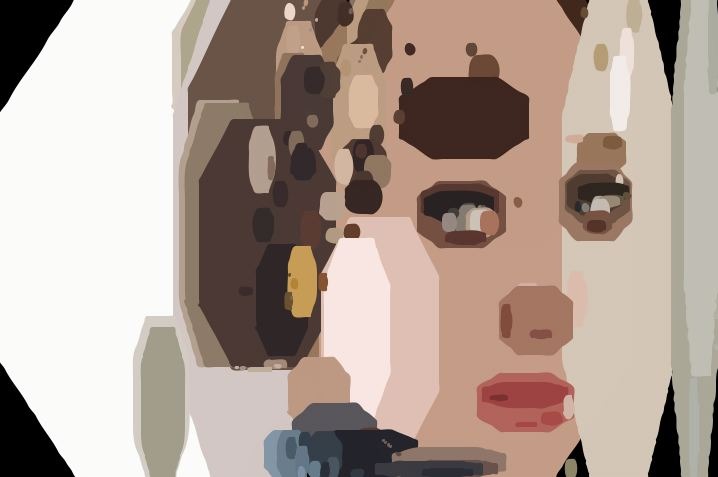
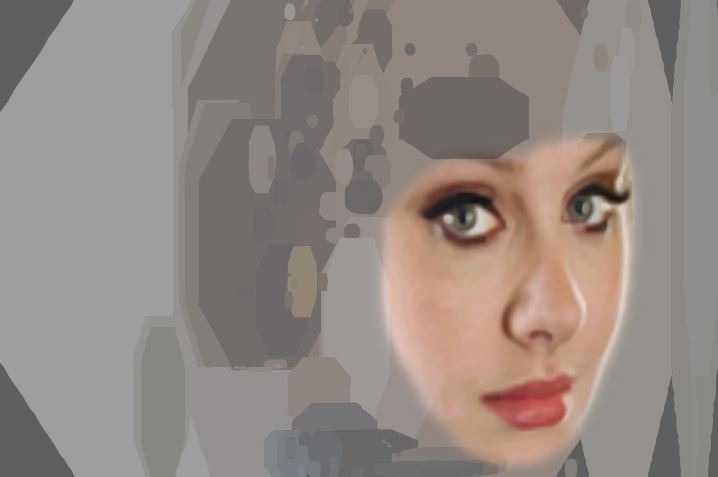
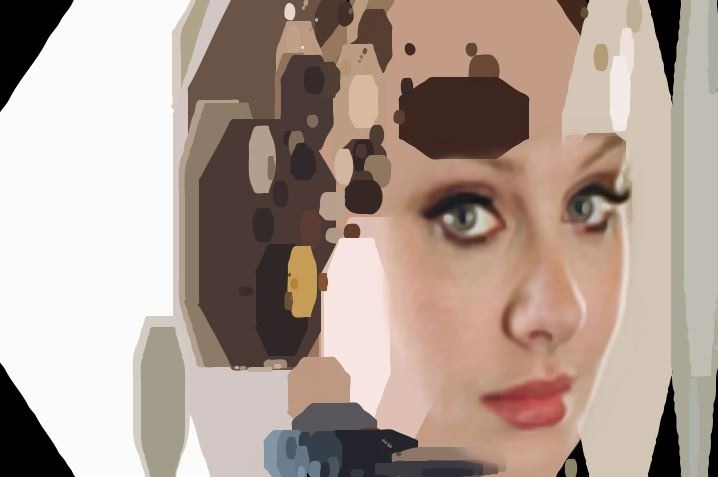
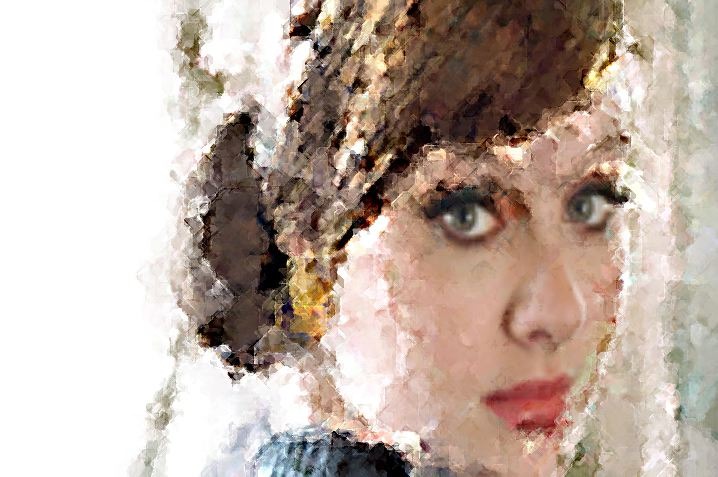
Studio Artist allows you to select areas of the canvas, and then use your selection to mask image processing or painting effects. The selection mask also works with the canvas ‘erase to’ feature. This post is a simple introductory tip that shows how to lasso select an area of the canvas, and then how to use your selection to mask image processing and auto-painting effects.
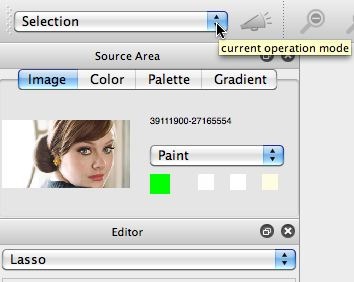
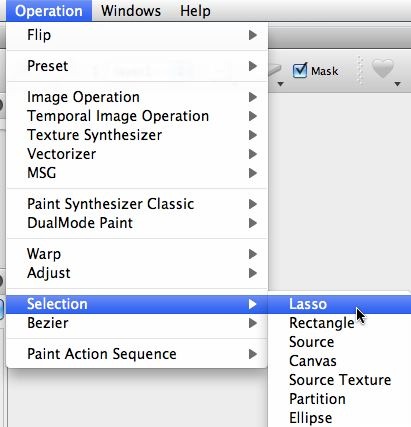
To manually select an area of the canvas, you need to switch to Selection operation mode. You do this by using the operation mode popup located on the left side of the main operation toolbar, or you can use the main Selection menu.
For this particular simple example we will be using lasso selection. Lasso selection lets you draw a dotted outline around areas of the canvas you want to select. You can hold down the shift key if you want to extend or add on to an existing selection while manually lasso selecting. Holding down the shift and option keys lets your new selection remove from an existing selection.
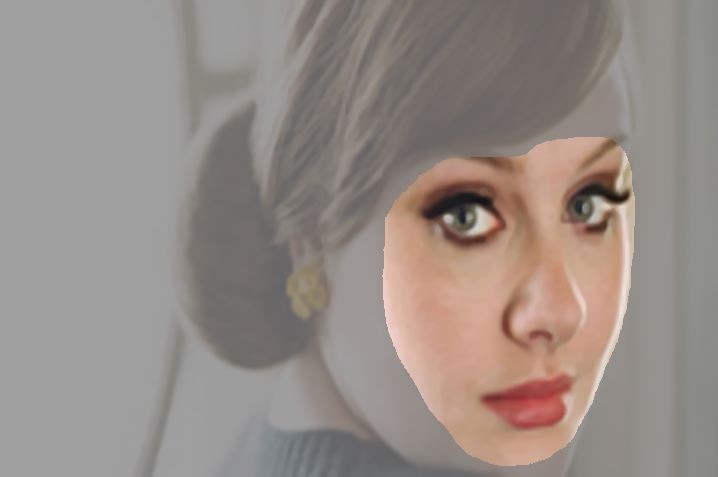
The images below show a manual lasso selection in action. I started off with a facial image in the canvas. I switched to Selection operation mode, used the popup at the top of the editor to choose lasso selection, then used the mouse to draw a lasso area around the eyes, nose, and mouth in the face image in the canvas. I also wanted to have soft edges at the borders of my manual selection, so I used the Canvas : Selection : Feather menu command to add some feathering to my lasso selection.
When you are in Selection operation mode you will see you selection superimposed on the current canvas view. Deselected areas have partial transparency to gray, while fully selected areas appear normally.
When you leave Selection operation mode you normally will not see your selection. But it still is available in the hidden internal selection buffer. You can think of your selection as being a black and white image, where full black is full off selection, full white is full on selection, and gray values in between define partial transparency in the selection.
To use your selection to mask operations in Studio Artist, you can turn on masking. The easiest way to do this is to use the Mask checkbox in the main operation toolbar. You can also use the Canvas : Layer : Mask Status menu flag to toggle selection masking on and off. When masking is turned on, then the canvas will show your current selection like it did when you were defining it in Selection operation mode. When mask is turned on, then anything you do in Studio Artist will be appropriately masked by the current selection.
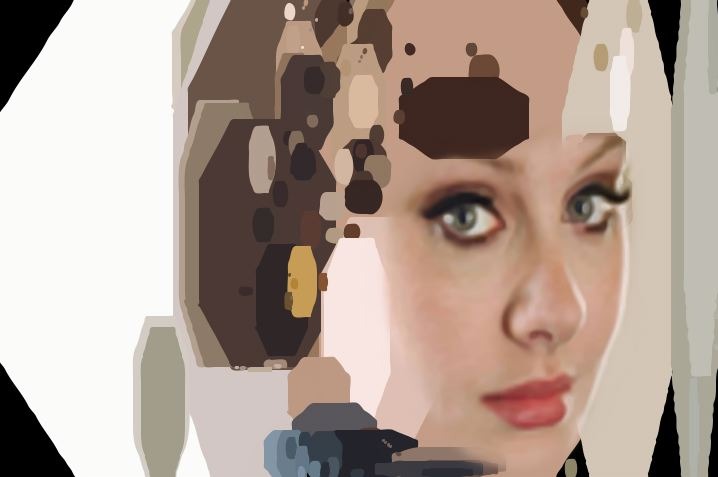
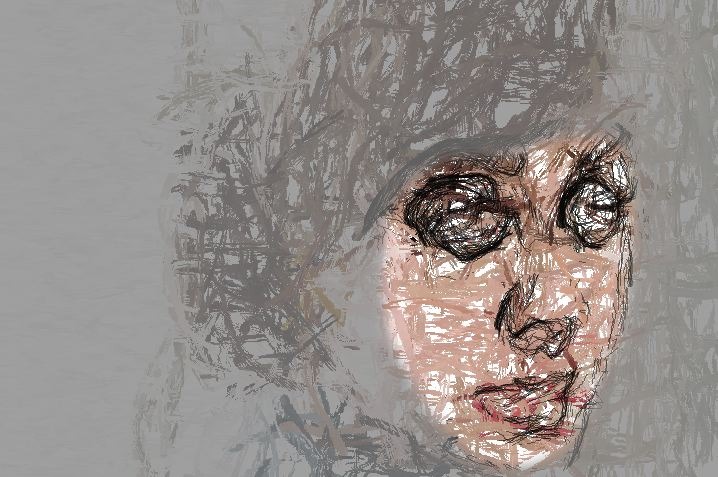
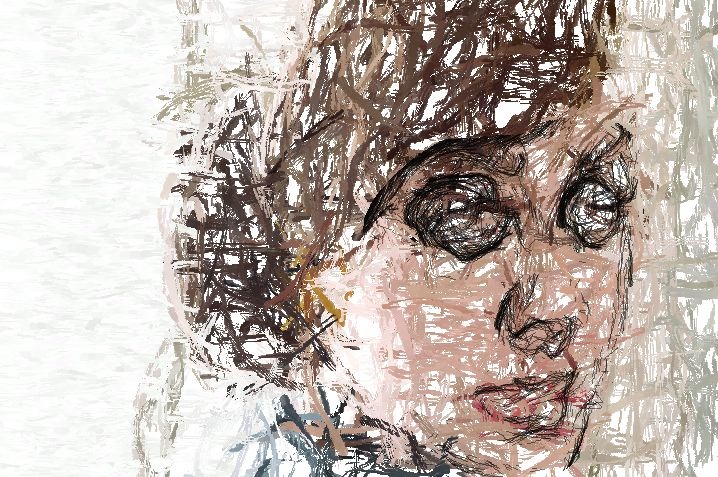
Masking works with the canvas erase to functionality. The simple example below shows how you can use this. I used the Vectorizer to create an abstraction of the source image while masking was turned off. I then turned on masking by checking the Mask checkbox. I then dragged the source image to the canvas. Note that only the selected area of the facial features is erased to the source image. I then turned off masking by unchecking the Mask checkbox to see the complete unselected canvas.
We could have built the same effect above in a different way. I could have set the entire canvas to the face image. I could have inverted my initial selection by using the Canvas : Selection : Invert menu command. I could have then turned on masking and run the vectorizer effect. The effect would have processed the entire selected canvas while leaving the selected facial features alone.
Note that when I initially generated my lasso selection, I feathered it to make the edges of the lassoed selection soft. This soft edge provides a fade or partial transparency of the effect at the boundary of the selection area. If I had used a hard edges selection the final result would look more artificial due to the hard boundary between the abstraction effect and the unaltered face image.
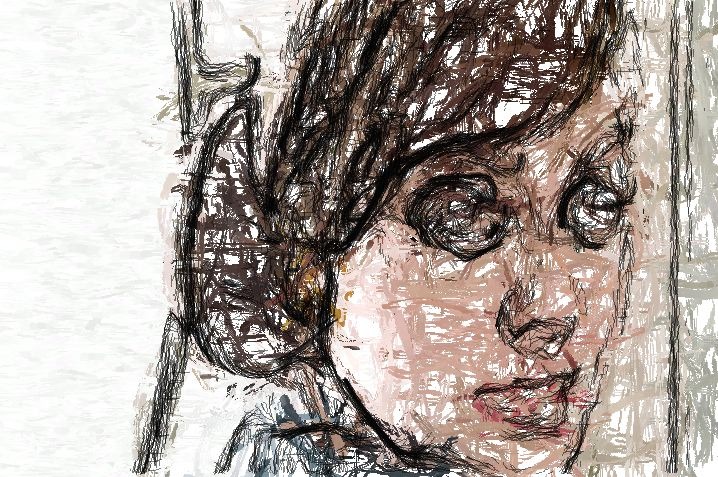
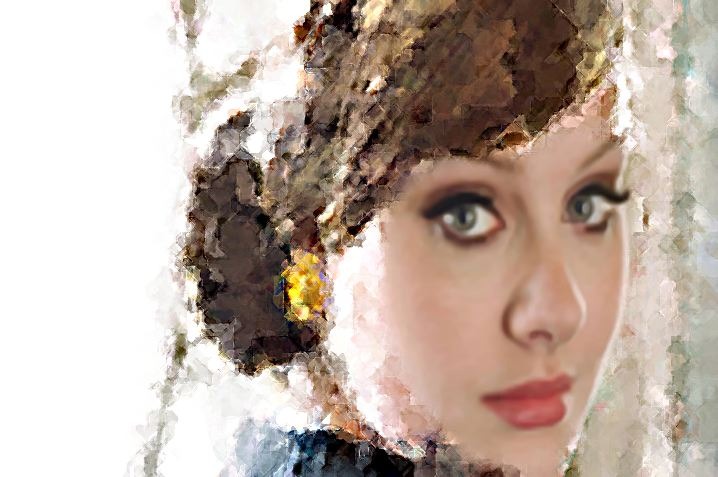
The next example below shows how to use the current selection and masking to mask some painting. I started out with the mask turned off and auto-painted the entire canvas with a paint preset. I then wanted to add some black edge sketch from a second paint preset to the facial features only. So I turned on the Mask checkbox. I then pressed the action button to auto paint with the black sketch preset, which only painted in the selected areas of the canvas. I then turned of the Mask checkbox to see the unselected canvas and the complete effect. The 4th image shows what would have happened if I had not masked my second black sketch painting.
For the next example I slightly changed my selection masking approach. I started by running the Canvas : Selection : Invert menu command to invert my intial lasso selection of the face features. After doing this the center of the face was deselected and the rest of the canvas was selected. I set the entire canvas to the source image, then turned on the Mask checkbox, then ran the Oil Painter image operation effect. because masking was turned on, all of the canvas was processed with the effect except for the facial features which remained the same. Again, since I had initially feathered my selection, the transition between the effected and non-effected areas of the canvas is smooth rather than abrupt. Whether you want to do this or not depends on what you are trying to achieve artistically.
The 3 images above show the canvas after the Oil Painter ip op effect was run with the Mask checkbox turned on, what the canvas looked like after the Mask checkbox was turned off, and the final image shows the results of building this particular effect in a completely different way. Rather than using selection masking to keep facial features in the effected image, I first processed the entire canvas with the Oil Painter effect. I then used a soft source cloning paint preset (Default : Utility : Clone Source-Soft) to manually add back some of the facial features to the Oil Painter abstracted canvas image.
I think this alternate technique is actually a better approach for this particular effect and source image, so I wanted to show it as a comparison to the selection masking approach. Working with a pressure sensitive pen and tablet lets you have a lot of control to subtly brush on source image features to an abstracted painting.
I kept the selection examples simple and overly obvious so you could easily see the results of the selection masking on processing effects and painting. For a real art project I would have been a little more artistic and controlled about defining my original selection and building the effects. If you want more in-depth information no working with selection and Masking in Studio Artist check out this tip.

