This Post shows how to work with the paint synthesizer in an alpha enabled view.
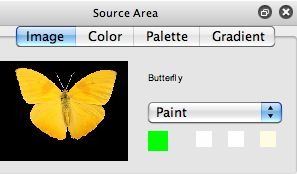
We will start today’s example with the same Butterfly source image we used yesterday ( as shown in the 1st gallery image below). Remember, the Butterfly image is a TIFF image that contains an alpha channel.
The easiest way to think about an alpha channel is that it’s a mask associated with a particular image or layer. Each color image or layer is composed of a 3 color channel images (RGB for red, green, and blue color channels). If an image has an alpha channel, then the image consists of an additional black and white alpha channel image along with the 3 RGB color channels.
The alpha channel defines a mask, where a black or full off pixel means the color image is masked out, and a white or full on pixel determines where the color image is fully unmasked. Intermediate gray level values define partial transparency for the associated color image being masked by the alpha channel. Another way to think about an alpha channel is to think of it as defining percent coverage for displaying each color pixel.
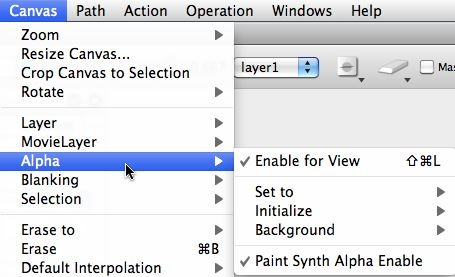
For the simple example we will be working with today, I used the Default : General : A Gradient Brush paint preset. I also made sure that alpha view was enabled, and that the paint synthesizer alpha drawing was enabled, as shown below.
We discussed both of the menu flags shown above in detail in yesterday’s post, so go review that post if you are confused by either of these Canvas : Alpha menu flags and their meaning.
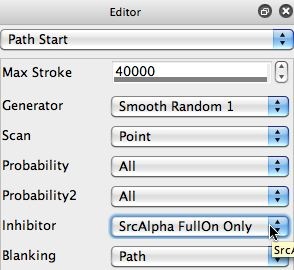
The paint synthesizer has a number of controls you can use to work with a source alpha channel. For example, the 1st gallery image below shows the Path Start control panel. Note that the Inhibitor control is set to SrcAlpha FullOn Only.
I made this manual edit to the default preset parameters for the A Gradient Brush paint preset. The reason why I made this change is because I wanted my automatic paint strokes to only start drawing where the source alpha channel is turned full on (the inside of the butterfly).
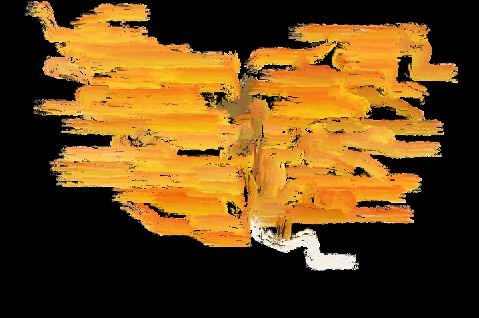
I started with a single canvas layer, had my canvas view set to view all, my alpha default background set to black, and I set the layer’s alpha channel to full off. So it displayed full black. I then ran my manually edited A Gradient Brush paint preset by pressing the action button and letting a few paint strokes draw before stopping automatic painting by pressing the spacebar. The resulting canvas view is shown below.
Note how all of the auto-painted paint strokes started in the interior of the butterfly, and no paint strokes started anywhere in the exterior areas of the butterfly. This is because we had set the Path Start control panel Inhibitor control to SrcAlpha FullOn Only as described above.
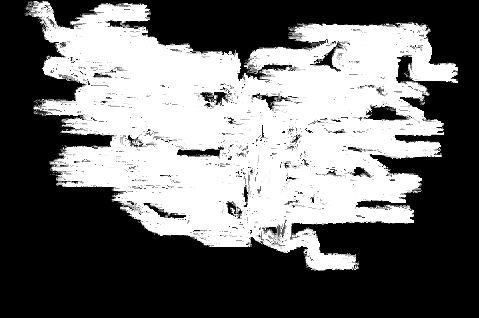
The associated alpha channel for this displayed painted layer is shown in the 2nd gallery image above. Note that because the Alpha : Paint Synth Alpha Enable menu flag is turned on, the paint strokes were drawing into the alpha channel of the layer. The white stroke areas in the alpha channel is what is enabling the color parts of the layer to show through in the alpha enabled canvas view. The black parts of the alpha channel mask out whatever is in the RGB channels of the layer from showing in the alpha enabled view.
I now made a second layer, set it’s alpha channel to full on, and then loaded the same golden gate bridge source image we used yesterday as a new source image. I manually dragged the golden gate source image into the new 2nd canvas layer. The canvas view now looked like the 1st gallery image below. Again, if you look at the layer stack (2nd gallery image), you can understand that we only see the golden gate image in the displayed canvas view because the 2nd layer’s alpha channel is full on, so it totally covers up the contents of the first layer.
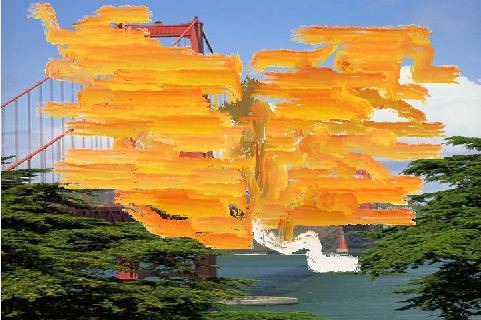
If I now reverse the order of the 2 layers (as shown in the 3rd gallery image above), now you can see the alpha masked paint strokes associated with the butterfly painting showing though on top of the golden gate bridge backing (4th gallery image above).
Yesterday’s post included several links to tips on working with layers and alpha channels in Studio Artist 4. Check out those tip links for more information on working with layers or with alpha channels.

