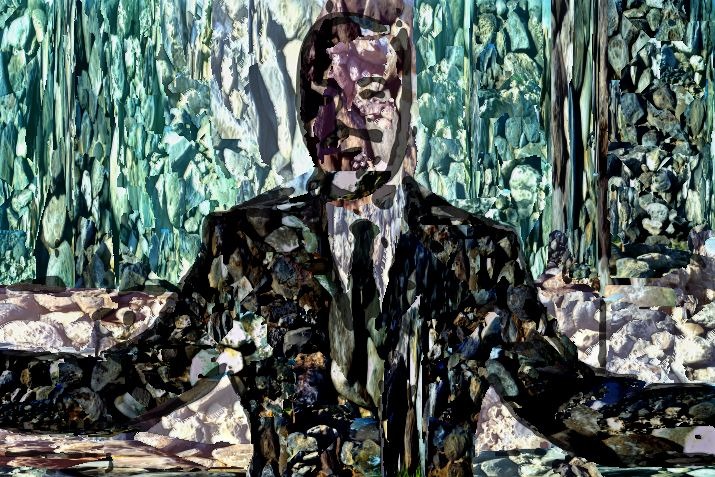
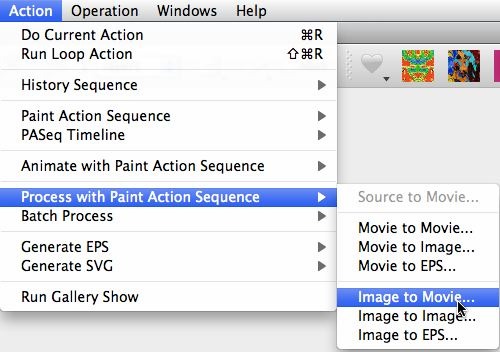
The following photo mosaic image was created with a custom movie brush I generated from a collection of digital photos of beach boulders I photographed yesterday. This post will run you through the complete process of building your own custom movie brush. You could use it to make custom photo mosaic effects, or all kinds of other things we’ll explore in future posts.
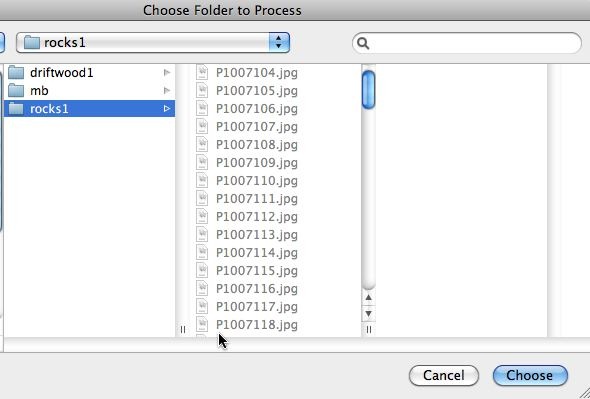
The first step in building a custom movie brush is to put together a collection of individual photos. Depending on what you plan to use the movie brush for is going to influence the process you go through to build the collection of photos that will be stored in the custom movie brush. For this particular example, I was interested in building photo mosaic effects. And I wanted a set of images that had interesting textural characteristics.
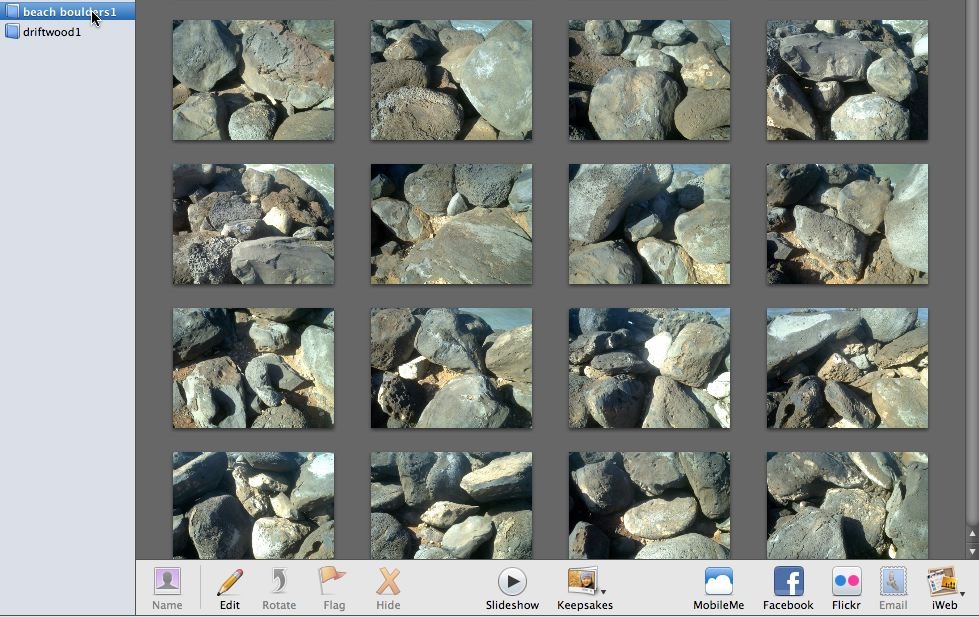
So I grabbed my digital camera and headed to the local beach to take some photos of beach boulders. Again, I was interested in the textural characteristics of random fields of boulder rocks. I also shot another sequence of driftwood images at the same time. Because I was interested in textural characteristics only, I didn’t focus much on the coloring of the individual images. For other photo mosaic applications, getting a wide assortment of different colored images might be vital for the particular effect you are trying to create.
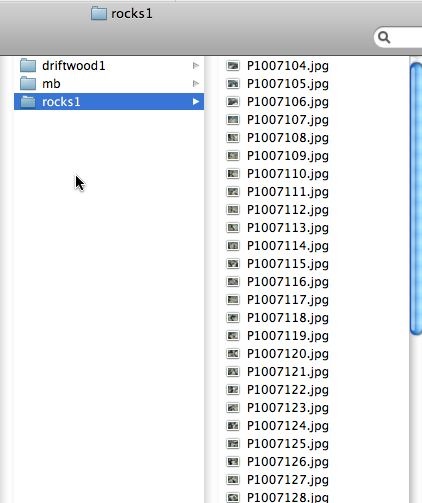
You don’t have to use a digital camera, google image search is a fun way to build collections of images based on specific themes or word based imagery. After taking my set of individual digital photos, I brought them into the computer using iPhoto since i’m primarily a mac user. If you are windows, use your appropriate photo management application there.

