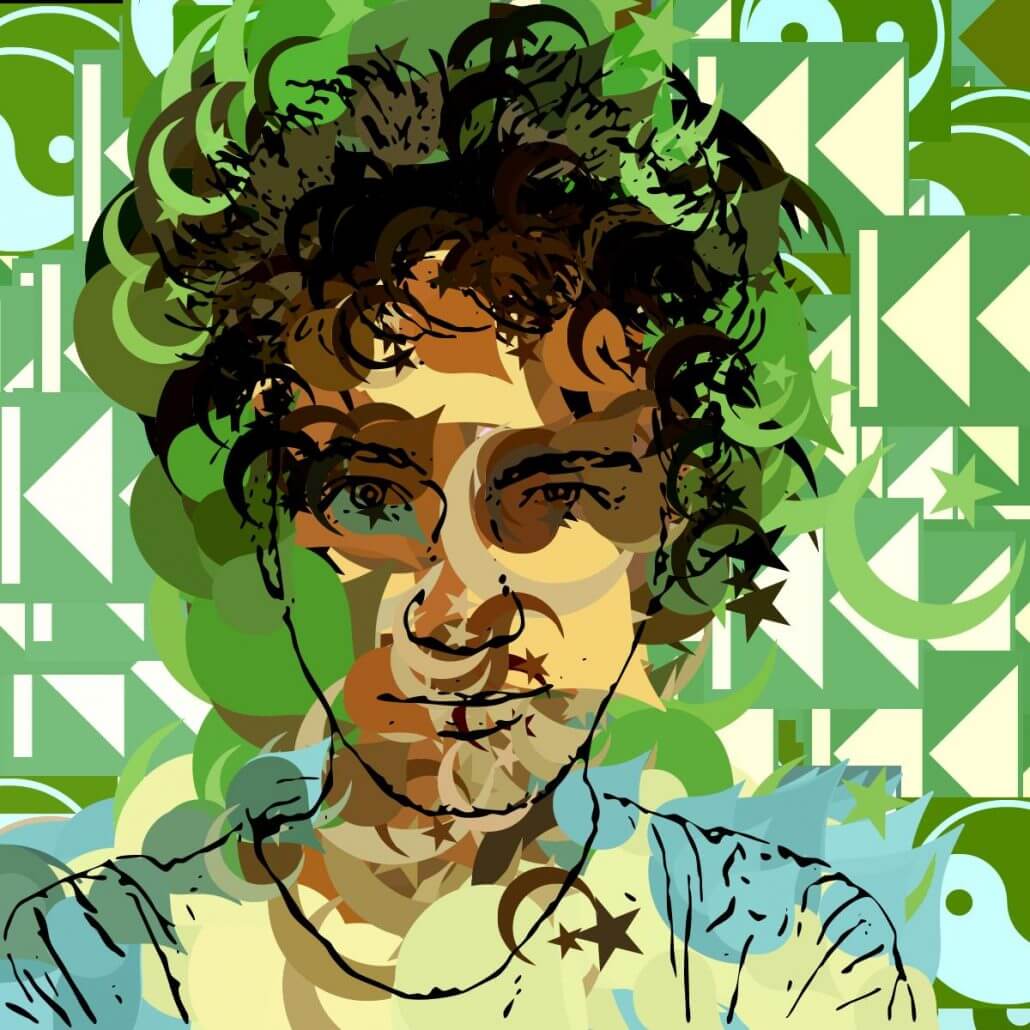
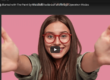
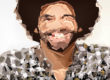
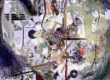
Today’s post will discuss how to create the movie brush photo mosaic effect shown above. The effect uses a movie brush with an embedded alpha channel that masks the objects in each individual movie frame. The effect is also using random paint nib positioning for the individual masked objects, as opposed to laying them down in some kind of regular or adaptive grid patterning.
PLEASE NOTE: Movie brushes are no longer necessary for Studio Artist 5 for mosaics. This updated tutorial is using a folder of alpha images instead. You can still use a movie brush if you like but it is much easier to use a folder of images for the same effect.
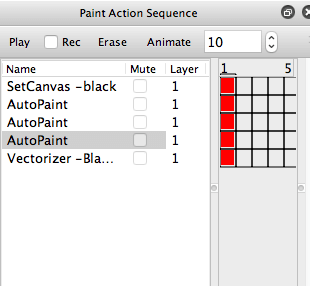
This paint action sequence (PASeq) .AlphaMask.paseq was used to generate the photo mosaic effect above. It uses 3 passes of the same Image Folder paint preset, with 100%, 50%, and 25% brush sizing for the 3 progressive paint passes. The last 2 auto paint action steps also include an additional edit to the Path Start control panel, so that the smaller brush nib path start positions are restricted by the source texture to only be painted on feature edges associated with the source image
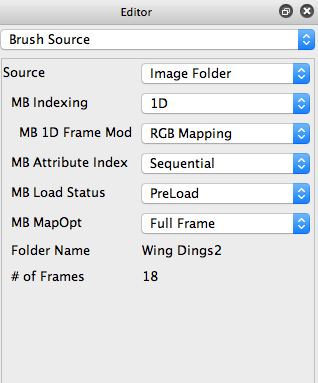
A folder of images called WingDings 2 was used for the Brush Source. This is located in your Studio Artist Brush Folder.
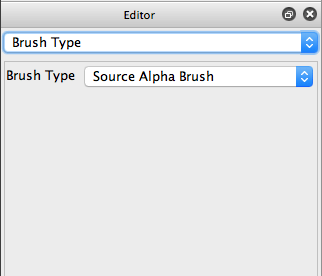
Since the images have a alpha backgroundl, I made sure to use a Source Alpha Brush option for the Brush Type (Brush Type control panel).
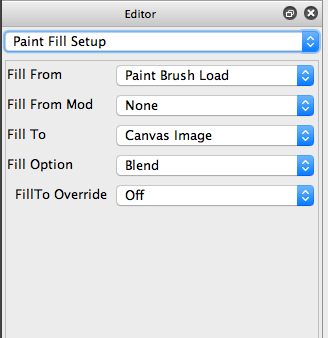
I configured the Paint Fill Setup control panel with the Fill From parameter set to Paint Brush Load, the Fill To parameter set to Canvas Image, and the Fill Option set to Blend. Since the Brush Type is based on the alpha channel associated with each individual movie frame, the interior of the masked object will fill with the Paint Brush Load buffer output, and the edges of the mask will anti-alias to the Canvas Image.
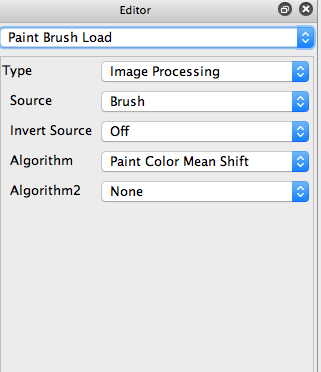
The Paint Brush Load control panel was configured to use an Image Processing option for the Type parameter. The Source was set to the Brush (this will use the RGB channels of the movie brush). And the Algorithm was set to the Paint Color Mean Shift option. So this Paint Brush Load configuration will colorize the individual movie brush paint nibs as they are painted. Colorizing the individual paint nibs on the fly as they are painted will help bette represent the source image coloring in the final painted photo mosaic image.
Since we’re colorizing the Images on the fly, we could use other we could use other modulators. For example, we could just use sequential frame modulation and let the Paint Brush Load processing colorize the individual sequential images when painting.
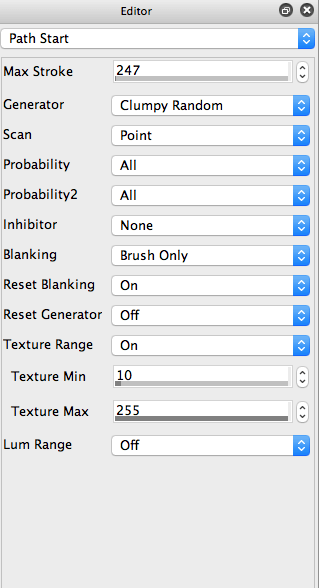
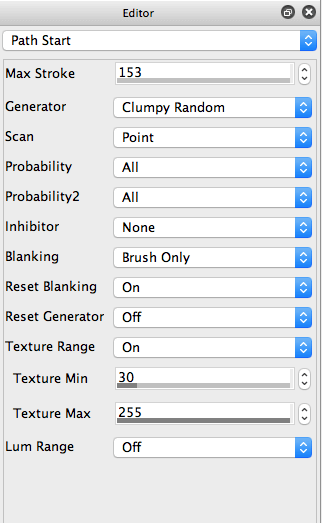
I mentioned above that I worked with the Texture Range controls in the Path Start control panel for the 3 AutoPaint action steps. The Path Start control panel settings for the 3 different AutoPaint steps are shown below. Note that the Texture Range is Off for the first action step, then turned on for the 2nd and 3rd with progressively higher Texture Min settings. This works to first cover the entire canvas with paint nibs, and then restrict the paint nibs to only paint on progressively tighter source edge locations. So additional detail is built on the 2nd and 3rd paint passes which only paints on areas of the canvas associated with source image features.
I also wanted to point out that the Max Path Length in the Path Shape control panel is set to 1 for this movie brush effect. We do this because we only want to paint a single paint nib for each automatically generated paint stroke.
For More Information
We will discuss the specifics of how to build the embedded alpha channel movie brush in tomorrow’s post.
The PASeq preset and the movie brush used for today’s post can be downloaded .AlphaMask.paseq
We previously discussed how to use the Paint Brush Load control panel to colorize movie brushes for photo mosaic effects.
There are a number of different Photo Mosaic effect posts on this blog you can check out.