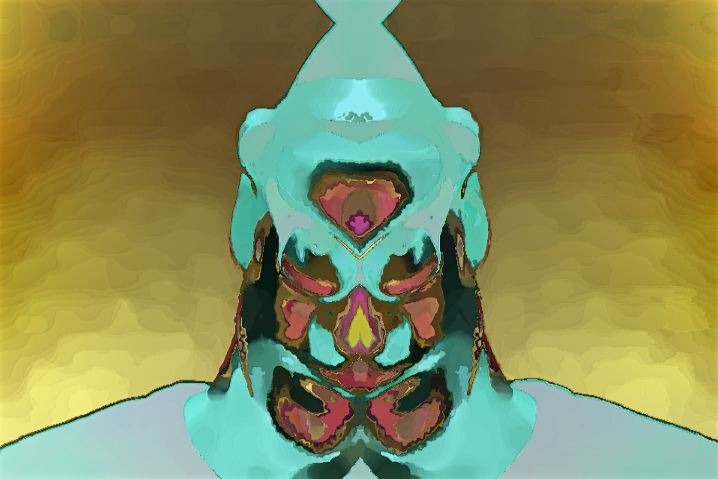
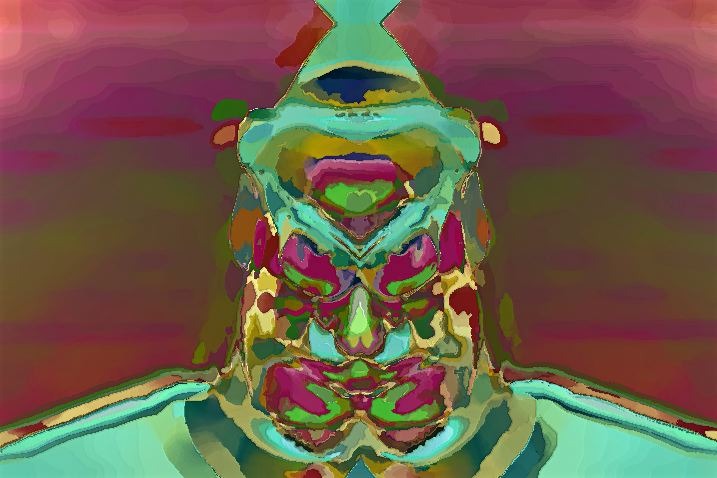
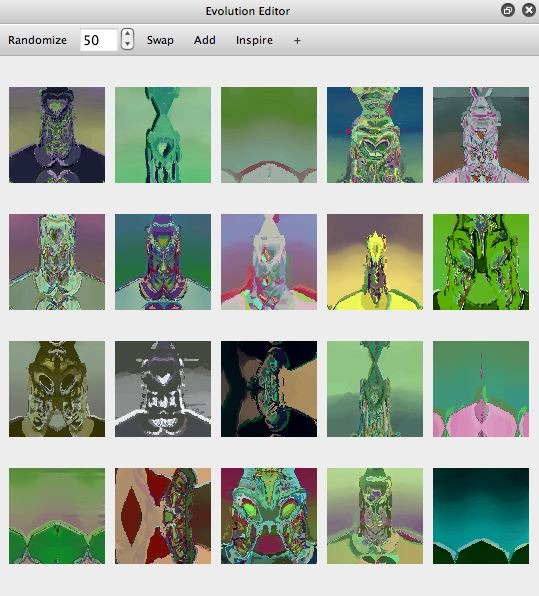
This post will continue yesterday’s MSG effect post by detailing how I started with yesterday’s MSG preset and then worked with directed evolution in the Evolution Editor to build a new MSG abstraction effect. Part of working with directed evolution involves what I call hand cleanup, checking the IO connections and doing minor hand editing changes if needed to improve or optimize a mutated and evolved MSG preset. You don’t have to do this, but a little hand editing can often lead to improved final results for mutated MSG presets.
The abstraction effect shown above was generated by starting with the MSG preset built in yesterday’s post, and then using the Evolution Editor Swap and Add buttons to randomly swap mutate and add mutate yesterday’s MSG preset. After several cycles of manual directed evolution I ended up with the effect shown above. For more information on swap and add evolution check out this post and this post.
Now at this point I could be done with the whole directed evolution process, but as I mentioned above, it’s often useful to do some manual checking of the different processor IO connections along with possibly some hand editing cleanup of your mutated MSG presets. We will examine this process below.
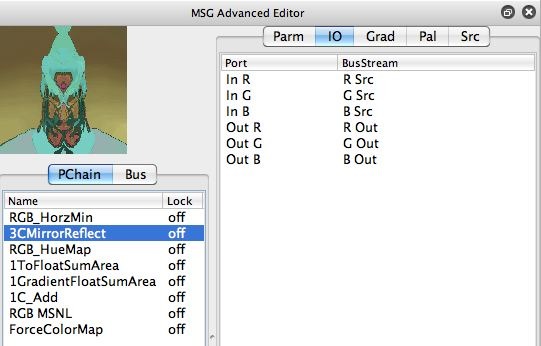
Note in the first gallery below that both the first and second MSG processors both process the color source input and output to the 3 color output streams (R Out, G Out, B Out). If you think this through, you will realize that the first processor is irrelevant to the overall effect because it’s output results are overwritten by the second processor.
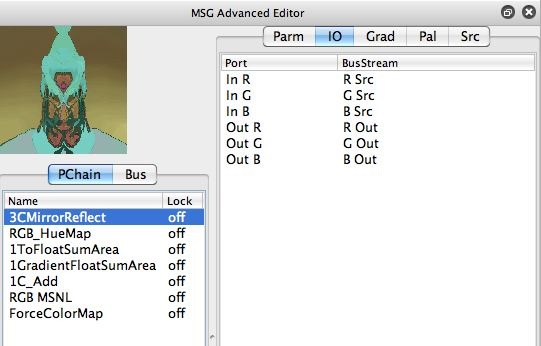
The third image in the gallery above shows how I manually edited the MSG abstraction preset by removing the first RGB_HorzMin processor. I did this by selecting the processor in the processor chain editor and then pressing the delete button. Note that the effect is unchanged after deleting that first processor. However, the effect will now run faster since it isn’t doing the additional irrelevant computation.
I continued my manual inspection of the processor IO connections as shown in the image gallery below.
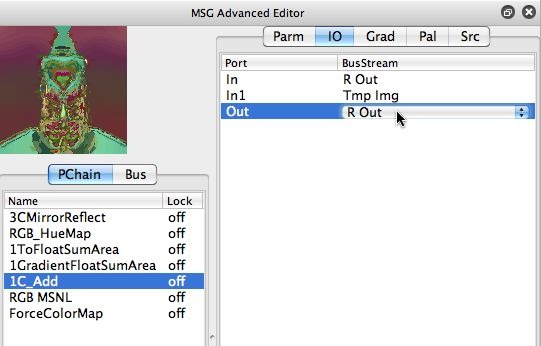
Note that when I looked at the IO connections for the 1C_Add processor, they didn’t really make sense. Note how both input ports were set to the same stream (R Out), and the output was routed to the Tmp Img stream. But the Tmp Img stream was not used by any other processors later in the processor chain list. So again, the computation being generated by this particular processor was wasted.
I manually edited the IO connections for the 1C_Add processor as shown in the second image in the gallery above. Note that after manually editing the IO connections so they made logical sense, the resulting abstraction effect changed in a very interesting way. The output of the 1GradientFloatSumArea processor (which was routed into the Tmp Img stream), was now incorporated into the overall abstraction effect. The 3rd gallery image shows the resulting new effect after the manual editing changes discussed above.
I then clicked on the MSG Advanced Editor preview cell to propagate my manually edited changes to the overall MSG preset back into the Evolution Editor (as shown in the 4th gallery image above). I’m now free to continue directed evolution if I wish to create new and different MSG effects. But i’m doing so starting with a cleaned up processor chain due to the manual inspection and manual editing changes I made in the Advanced Editor.
The Evolution Editor automatic directed evolution controls, like Swap and Add and Inspire, try to be intelligent about hooking up IO connections as new processors are added or swapped in and out of the processor chain for the mutated effects. But these automatic actions do not always make ‘intelligent’ IO connection decisions. This is the reason why some manual inspection and perhaps some hand editing can be useful when working with directed evolution.

