Hand Painting Nested Sub-Blocks to Build Detail in a Regular Grid Photo Mosaic.
This post continues our discussion started yesterday about a particular paint synthesizer approach to generating a traditional photo mosaic rectangular grid. Yesterday we discussed how to modify Path Application control panel settings to setup a regular grid tiling that sub nests with no overlap as the maximum brush size is reduced in 50% increments.
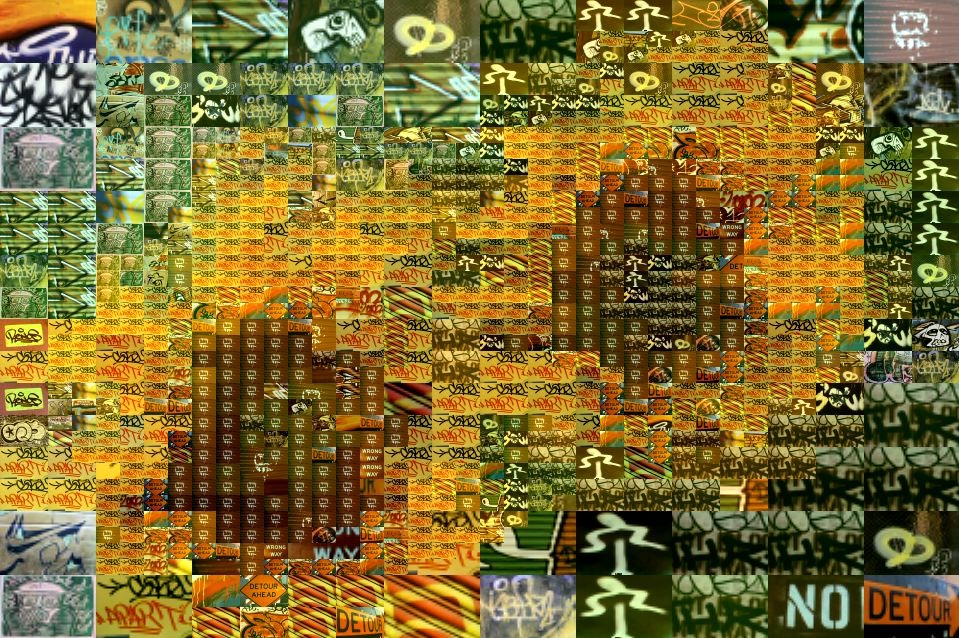
This feature allows for additional hand painting with reduced brush sizes to add additional detail to a regular grid photo mosaic, while still staying true to the original regular grid tile positioning. The first image above shows a simple example of what I mean by this. We’ll explore this approach to building a photo mosaic image in this post.
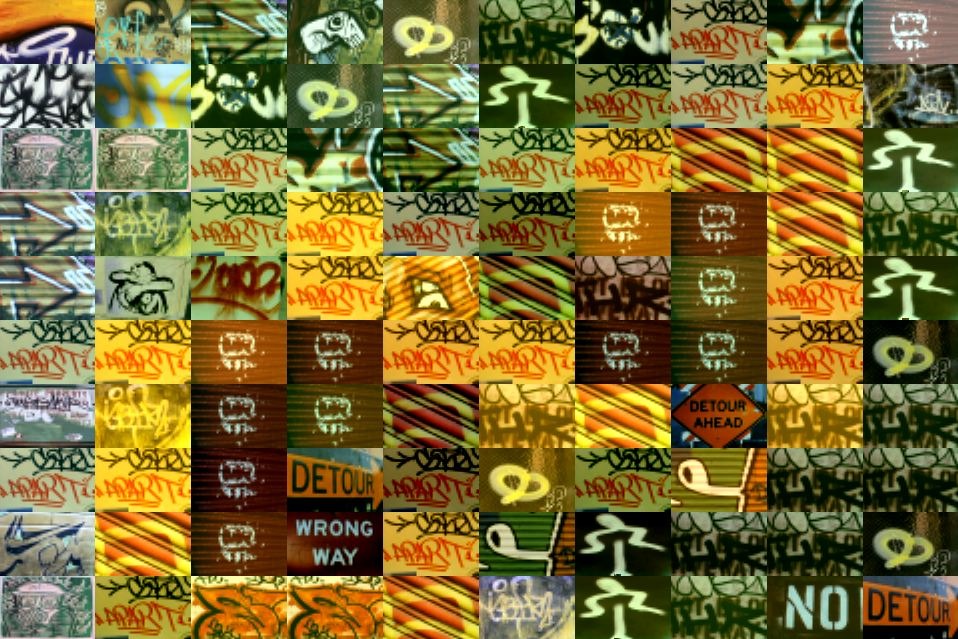
Auto painting was first used at the maximum tile size to automatically generate a photo mosaic image with large tile blocks. The 2nd gallery image at the top of the post shows this initial auto paint photo mosaic. Note that there’s not much edge detail represented in this image due to the large block size used.
I then used 50% and 25% reduced brush sizes to hand paint in some additional detail at appropriate places in the canvas. The size reduced tile blocks automatically position themselves to fit within the larger tile positions with no edge overlap.
You can use the Source Onion Skin feature to present a visual aid to help you with your manual painting. The onion skin is a semi-transparent layer that displays the original source image mixed into the paint canvas. You can turn it on and off using the Canvas : Onion Skin : Toggle Onion Skin menu shown below. Note that there are different kinds of Onion Skins, so you want to make sure the Source option for the onion skin is the active one for this particular example.
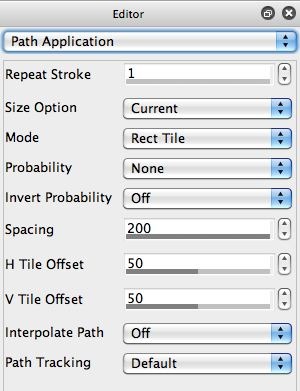
I’m using a slightly modified version of the graffiti movie brush preset discussed in yesterday’s post. If you have not read that post you should do so, since it covers in great detail how that particular preset was built in the paint synthesizer. The 2nd gallery image above of the Path Application control panel shows the key approach we took to generating the tiling pattern we wanted (one that would sub nest as we reduced the brush size in 50% increments, and one that tiled properly as we loaded different size source movie brushes).
Cloning Color as Opposed to Dragging Color
Since I wanted to do manual painting with reduced brush sizes to fill in smaller sub blocks in the tiled mosaic, I wanted to make sure my paint tool cloned source color as opposed to dragged it as I did my painting. There’s a paint synthesizer macro edit command in the integrated Help Browser that can do this edit for you automatically, but I did the edit manually in the Paint Synthesizer. For more information on paint synthesizer macro edit commands check out this post.
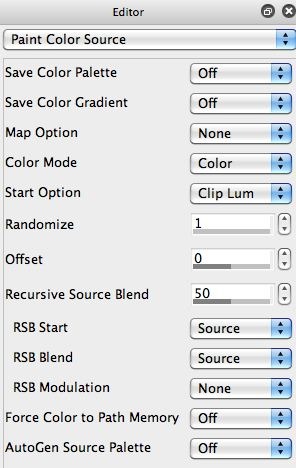
The 3rd gallery image above shows how I hand edited the paint preset to insure it cloned color (as opposed to dragging color) as the mouse or pen was moved around while painting. I set the Recursive Source Blend parameter to 50%, and set the RSB Blend parameter to Source.
A Recursive Source Blend setting of 100% always drags the source color as the pen is moved while painting a paint stroke. Reducing that parameter setting blends from the RSB Start setting to the RSB Blend setting as the paint stroke progresses over time. Decreasing the Recursive Source Blend parameter makes the blend happen quicker as the pen moves. Setting the RSB Blend to the Canvas setting would simulate a paint brush that gets dirty by picking up existing canvas coloring and dragging it along mixing it in with it’s original start coloring. Setting the RSB Start and RSB Blend to Source insure that the paint tool clones source coloring.
The thing to keep in mind is that the particular settings we used in the Path Application control panel mean that even if you try and draw a paint path, the paint nibs associated with the path will always be arranged in a seamless tiling grid (as opposed to a normal think paint stroke). This is why making sure the paint preset cloned color was important, because I just hand painted in the sub blocks by moving the mouse around like normal painting. If I was dragging color, then the original starting point color would drag with the cursor movement when painting in the grid, and you’d keep painting in the same movie frame image you started with as opposed to the correct one from the perspective of generating a photo mosaic effect.
Reducing the Brush Size
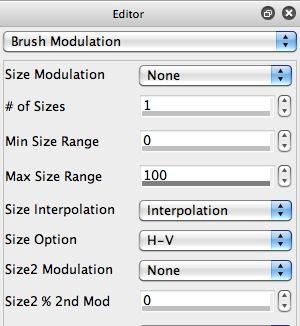
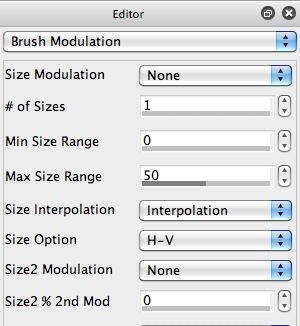
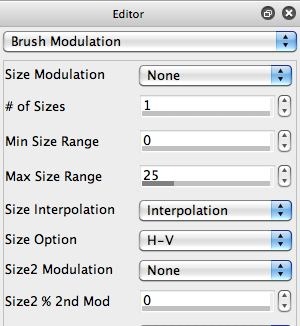
The last 3 gallery images of the Brush Modulation control panel above show the 3 brush sizes I used to generate the first gallery image at the very top of the post. Again, the first pass at 100% Max Size was generated by pressing the Action button and auto-painting the large mosaic grid. I then set the Max Size Range control to 50% and used hand drawing with the source onion skin turned on to fill in mosaic blocks at source edge feature areas with 4 smaller sub-blocks. I then set the Max Size Range control to 25% and repeated my hand painting to fill in additional edge and feature detail with smaller nested sub blocks.
The Brush Source control panel sets the initial source brush size. The Brush Modulation control panel then lets you modulate that original source brush size. In this particular case we are just reducing it, but you can use the Brush Modulation control panel to setup a range of different sizes from the Min Size Range to the Max Size Range, and use different modulators (like pen pressure) to interactively modulate the brush size or orientation.
Some Details to Keep in Mind
One thing to be aware of is that the paint synthesizer parameter settings are integer numeric values (as opposed to floating point values). This places some potential restrictions on the brush size options you can specify, since you can’t set the Max Size to 12.5% as you reduce the brush size in 50% increments to generate a series of progressively smaller sub block sizes.
Also, your original source brush size needs to be a number that can be progressively subdivided so that 2 50% sized sub blocks add up to the same size as a 100% block. This is because brush sizes also have to be integer sizes, they can’t be floating point sizes. So if you had a 31×31 source brush, you can’t reduce it’s size by 50% and have the sub block tile grids align perfectly. Two 15×15 sub blocks will add up to 30, while two 16×16 sub blocks will add up to 32, neither will properly align with a 31 pixel grid tiling.
Now if your source brush was 32×32, then you could subdivide in 50% increments to 16×16, 8×8, 4×4, and 2×2 sub blocks, and the tiling grid alignments of all of these different sub block sizes would perfectly align with no edge overlap.
So if you are building this kind of sub-nested photo mosaic tiling style, you need to think through the sizing of your original source movie brush so it support sub-dividing to the smallest sub block size you potentially want in your final photo mosaic image.
Since the integer parameter restriction on paint synthesizer parameters can also limit the potential sub block range, you could build several different sizes for your movie brush, and swap a smaller one in when you get to that point in your detail based hand painting of sub blocks.
For example, the finder screen shot above shows how I built 4 different movie brushes of the same original set of graffiti images at 4 different sizes. By changing to smaller movie brushes as I worked in addition to working with the Max Size control in the Brush Modulation control panel, I could synch up tile grids that spanned a brush size range from 320×320 to 160×160 to 80×80 to 40×40 to 20×20 to 10×10 to 5×5. All of the sub-blocks for the different grid sizes would align properly with no edge overlap when using the paint preset we described above.
In Conclusion
You certainly don’t have to build adaptive block size photo mosaic manually in Studio Artist. Today and yesterday’s posts explain how you can do it manually. but there are all kinds of different approaches to automatically generating all kinds of different adaptive block size patternings, to generate adaptive block size photo mosaics just by pressing the action button and letting the paint synthesizer do all of the work.
Here’s a previous post that discusses some automatic approaches to building adaptive block size photo mosaics using path start regionization features.
Also, note that you aren’t limited to using just path start regionization arrangement options, since you can do path start regionization based on the contents of the selection buffer. So you could use the Vectorizer or various image operation effects that generate flat color region output effects, route the effect output to the selection buffer, and then path start regionize based on the selection buffer. This more elaborate approach to building the arrangement for photo mosaic effects allows for extreme customization, both of the kinds of block arrangement you can generate as well as the ability to use non-rectangualr regions for your mosaic sub images.

