Important Information and Tips
To help you have the best experience when getting started with Studio Artist 5.5.
This Post Addresses:
The Importance of Using Lower Resolution Canvas Sizes until you are Ready to Print
Outputting Movies
Viewing Movie Examples of Studio Artist Factory Presets
How to Preview Presets easily
How to launch multiple version of Studio Artist on one computer in order to render in the background and continue to work
First, if you are just starting out with Studio Artist, we really encourage you to watch the Getting Started videos to get a feel for how Studio Artist operates. Studio Artist is different from other programs so it’s important to understand the basics for the best experience.
Studio Artist Getting Started Tutorial Videos
Designing and Printing:
VERY IMPORTANT: Do Not Use Large Canvas Sizes until you are ready to print
There is no need to use high resolution canvases when you are designing and/or checking out presets. We recommend a canvas size around 2K.
All the presets were designed at 2k resolution canvases and will not render properly with high resolution canvases until they are rescaled for print or 4K video. Also, the presets will take longer to render with large canvases, which is never fun.
But no worries Studio Artist is resolution independent. The presets will scale up when you are ready to print hi-res or render 4k video without losing any resolution.
Printing at High Resolution:
For General Info on this Please Check Out this Post and Tutorial Video
How to Use Lower Resolution Canvases when designing
and then Print at High Resolutions
Here’s The Basic Info:
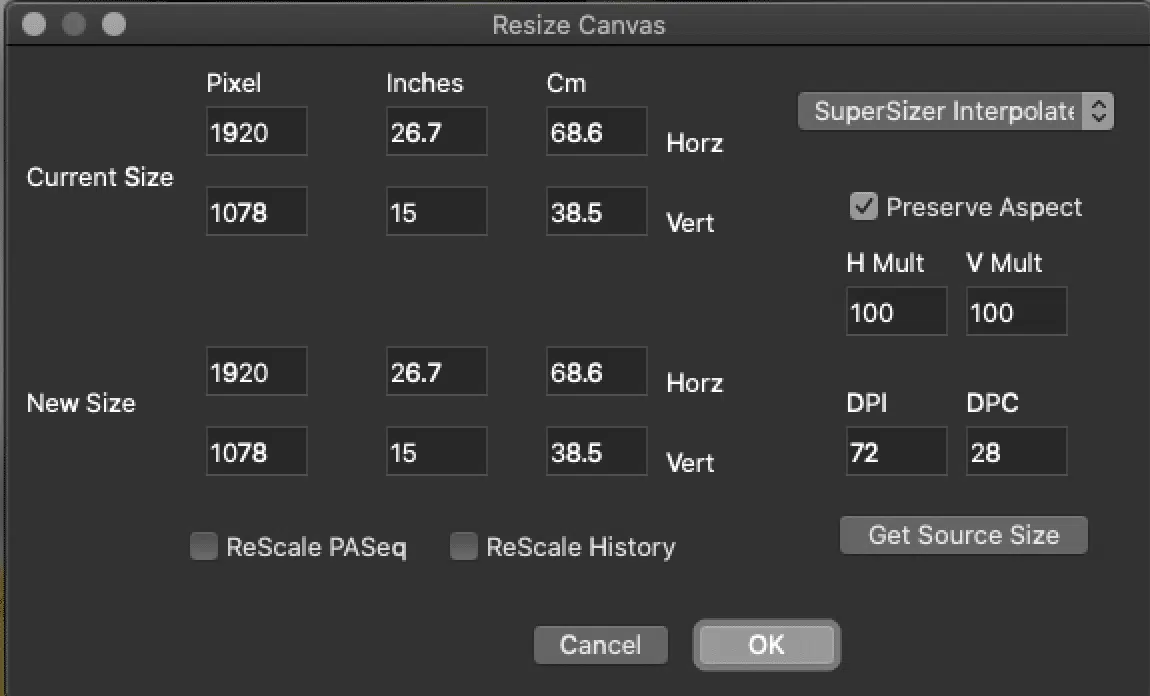
When you are designing or checking out presets you should be working with a canvas size around 2K. Most of the presets were designed at around 1920 x 1080. So anything around that size will work fine with the presets. The above tutorial video will show you how to resize the canvas to match your source image aspect ratio and keep it around 2K.
Create a Paint Action Sequence (PASeq) to record all your design steps (or use one of the Factory PASeq Presets, which you can also edit).
Here’s on how to create and edit a PASeq.
Then when you are ready to Print you just need to Resize the Canvas and Rescale Your Paint Action Sequence (PASeq) and then play the PASeq into the High Res Canvas.
Note: If you are using only vector presets in your PASeq or the Vectorizer only, you can output to .svg to bring into other programs or back into Studio Artist at what ever resolution you want without having to re-render a PASeq. The video also explains how to do that.
How Will I Know if My Canvas is too Large?
If you have to zoom out (-) more than once or twice depending on your screen size to see the complete canvas, or if rendering seems sluggish.
Or you can go to Canvas > Resize Canvas to see the current Canvas Size
TIP: Previewing Presets Shortcut
To Quickly Preview Presets you can hold down the Cmnd Key (Mac), Cntrl Key (Win) and click on a preset to run it. You can do this instead of having to click the action button to run a preset.
Outputting Movies in Studio Artist
A common mistake new users make when trying to create a movie, is looking to the Export menu. But Studio Artist works a bit differently than other video programs and uses the Action menu which is explained in the Getting Started with Movies video. But don’t worry, it’s only three basic steps.
Here’s the Basic Info:
In order to create a movie you must use Factory Paint Action Sequence (PASeq) Preset which is basically a script of presets and other design elements that is rendered frame-by-frame. You can also create your own PASeq or Edit one of ours.
There are hundreds of Factory Movie PASeq Presets in several categories you can start with. The PASeq Preset Window will be on the left hand side of the Interface when you launch Studio Artist. Just Toggle to the Movie Or Still Art PASeq Scripts Presets Collection.

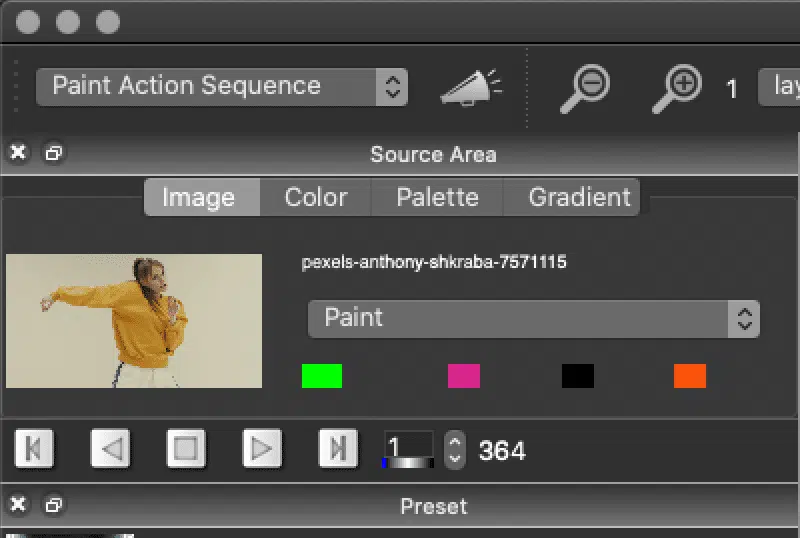
You will also need to have a source video loaded into the Source Area that you want to process.
You can do that by dragging your video to the source area or you can import it with File > Import Source
Once you find or create a PASeq that you like the next step is:
Action > Process with A Paint Action Sequence > Source to Movie
Choose where you want to store your processed movie and name the processed video
Studio Artist will then run the PASeq Script frame-by-frame
When it is through processing the movie player will automatically launch with your processed movie
Check Out Hundreds of Video Examples of Our Factory Movie Presets
Video Examples of Factory Movie PASeq Presets
The Examples are labeled with the PASeq Preset Name and Category. You can also use the search function in the Preset Window to search for presets.
TIP: Save Time Rendering by Launching Multiple Versions of Studio Artist on One Computer
This video will explain how you can save a lot of time by running multiple versions of the Studio Artist app on one computer.
This way you can render animation or high resolution canvases in the background on one or two versions of the program app while still continuing to design on another
Launching Multiple Versions of Studio Artist


