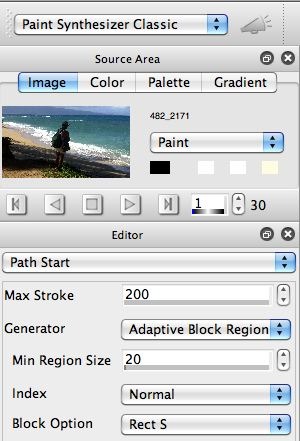
The 1st gallery image shows the Path Start control panel, configured to use an Adaptive Block Regionize DM path start Generator. Normal path start generators just choose a starting point for drawing a path, end of story. Path Start Regionize path start generators work differently than the conventional paint synthesizer rendering approach, in that they intelligently analyze the source image, break it up into a series of intelligently designed regions, and then retain the region information so that it can be used in other parts of the paint synthesizer (like for generating the path shape).
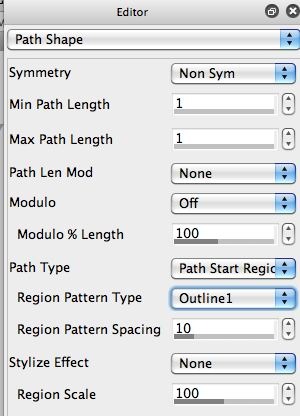
The 2nd gallery image (Path Shape control panel) shows that we are using the Path Start Regionize option for the Path Type. This means that the path shape is being generated from the intelligently generated regions associated with the current path start regionization generator option. The Region Pattern Type is set to Outline1, which means the generated path is the outline of the current region area. The current region can be outlined or filled in in different ways depending on the Region Pattern Type option chosen.
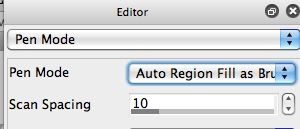
Since we are interested in generating photo mosaic effects using a movie brush associated with our selected path start regionization generator, we want the Pen Mode to be set to Auto Region Fill as Brush (as shown in the 3rd gallery image). We do this because we want the region to be filled in with one brush nib rather than painted in using a series of brush nibs spaced along a painted path.
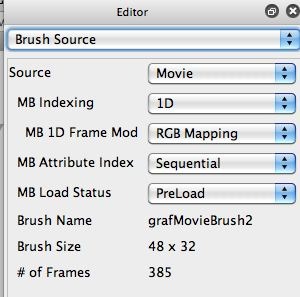
The 4th gallery image shows the Brush Source control panel. Note that the Source is set to Movie, so we are using a movie source brush composed of 385 graffiti images stored as individual frames in a movie file. You can use the File : Paint Synthesizer : New Movie Brush menu command to load your own custom movie file as a movie brush. For more information on converting a folder of images into a movie file check out this tip.
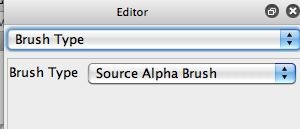
The 5th gallery image shows that we are using a Source Alpha Brush option for the Brush Type. The reason why we want to do this is that we want the temporary source brush generated by the Auto Region Fill as Brush pen mode to be used as the alpha channel for the current brush shape, while having the contents of the currently loaded source brush movie file used to fill the interior of the current brush shape.
Remember, Region Fill as Brush pen modes override the current Brush Source control panel settings and generate a temporary brush shape from a region either defined by manual user drawing or the shape defined by the current paint path.
Look at the 6th gallery image and see that the Brush option in the Region as Brush Mode control panel is set to Alpha Only. What this means is that the temporary region shape defined by the path autodrawing is used to generate a source brush alpha channel only (so it will not affect the temporary source brush RGB channels). The temporary source brush RGB channels will be filled by the current Brush Source control panel settings, a movie brush in this particular case. So the current indexed movie brush frame is resized to fit the temporary region generated by Auto Region Fill as Brush pen mode.
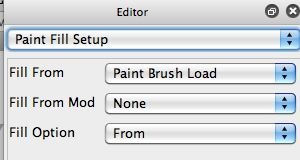
The 7th gallery image above shows the Paint Fill Setup control panel. The Paint Fill Setup control panel specifies how the digital paint that will be applied to the current digital brush is generated.
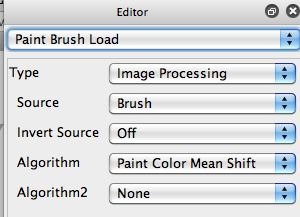
Note that we are using the Brush Load option for the Fill From parameter. And the Fill Option is set to From, so only the Fill From output is used to generate the digital paint nib. So, the paint nib is going to be generated by the output of the Paint Brush Load control panel (shown in the 8th gallery image). The Brush Load control panel generates an image the size of the current source brush that can then be used as digital ‘paint’ sitting on the source brush and then applied to the canvas (based on the settings in the Paint Fill Apply control panel.
Note that the Paint Brush Load control panel is configured to use an Image Processing brush load Type. The Source parameter is set to Brush. So,this means that the RGB brush image is going to be the source for the Algorithm processing, which is set to use the Paint Color Mean Shift option. What this particular Algorithm option does is re-colorize the Source to the image processing brush load, which is the Brush image in this particular case. Since the brush is a movie brush, the current movie source brush frame image is the input to the brush load processing.
Different Approaches for Recolorizing Movie Source Brush Imagery
Let’s go back and look at the 4th gallery image above, which shows the Brush Source control panel. Note that we are using a 1D (1-dimensional) movie brush indexing, and the movie brush Frame modulation (MB 1D Frame Mod) is set to RGB Mapping). This particular frame indexing modulation option is intelligent. The RGB Mapping indexing modulation option chooses the source movie brush frame that best represents the particular source color we are currently trying to draw.
Now if you have a movie file for your movie source brush that contains lots of different colored frames that are distributed over the color gamut you need to represent your source image, that might be all you need to do to generate your photo mosaic effect. The actual colors in the movie frame images will be used to build up the final photo mosaic image effect.
However, as we demonstrated in the elaborate break down of the paint preset used for this example, we can use the Paint Brush Load control panel functionality to re-colorize the movie brush frame images to better represent the source image (which is what we are doing for this particular example.
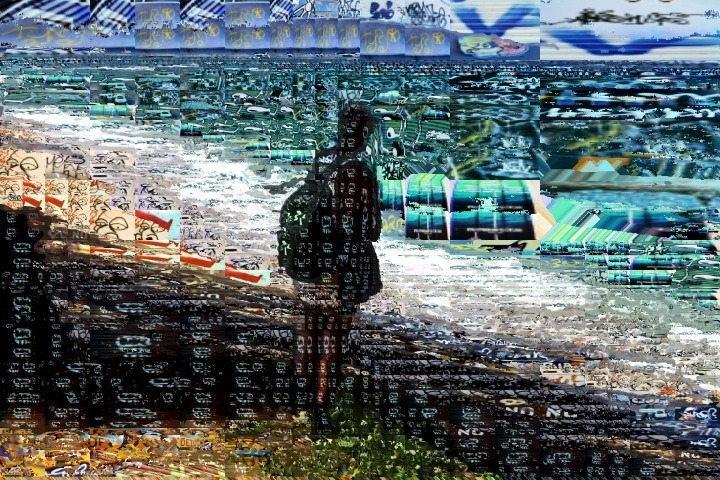
There are 3 different photo mosaic effect images that were built with the same PASeq shown in the first gallery at the very top of this post. The first photo mosaic was generated using the RGB Mapping frame modulation and the Paint Color Mean Shift Algorithm for additional re-colorizing.
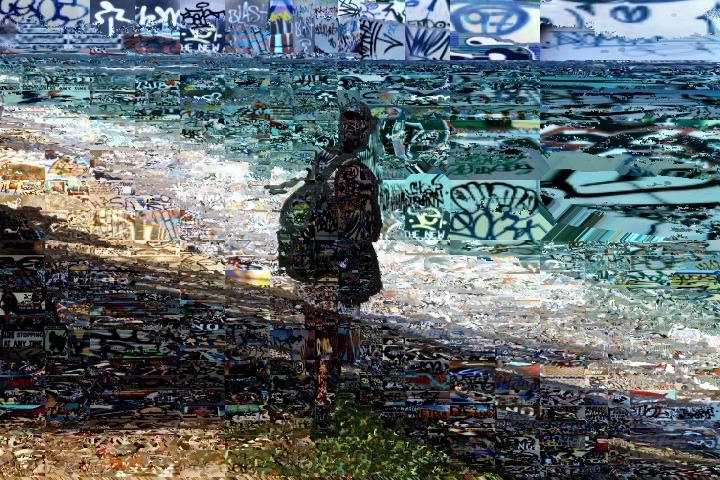
The 2nd photo mosaic in the top gallery was generated by using Cycle Forward frame modulation with the Paint Color Mean Shift Algorithm to re-colorize the frame images. So in this and the 3rd gallery image, the movie brush source frames are just indexing sequentially as they are being painted and have no relationship to the source image local coloring at all. The path start regionization region shapes are the same for all 3 example images, so by comparing the 1st and 2nd gallery images you can get a sense of what is going on as the frame index modulation is changed and what a good job the recolorization algorithm is doing in matching the source imagecoloring even when the individual movie frame images have no direct relationship to the local source area coloring.
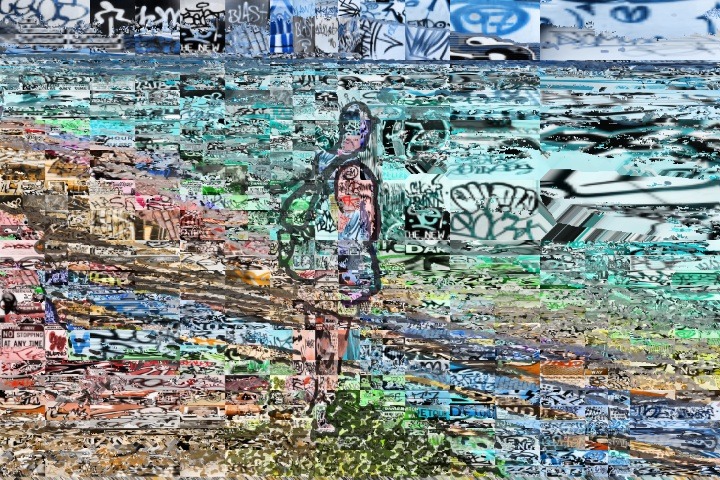
The 3rd photo mosaic gallery image at the top of the pos is using a different re-colorization algorithm called Paint Color Hue Shift1. Note that unlike Paint Color Mean Shift this new Paint Color Hue Shift1 re-colorization Algorithm does not do a good job in reproducing the original local source luminance. The Outline technique Vectorizer source feature overlay introduced by the Vectorizer action step in the PASeq is much more apparent in the 3rd photo mosaic gallery image example.
For More Information
We’ve covered a tremendous amount of material in this post. So it’s probably going to take some time and re-reading to fully sink in. We’ll be exploring photo mosaic effects in more detail over the next several posts.
Here’s a tip on how to take a folder of images and convert it into a movie brush. PLEASE NOTE IN STUDIO ARTIST 5 YOU CAN USE A FOLDER OF IMAGES NOW. YOU DO NOT NEED TO CONVERT TO A MOVIE
Here’s a series of articles on path start regionization.
Here’s a series of articles on different photo mosaic effects that can be created in Studio Artist.
Here’s a link to a set of downloadable brick wall photo mosaic paint presets you can use as a starting point for building your own photo mosaic effects using path start regionization in the paint synthesizer.




Ooh that is clever!! Thanks John. A lot to take in as you say but well worth the effort. I shall definitely come back to this and other posts here as I’m ready to dig ever deeper. The concept of using movies as a painting resource is something wholly new to me and takes a shift in imagining new vistas. I’m so excited I could weep , but then again it could be the lack of sleep from falling in love with all these possibilities and staying up late to tinker with them.