There’s been a lot of discussion recently on the Studio Artist User Forum about working with alpha channels. While there is no need to get involved with alpha channels to build paint effects in Studio Artist, there is a full set of alpha channel features available for those of you who wish to use them. This post will run through a simple example of using a source image with a built in alpha channel, and also working with an Alpha Enabled canvas view for alpha compositing multiple layers.
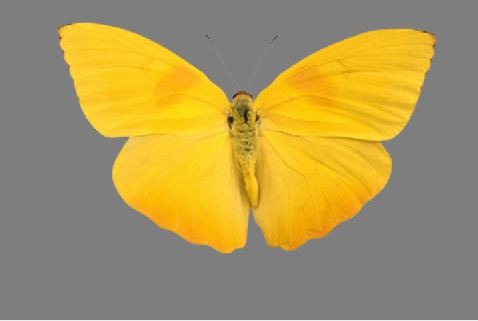
The first gallery image below shows the Source Area with an image called Butterfly loaded as the current source image. This particular image, which we provide in the ‘A Few Source Images’ folder, is a TIFF image with a build in alpha channel.
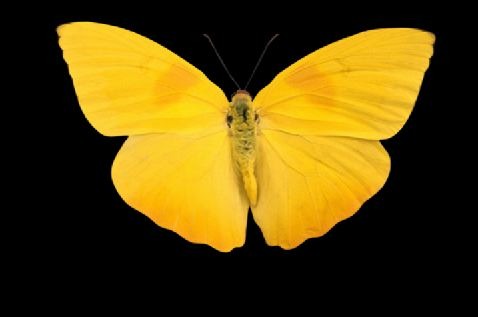
The 2nd gallery image above shows what the full color RGB butterfly image looks like, when displayed in the Studio Artist canvas with a full on alpha channel (3rd gallery image). The 4th gallery image shows what the butterfly image looks like when displayed in the Studio Artist canvas with the canvas layer set to the source alpha channel (which is shown in the 5th gallery image).
Note that the Source Area displays source images with alpha channels by displaying black where ever the source image’s alpha channel is off. This is true whether the canvas display is alpha enabled or not, you don’t have any control over the source area alpha display at present.
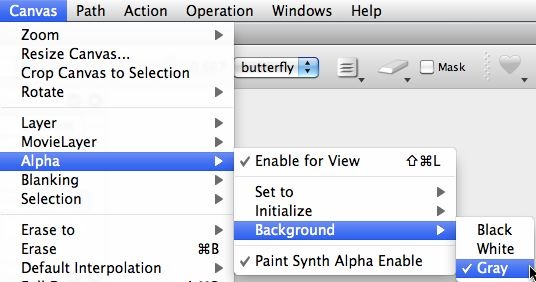
When working with alpha channels, you will probably want to enable alpha canvas view by turning on the Canvas : Alpha : Enable for View menu flag (as shown below). When this menu flag is turned on then the alpha channels associated with each layer are used to help generate the displayed canvas view. When this menu flag is turned off, then each layer’s alpha channel is ignored when generated the displayed canvas view.
If you want the paint synthesizer to paint into the current layer’s alpha channel as well as the RGB color channels, then you need to make sure that the Canvas : Alpha : Paint Synth Alpha Enable menu flag is turned on (as shown above). If this menu flag is turned off, then your manual or interactive painting does not affect the current layer’s alpha channel.
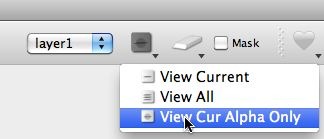
The Studio Artist canvas View can be displayed in 3 different ways. You can view the Current Layer Only, you can view All Layers, or you can view the Current Layer’s Alpha Channel only. You set the view display option by using the view icon popup control in the main operation toolbar (as shown in the second gallery image above).
Studio Artist can have multiple layers associated with the canvas. Viewing the current layer only means just that, the other layers are ignored when computing the view. Whether the alpha channel associated with the current layer is used to compute the view of not is a function of whether alpha is enabled for view (as discussed above when we talked about the Canvas : Alpha : Enable for View menu flag).
To show how alpha compositing works with multiple layers, I first setup my first layer to set it to the butterfly image (both the RGB channels and the alpha channel). I had alpha view enabled, and my view set to View All. So the displayed canvas looked like the 1st gallery image below.
The Layer palette looked like the 2nd gallery image above (since we only have 1 layer). The black background color that shows through where the layer’s alpha channel is set to full off is something you can change. If I change it to gray (3rd gallery image above), then the canvas view will look like the 4th gallery image.
I now loaded a second source image of the golden gate bridge (which has no alpha channel) as shown in the 1st gallery image below.
I then made a second layer (using the Canvas : Layer : New Layer menu command). I then dragged the source image of the golden gate bridge to the second layer. The canvas view now looks like the 2nd gallery image above. Note in the 3rd gallery image that the layer stack is configured so that the first layer is the butterfly image and the second layer is the golden gate bridge image. Since the alpha channel of the 2nd layer is full on, this is all we see in the canvas view, even though the view is set to view all.
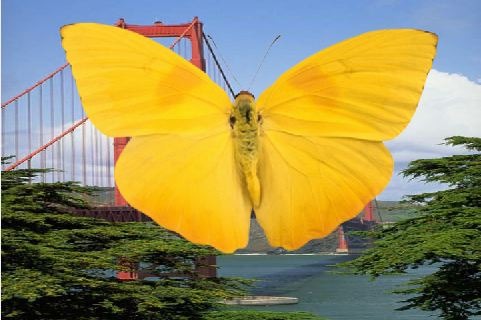
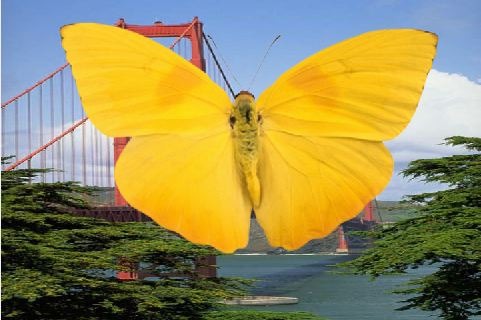
If I reverse the order of the 2 layers, so that the golden gate bridge is the first layer and the butter fly is the second image (4th gallery image above), then the canvas view (in view all mode) now looks like the 5th gallery image. This is the example image shown at the top of the post.
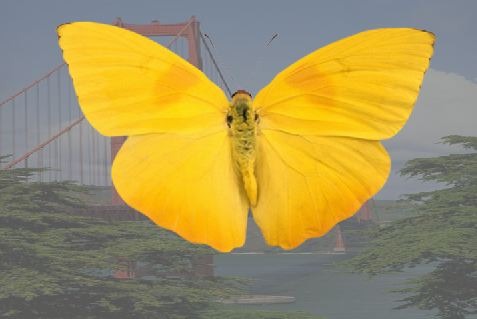
If I now reduce the first layer’s transparency to 30% (6th gallery image above), then note how the gray solid default background color now mixes into the part of the canvas view not covered over by the alpha masked butterfly in layer 2 (as shown in the 7th gallery image above).
How a New Layer’s Alpha Channel is Initialized
You can use the status of the Canvas : Alpha : Initialize menu flags to determine how a new layer’s alpha channel is initially setup when you make a new layer. As shown below, I had it setup to initialize to Full On whenever a new layer was made.
If your goal is to work with multiple alpha enabled layers building up paint effects that are also alpha enabled, then you would probably want your new layers to initialize with their alpha channel set to FullOff. Since you want your painting to gradually fill in the layer’s alpha channel as the paint strokes draw if you are pursuing this particular kind of workflow.
For More Information
Tomorrow’s post will explore how to use alpha enabled paint synthesizer drawing.
Here’s a tip on an Introduction to Layers.
Here’s a tip on Working with Alpha Channels in Layers.

