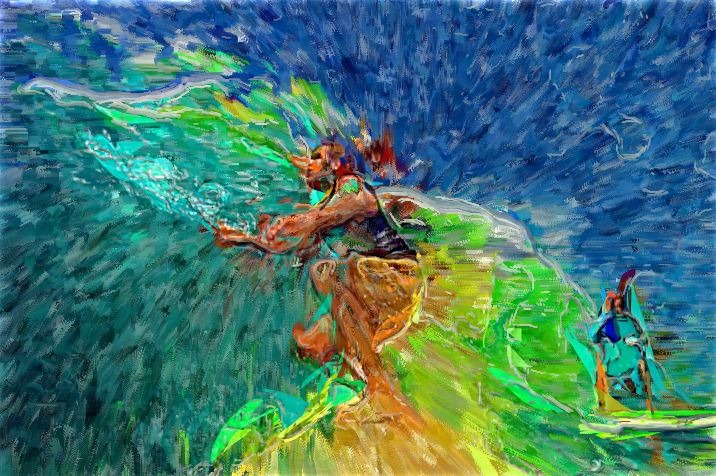
The following image is a frame capture from an auto-rotoscoped paint animation. This post will take a look at the various components used to build this vibrant paint animation styling.
The paint action sequence below was used to build the auto-roroscoped paint animation shown above.
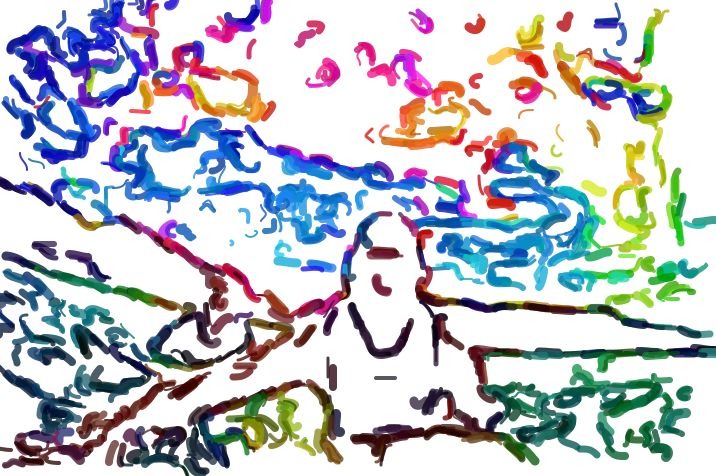
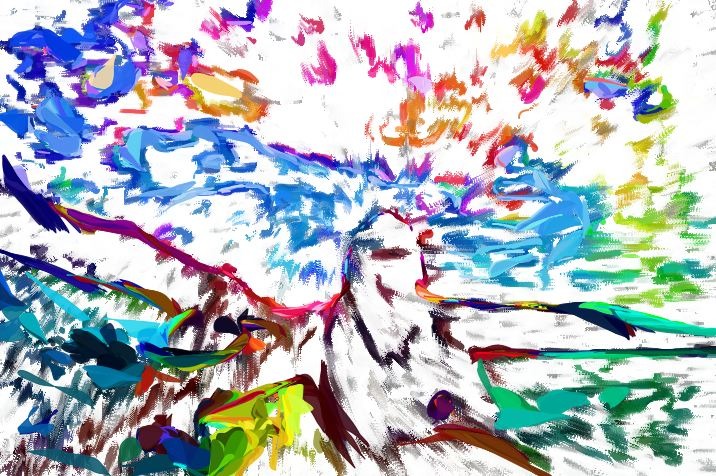
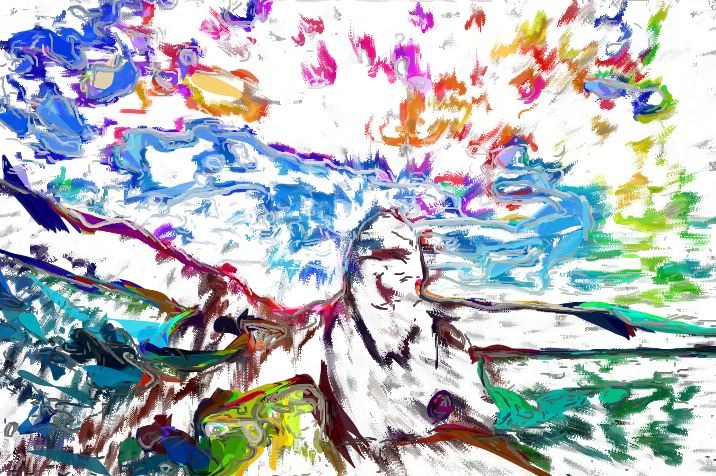
Four different paint synthesizer presets are used to build the various components of the paint animation style used in this animation. The gallery below shows the 4 AutoPaint action step outputs in order, starting with a white canvas so you can better see what the individual action steps are doing.
The first image in the gallery shows the output of the thick edge sketch paint preset. Note that it paints in an edge scan of the source image with a highly saturated flat color paint.
The second image shows the output of the polar spread paint preset. This action step works to spread out the existing painted canvas with a radially spreading patterning (so it pushes from the center out to the edges of the canvas).
The third image shows the output of the vec sketch paint preset. This paint preset paints in an abstracted series of shapes near the features of the source image, again using highly saturated paint colors.
The 4th image shows the output of the fine sketch paint preset. A small brush size is used along with paint synthesizer settings that force the paint strokes to focus on edge and high texture areas of the source image. Note that a lighter paint coloring is used for this tight feature painting pass so it stands out from the underlying highly saturated paint strokes.
The very first action step is using the Color Simplify image operation to initially set the canvas to a flat color cartoon representation of the source image. Note that this action step is muted starting at the second keyframe, so this step will only run for the first frame of the animation. We do this so that the first animation frame is filled with color.
The polar canvas spreading and overdrawing that occurs in the PASeq will quickly fill in over the initial flat color rendition used to start off the background of the first frame of the animation. The recursive nature of the two step modify the existing canvas via spreading and the overpainting on top of the modified canvas actions works to build the sensation of paint flow spreading out over time in the animation. This 2 step process also builds temporal continuity into the finished animation, leading to reduced perceived flicker in the final animation (as opposed to if we had erased the canvas and then fully painted in each new output frame).
The last 2 action steps use the versatile blur image operation effect, configured to provide a high pass feature boost from the source image to the painted canvas. This is a trick that you can use to add a boost to the source feature rendition of any abstracted paint style. Like all enhancement operations, a little bit goes a long way, so don’t overdo it.
The complete paint animation discussed above can be seen here.


1 Comment