Skip to content
Today we will show a technique you can use to associate a particular image or movie file as background content for a layer. To do this you use a Content Context action step in a a paint action sequence.
Please Note: There are two training videos on this subject
https://synthetik.com/studio-artist-training-videos/#!/Video
Adding a Background to a Movie Part 1 and 2

Context Action Steps allow you to do things that you needed the old Layer window timeline to implement in older versions of Studio Artist.
You can think of Context action steps as being containers for things like sets of bezier paths, or file references to images or movies.
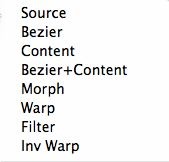
As seen in the menu list below, there are number of different kinds of Context action steps available that are used for different purposes. Our discussion today will focus on the Content Context action step.
Content Contexts store references to a file. The reference is just a pathname, and could be a reference to an image file, or to a movie file. When a Content Action step is run, it sets the background of the layer it is associated with to the reference image or movie.
If you setup a Content Context action step to reference a movie file, then the movie will automatically frame advance after the initial keyframe associated with the Content Context action step as the PASeq timeline advances. So a single Content Context action step keyframe is all you need to associate a complete movie file as the default background for a particular layer.
We’ll run through a simple example below, using a Content Context action step to associated a static image background to a canvas layer. The we’ll modify the first example to use a free-running movie background instead of a static image background. In both cases, we will be working with a second loaded source image, and run a simple PASeq to autodraw the source movie on top of the default canvas backgrounds.
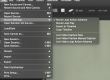
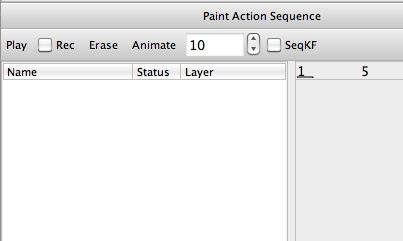
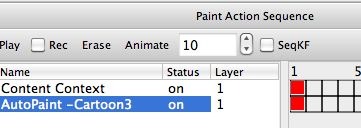
To start out, we’ll use the Erase button at the top of the PASeq window to erase the current PASeq (as shown below).
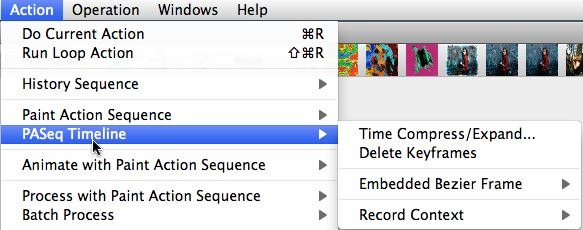
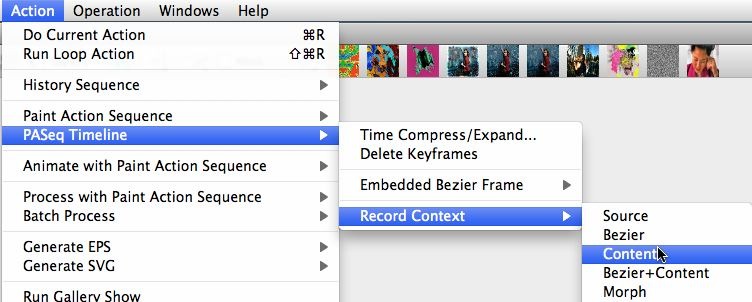
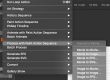
Now we’ll start by adding a Content Context action step that references a static image (called aBackdrop). There are 2 different ways to generate a Content Context action step. They are both available via the Action : PASeq Timeline : Record Context menu commands.
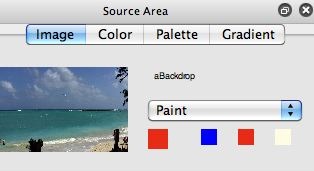
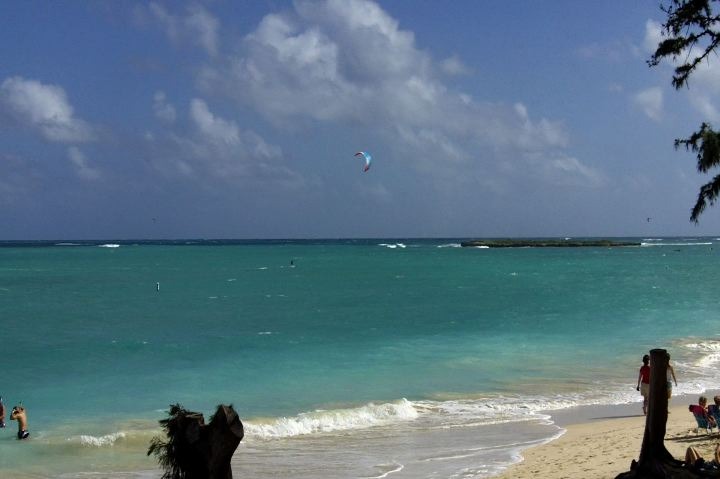
Note in the 3rd gallery image above that the current source area source image is loaded with the aBackground beach image. Now i’m going to run the Action : PASeq Timeline : Record Context : Content menu command to add a Content Context action step to my empty PASeq. Note that I don’t have to turn on record in the PASeq window, when I run this menu command a Content Context action step will automatically be added to the PASeq. And this Content Context action step references the current source image file pathname, so it stores a pathname reference to the aBackground beach image file we currently have loaded into the source area.
Now, lets change the content of the source area by loading a movie file as the new source.

If I run the current PASeq, the Content Context action step will set the canvas layer to it’s reference image, the aBackground beach image we set it up to reference (as seen in the 2nd gallery image above). I can then use a paint preset to add a second action step to the PASeq that autopaints the source image (a movie frame in this particular case) on top of my default beach background image.
If I use the Action : Process with Paint Action Sequence : Source to Movie menu command, I can then render out a simple movie example that paints my source movie on top of a static background image.
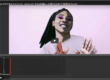
I could repeat this entire exercise, but using a movie file as opposed to a static image for my initial Content Context actions step. The screen shot below shows that I have loaded a movie file called 482_0144 to the source area.


I then erased my PASeq, and again ran the Action : PASeq Timeline : Record Context : Content menu command to add a Content Context action step to my empty PASeq. This time the Content Context action step references the movie file as opposed to a static image.
I then loaded a different source movie file, and generated a similar PASeq that paints my new source movie on top of my default surf movie background for my canvas layer. The end result of rendering this simple PASeq example out as a movie file can be seen here. Note that the movie file associated as my default background for the layer (as defined by the single keyframe for the Content Context action step) automatically frame advances in the rendered output movie file.
I think the conceptual hurdle people struggle with when they first use this particular feature is that they are generating a Content Context based on the file pathname for the current source image or source movie they have currently loaded into the source area, and then have associated file pathname that as a default background for a layer.
There is a way to directly select an image or movie file using a standard file dialog to generate a Content Context action step. To do that, you use the Action : PASeq Timeline : Record Context : Multiple Keys : Content menu command. The Multiple Keys menu commands are designed to be used to add a series of multiple keyframes, so when you select an image or movie and then press OK the file dialog comes back up so you can select an additional key. So you need to press Cancel when you are done adding keyframes to get rid of the file dialog. Otherwise it will keep coming up (again a point of confusion for people getting started using this feature).