Skip to content
Mixing Temporal Generator and Keyframe MSG Animation
You are here:
- Home
- MSG
- Mixing Temporal Generator and Keyframe…
The image above is a frame capture from an abstract procedural animation generated by a MSG preset. The movement in the animation is built from a combination of attaching temporal generators to some MSG editable parameters along with the use of keyframe animation to interpolate between 2 different color palettes over the course of the animation. We’ll discuss how to build the animation to generate a seamless loop.
The first gallery image below shows the MSG preset used for generating my animation.
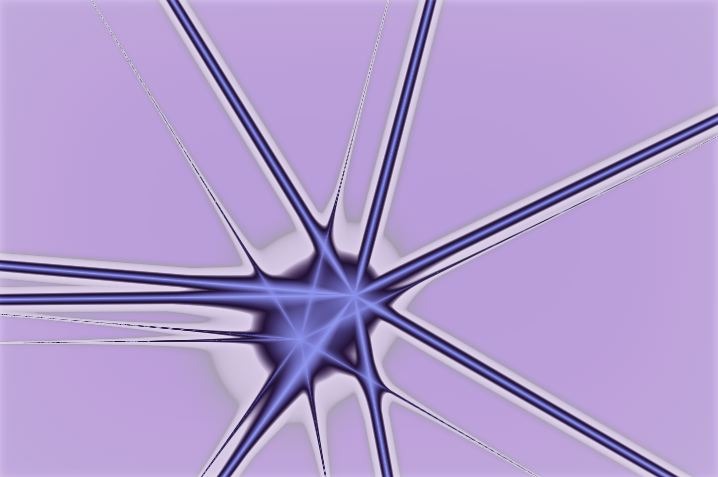

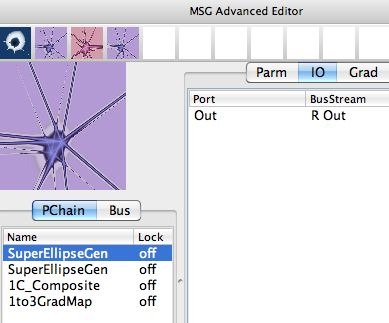
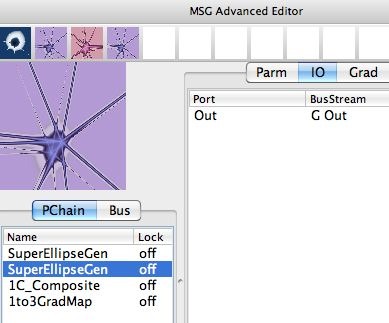
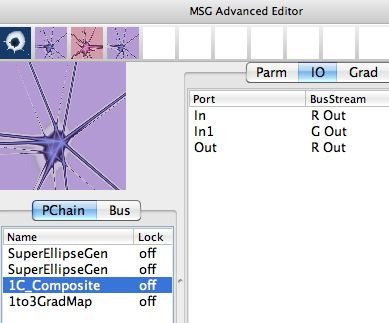
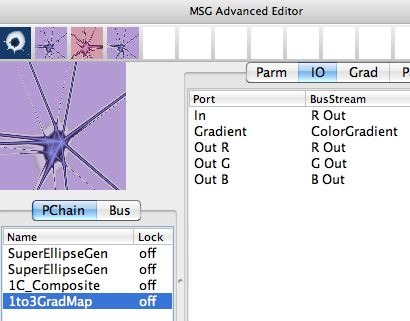
Note that i’m using 2 different instances of the SuperEllipseGen processor, which are composited together into a single image stream, and then mapped through a color gradient to generate the full color output.
The first gallery image above shows how I setup a series of temporal generators to build automatic procedural animation into my MSG preset. Most of the procedural animation movement is associated with the Ramp temporal generator attached to the Angle processor. The other 2 parameters with attached temporal generators lead to more subtle oscillations of the spine shapes. Both of the SuperEllipseGen processors have similar attached temporal generators.
The rest of the gallery images above show the IO (input-outpt) routing connections associated with the different processors in the preset. Note that the output of the 2 SuperEllipseGen processors are routed to the ROut and GOut image streams respectively. Those 2 image streams are then used as input for the 1C_Composite processor, which outputs to the ROut image stream. The final 1to3Gradmap processor that takes the black and white ROut image stream and uses it to index through a color gradient, generating a full color output that is routed to the 3 color (ROut,GOut,BOut) image streams for the MSG preset.
As mentioned above, the temporal generators attached to adjustable parameters create procedural animation over time. The temporal generator acts to automatically adjust the associated parameter based on the time based oscillator attached to the parameter. The time based oscillator maps the parameter between the Min_Tg and Max_TG values over the Inc_TG frame cycle time. The 200 frame Ramp oscillator attached to the Angle parameter is what predominates in the procedural animation. Since it’s Inc_TG parameter is set to 200 frames, using a 200 frame length for the animation output leads to a seamless loop animation.
The paint animation sequence (PASeq) shown below was used to generate the animation.
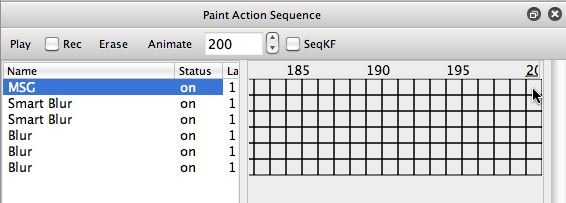
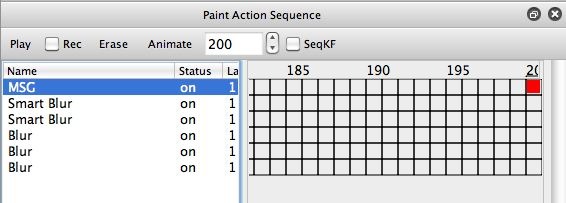


Note that i’ve set the animation length in the control bar at the top of the PASeq editor to be 200 frames. So when you render the animation out to a movie file using the Action : Animate with Paint Action Sequence : to Movie menu command, it will render out 200 frames.
I was interested in using keyframe animation to interpolate between 2 different color gradients over the course of the animation. Using keyframes in the PASeq timeline for the MSG action step won’t affect the procedural animation generated by the attached temporal generators, as long as you don’t change the values of the attached TG parameters in the keyframes. But the TG’s will work fine and consistently while allowing you to keyframe interpolate other editable parameters without attached TGs, or the color gradients and/or color palettes associated with the MSG preset.
Because I was interested in generating a seamless loop animation, I wanted to end up with the starting color gradient at the last frame of the animation (frame 200). So frame 1 and frame 200 both need to keyframe to the same color gradient. I wanted to interpolate to a new color gradient at frame 100, so I needed to also insert a keyframe at frame time 100 that referenced the different color gradient.
You need to add the new keyframes in the appropriate order. The easiest way to do this is as follows. The 2nd gallery image above shows the PASeq timeline set to display frame time 200. I first want to click the MSG action step keyframe at frame time 200 to playback that action step at frame time 200. I then option click keyframe 200 to enter what just played back as a new keyframe colored red (as seen in the 3rd gallery image).
I then went to keyframe 100 in the PASeq timeline. I then clicked on the MSG action step at frame time 100 to playback the MSG preset at that frame time (as seen in the 4th gallery image above).
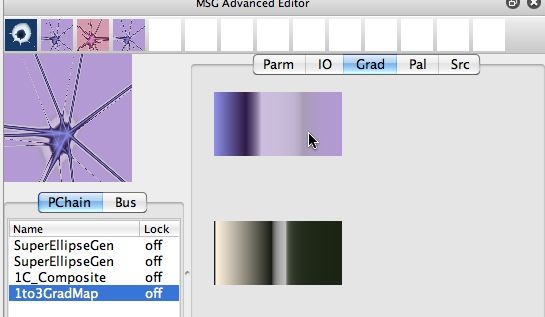
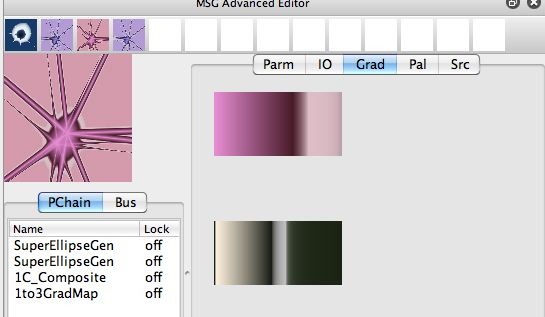
I then switched to the MSG Advanced Editor, and switched to the Color Gradient (Grad) tab on the right side of the editor (as shown in the 5th gallery image above). I then used the h hotkey to interactively adjust the hue of the first color gradient. I also used the I hotkey to interactively adjust the positioning of the color gradient index positions. After my interactive editing of the first color gradient, I had a new color gradient (as shown in the 6th gallery image above).
I then switched back to the PASeq Editor, and option clicked keyframe time 100 in the MSG action step (as shown in the 7th gallery image above). So I had now recorded a new keyframe at frametime 100 that will cause the color gradient being used for the 1to3ColorMap processing to linearly interpolate between it’s starting color gradient at frame time 100 to the new color gradient at frame time 100, and then back to the original color gradient at frame time 200.
You can watch the finished animation here.