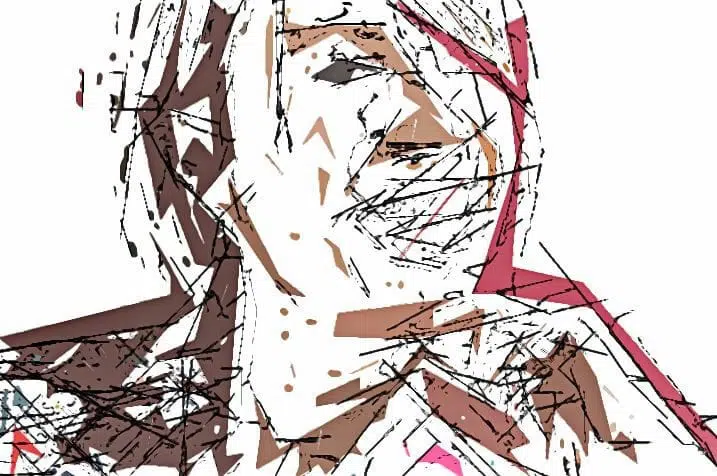
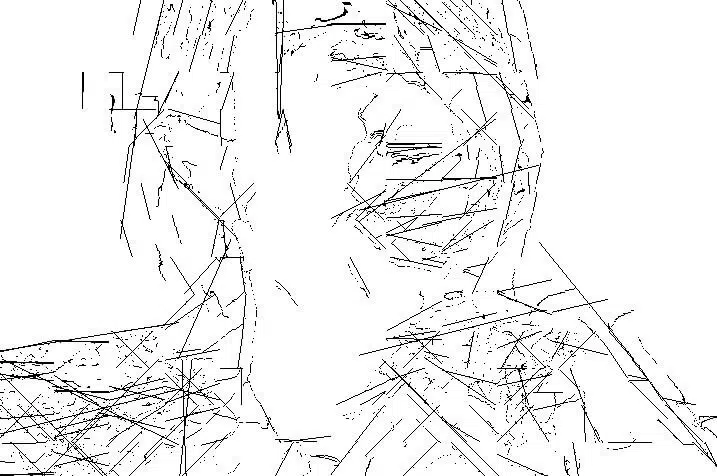
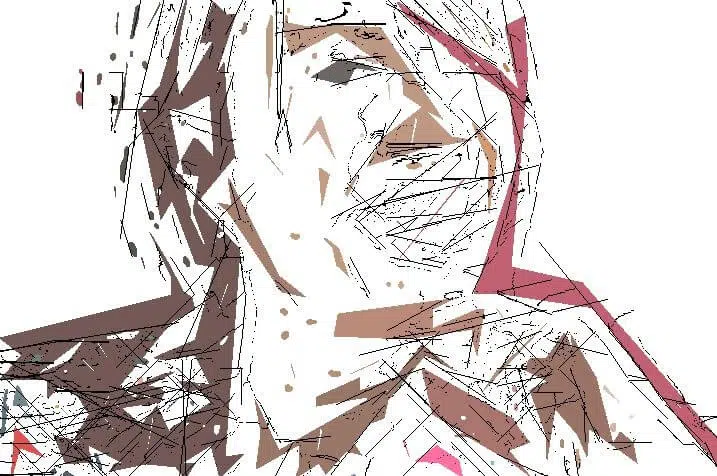
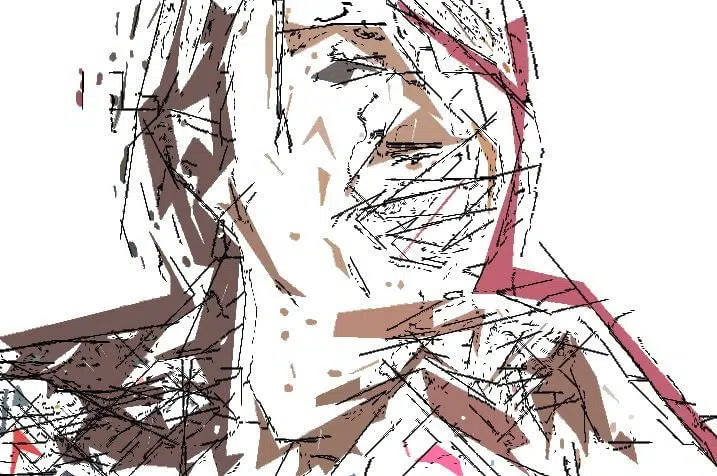
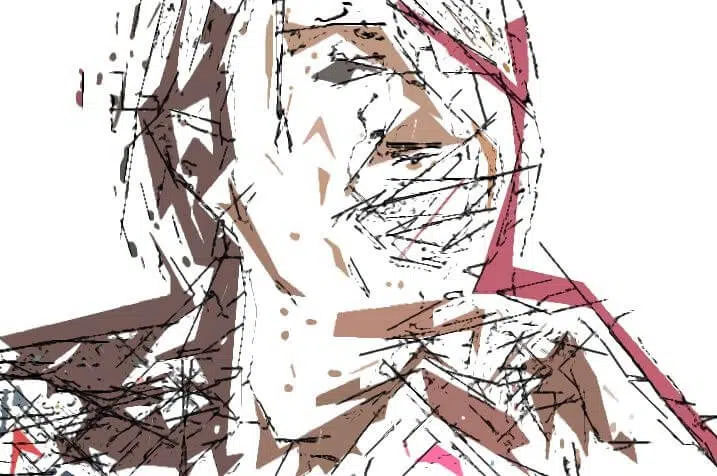
The first image in the following gallery above is a color sketch effect created by incorporating the black and white MSG sketch effect we discussed in yesterdays post into a paint action sequence (PASeq). The black and white MSG preset was used with the Vectorizer and some image operation action steps to build a more elaborate color sketch effect.
The PASeq screen shot below shows the individual action steps used to create the above effect. The individual images in the top gallery showcase the complete effect and then the individual processing steps that build up the finished effect in the PASeq.
The output of the first MSG action step is identical to the MSG rough sketch preset we discussed in detail in yesterdays post (second image in the top gallery).
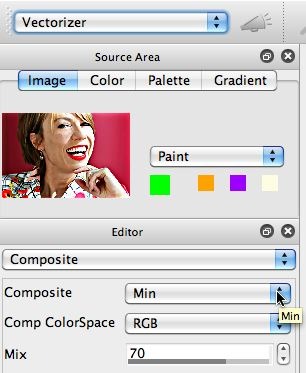
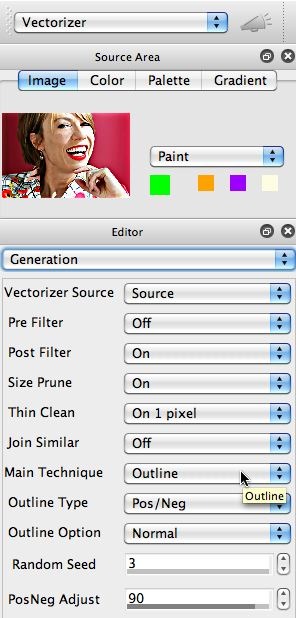
The Vectorizer was then used to provide an abstracted color outline effect (third image in the top gallery). I used a Min Composite setting for the Vectorier preset, so that the colored regions it generated would overlay the white canvas while not covering the black sketch lines. I used an Outline setting for the Vectorizer’s Main Technique.
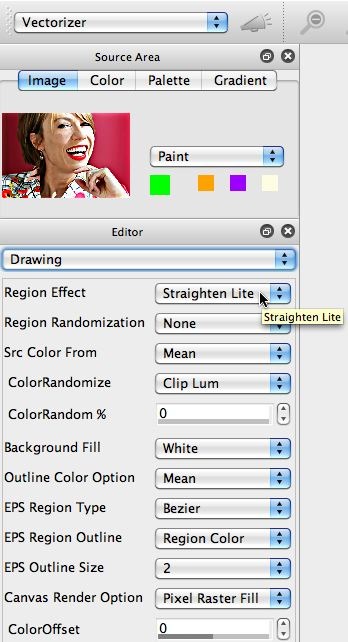
The Outline technique generates outlining regions that don’t completely cover the entire canvas. I set the Background Fill in the Vectorizer Drawing control panel to white. When used with the Min compositing this insures that the existing canvas will show through in the white background areas.
I used a Straighten Lite setting for the Region Effect parameter. I chose this option to get a blocky region outlining effect to match the look of the MSG black and white rough sketch which only uses straight line segments to represent the source image.
The MSG sketch and the particular Vectorizer settings I used lead to a canvas image with fairly rough edges. I wanted to smooth those out, so I used 3 different applications of the Smart Blur image operation. The first Smart Blur action step uses a Mode setting of Min, and it’s output can be seen in the 4th image in the very top gallery. Note that I used the Min Mode setting to pull out more definition in the black sketch lines.
I then used 2 applications of the same Smart Blur preset with the Mean setting for the Mode parameter. This smoothed out the rough lines and edges (the last image in the very top gallery).
The remaining action steps in the PASeq just sharpen the edges and enhance the contrast of the canvas. The Blur ip op action steps are using the Edge 1 setting for the Composite parameter, which as we have discussed here before turns the blur effect into a sharpening effect. Each Blur action step uses a different Blur Amount setting to sharpen different frequency bands.

