We recently discussed how to manually select an area of the canvas using lasso selection, and then work with the Mask checkbox control to mask automatic painting or image processing effects with the selection mask. This post will discuss how to use a black and white image processing effect to automatically generate an intelligent selection mask. We will then incorporate this image processing based auto-selection as an action step in a paint action sequence (PASeq). We will then use the automatically derived selection mask to inhibit auto-painting while building up a auto-rotoscope paint effect in the PASeq.
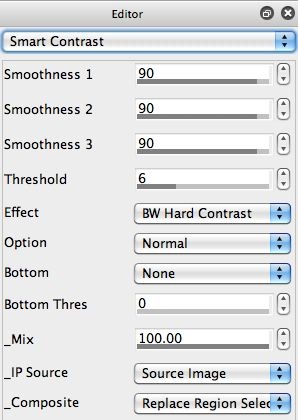
We recently used the Smart Contrast image operation effect to generate a black and white intelligent outlining effect that helps define edges and positive-negative space in a source image. The Smart Contrast Editor control panel below shows the settings we want to use to derive an intelligent selection mask from the Smart Contrast effect.
Note that the IP Source control is set to Source Image. This means the source image will be processed by the Smart Contrast effect as opposed to the current canvas layer. Also, the Composite control is set to Replace Region Selection. What this means is that the output of the effect will be routed to the region selection buffer as opposed to the canvas.
I wanted the effect output to be a binary black and white effect, which means any given effected output is either full white or full black, no intermediate gray scale values allowed. In order for this to take place with the Smart Contrast effect, I need all 3 Smoothness controls to be set to the same value, and I need to use the BW Hard Contrast effect.
By adjusting the Smoothness value, and playing with the Threshold control you can control the amount of detail the black and white contrast effect generates. Reducing the Smoothness will lead to finer details and more of an edge effect. Making Smoothness very large (90 to 99) leads to more of a positive-negative space outlining effect.
The effect output gets routed to be the current selection. Remember, white pixels mean the pixel is selected, and black pixels mean the pixel is not selected. Once I have a selection buffer, I can then mask automatic painting with it.
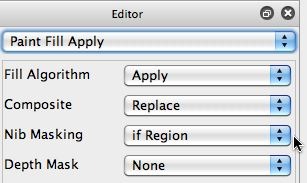
For this particular example, rather than using the Mask checkbox in the main operation toolbar, the paint presets themselves used to build the PASeq will be edited to be smart about understanding to paint in selected areas while ignoring unselected areas. There are many different approaches you can take when editing the paint synthesizer to incorporate awareness of the current selection into the automatic painting process. For this particular example, I used the Nib Masking control in the Paint Fill Apply control panel.
When the Nib Masking control is set to ‘if region’ , then painting will be hard clip masked to the current region selection. The masking will take place within the paint nib itself. This is the most extreme form of masking, and can sometimes look artificial. There are other kinds of masking you can do where you only mask the paint paths and allow the complete paint nib to be placed on the canvas, leading to a more natural masking effect that looks hand drawn. For this example, I wanted very hard masking because we’re using that effect to help differentiate the edge structure in the resulting painting.
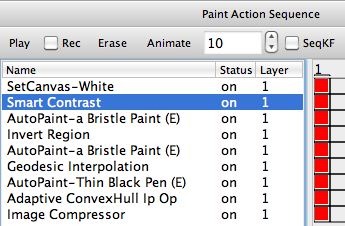
The complete PASeq used to generate my auto-rotoscoping effect is shown below.
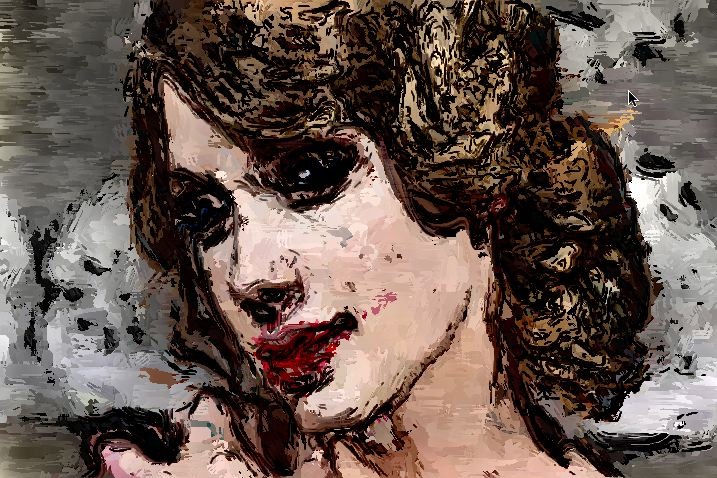
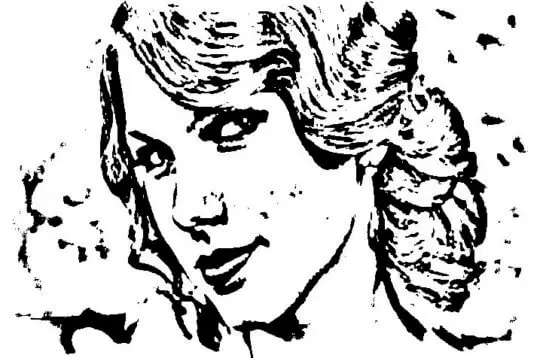
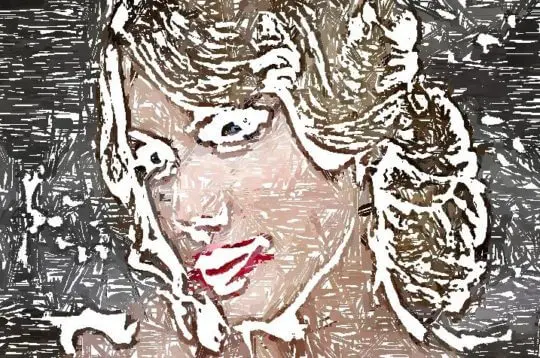
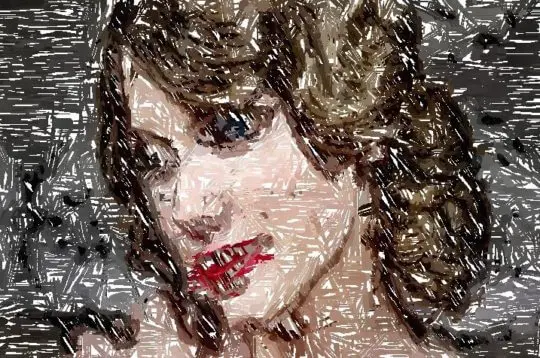
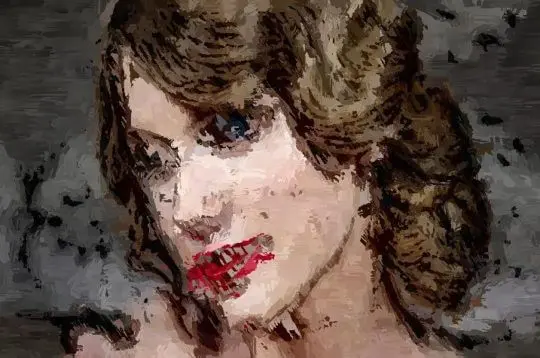
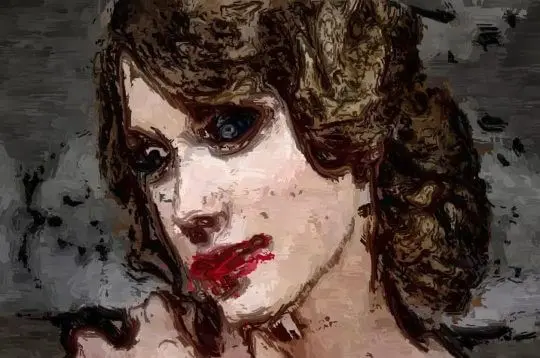
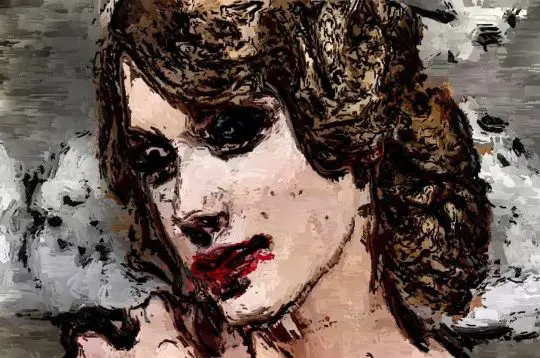
The image gallery below shows off the individual steps used to build the final paint effect. I started off the PASeq by erasing the canvas to white.
The first image shows the output of the Smart Contrast effect. Note that in the PASeq this black and white image is put in the selection buffer rather than the current canvas layer. The first AutoPaint step then paints in the selected part of the canvas. I then invert the selection, and then AutoPaint in the rest of the canvas (what was initially unselected and is now selected after inverting the selection). For this second paint pass I changed the angular direction of the paint stroke’s hatching pattern, and made the paint color darker to introduce contrast between the 2 painted in areas.
I then used the Geodesic Interpolation ip op effect to fill in the remaining white space in the canvas. The key to this particular step is that the 2 Auto Paint steps prior to this used paint with hard stroke edges. So the paint is not anti-aliased. Normally this could be considered a defect, but it was a conscious design decision because I knew that after painting I would be using an interpolator image processing effect to fill in the solid color remaining white areas of the canvas. The Geodesic Interpolation effect extrapolates the coloring at the edges of any solid color regions into the solid color region (solid color referring to white in this particular example).
I then used a different paint preset that auto paints in the edges with a smaller brush size to add some more detail to the painting. i then used the Adaptive Convex Hull ip op to modify the paint quality, and the Image Compressor effect to auto-boost the contrast of the final painting. Depending on your particular taste, you might want to mute the Adaptive Convex Hull action step and it’s associated darkening of the paint effect. You can mute an individual action step in a PASeq by changing it’s Status control from On to Off as shown below.
The particular PASeq preset examined in this post is a factory PASeq preset named AutoPaint1, and is in the Default : General PASeq preset category.
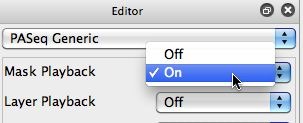
I could have used the Mask checkbox control to do the masking in this example, as opposed to using the Nib Masking control. I would have then needed to make sure that Mask Playback was turned on in my PASeq, whihc can be done in the PASeq generic Editor.
In order for a PASeq to playback the status of the Mask control, the PASeq Mask Playback parameter setting needs to be turned On. All of the generic PASeq Editor settings are stored in a PASeq preset. These controls used to be global PASeq preferences in previous versions of Studio Artist, but are now a unique part of every PASeq preset.

