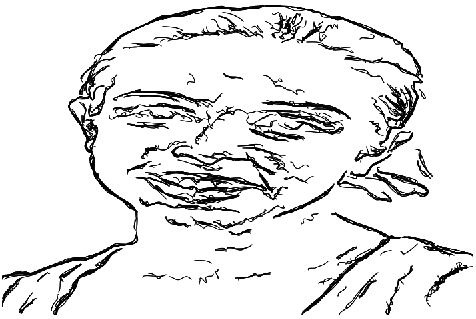
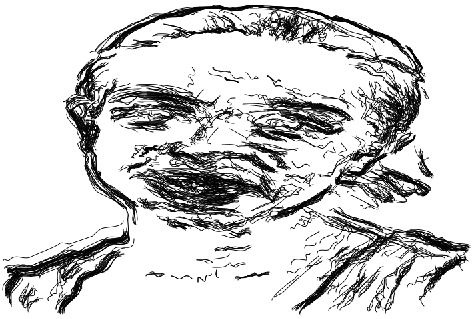
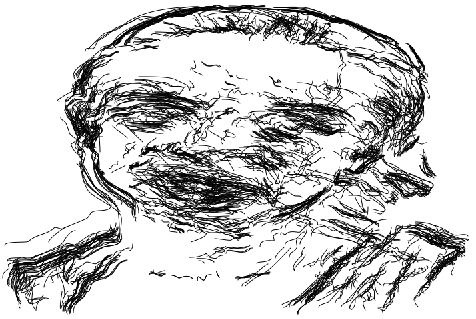
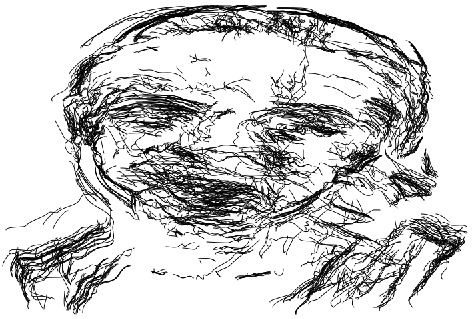
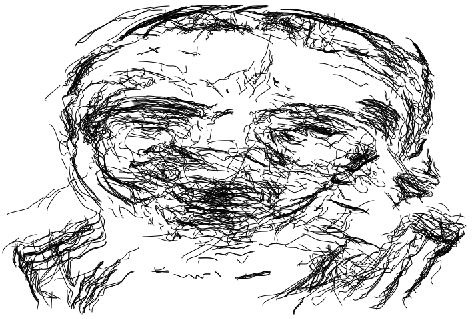
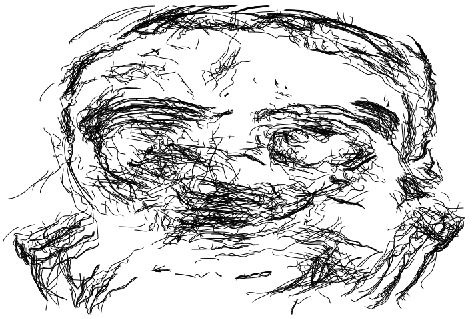
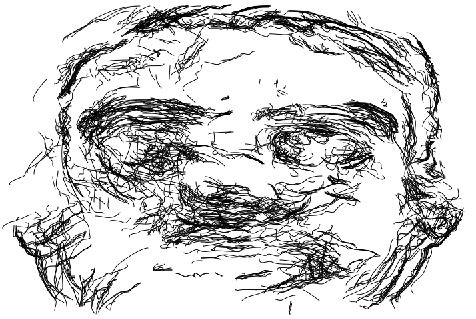
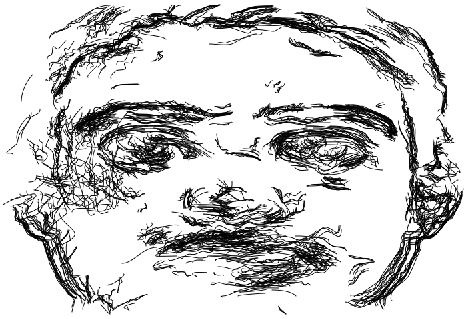
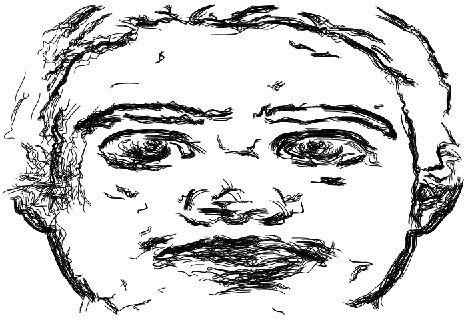
The following image is a still frame from a bezier path tween animation. A series of bezier path edge sketches were keyframed to build a morphing animation that transforms through a sequence of different still images of faces. The still image sketch output shown above was generated between 2 keyframes, so it’s a sketch of a virtual morphed face rather than a specific facial image.
The paint action sequence (PASeq) below was used to generate the morphing bezier path sketch animation.
The PASeq was built by first selecting a set of different facial images and using them for the individual Source Context action step keyframes. A source context action step lets you record one or more source image references directly in a PASeq.
There are several path menu commands that work off of a selected Source Context action step and automatically build a Bezier Context action step with the same keyframe structure as the Source Context. The complete PASeq is run at each Source Context keyframe time, and then whatever paths are in the resulting bezier path frame generated from the PASeq cycle are recorded as a single keyframe in the newly generated Bezier Context.
The PASeq used the Sketch Edge ip op to automatically generate bezier paths that represent a sketch style from the source image. Note that the PASeq first erases the bezier layer before generating a new set of bezier paths for the sketch effect. This is important because you need to delete any bezier paths in the current path frame before generating new ones in a PASeq cycle. Those 2 action steps were turned on when I initially ran the Path : Convert to Paint Synthesizer : Convert PASeq Source Context to Bezier Context menu command.
After running that menu command the PASeq ran a complete Play cycle for each Source Context keyframe time, and I ended up with a new Bezier Context action step that encapsulated all of the generated bezier path edge sketches into a single action step. I then turned off the 2 action steps initially used to generate the bezier paths, and recorded a Path : Paint Paths : Full Layer menu command as a new action step to paint in the bezier paths with a thin black vector paint preset.
I then used the Action: PASeq Timeline: Time Compress/Expand menu command to time expand the PASeq timeline so that there were 10 black keyframes between each Bezier Context keyframe.
I also ran 2 additional PASeq Timeline : Embedded Bezier Frame menu commands to normalize the number of bezier paths in each keyframe, and to reorder the bezier path indices to create a smoother animation. I used the Normalize Recycle menu command to normalize the number of paths in each keyframe. And I used the Reorder Minimal Distance menu command to reorder the bezier paths so that the movement of individual paths between adjacent keyframes was structured for a smooth animation effect.
After normalizing the embedded bezier paths and reordering them for minimal distance movement, I then ran the Action : Animate with Paint Action Sequence : to Movie menu command to generate the morphing sketch animation.
The image gallery below shows the morphing edge sketch between 2 different bezier context keyframes.
The complete animation can be seen here.
I actually found the individual still image sketches generated in the interpolated or morphed tween frame times (the spaces between the bezier keyframes) to be more visually compelling than the sketches at the keyframe times. The sketch output when between 2 keyframe images is a sketch of a morphed virtual image that has characteristics of both source images, and thicker line structure due to the individual movement of the interpolated paths.




1 Comment