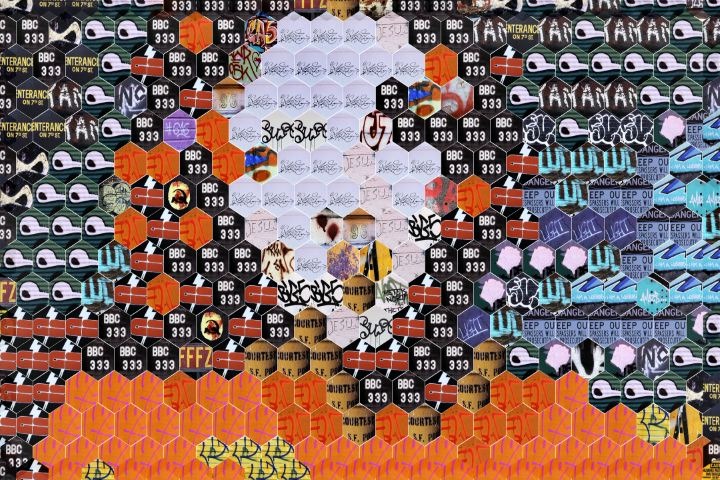
Today’s post will discuss how to build a movie brush that incorporates an embedded alpha channel to create a photo mosaic effect based on a hexagonal grid. The trick is to build your movie brush to include a hexagonal embedded alpha channel mask. And to then use that embedded alpha channel movie brush in the paint synthesizer with a Hexagonal Grid Scan path start Generator.
Studio Artist’s paint synthesizer is extremely versatile as far as configuring custom visual effects. I was recently asked if there was a way to build photo mosaic effects within Studio Artist that would tile using a hexagonal patterning. After a little thought I realized that this could easily be done by using a movie brush with an embedded alpha channel mask. The embedded alpha channel mask needs to be in the shape of a hexagon.
The first gallery image above shows the hexagonal alpha channel mask I created. Note that the gray border surrounding the black square is not a part of the mask. The mask itself is just the black square with the white hexagon interior. The mask itself is 64 by 64 pixels, since that was the size of the movie brush I intended to generate.
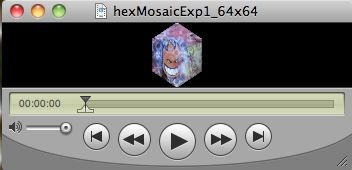
Remember, full white in an alpha channel is full on, and full black is full off. So the white area associated with the white hexagon acts as a mask for the individual movie frames. The 2nd gallery image above shows my custom graffiti movie brush I made using my embedded alpha channel based on my hexagon. Note how the individual frame image is masked with the hexagonal embedded alpha channel.
I used a future development version of Studio Artist that contains a new MSG processor that generates simple shapes like the hexagon shown above to create my mask. You are going to need to build it by hand in a different way, which we will leave as an exercise for the reader. You could do it in Studio Artist or use a different program to build the hexagon mask.
I then set the selection buffer to my hexagon mask image. To do this, I used the Canvas : Selection Set to : Canvas menu command. I then set my Movie Preferences so that the Embedded Alpha preference was set to the Selection option. This option means that the contents of the selection buffer will be used to create an embedded alpha channel when using an Action command to generate a rendered output movie file.
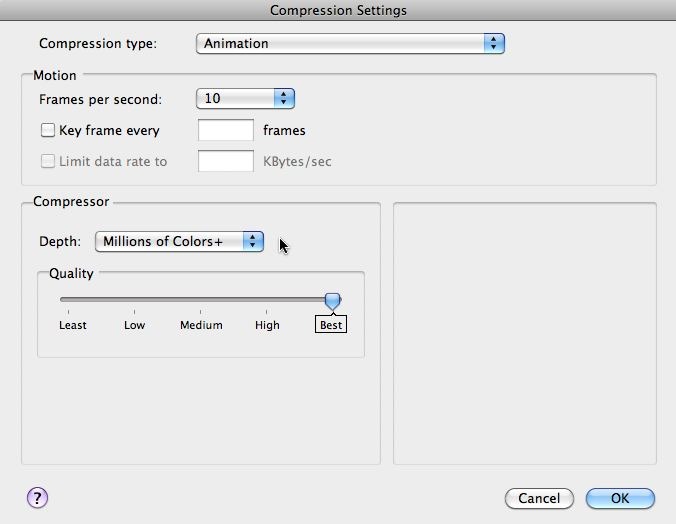
I also made sure that I was using an output movie compression codec that supports alpha. I picked the Animation codec with Millions of Colors + as my Depth choice (since this particular animation codec setting supports an embedded alpha channel). You can choose your compression codec using the File : Movie Codec Settings menu dialog.
I then made a simple one step PASeq that erases the canvas to the source image. I then used the Action : Process with Paint Action Sequence : Image to Movie menu command to convert a folder of custom graffiti images into a movie brush. When you run this menu command, it first asks you to pick your folder of images to process, then you set the canvas size for the movie frame output, then you name your output movie file.
The action command then goes frame by frame, converting the folder of images into a movie file. Each image in the selected folder becomes one frame in the output movie file generated by running the action command.
Because of the embedded alpha settings we used as described above, the movie brush was created with an embedded alpha channel based on the hexagonal mask stored in the selection buffer.
Using a hexagonal masked movie brush to build a hexagonal tiled photo mosaic
I started my paint synthesizer editing by first running the Reinitialize paint synthesizer macro edit command in the integrated help browser. This resets the paint synthesizer to a default set of parameters.
To build my hexagonal tiled photo mosaic effect, I then used the File : Paint Synthesizer : New Movie Brush menu command to load my hexagonal masked movie brush as a movie source brush in the paint synthesizer.
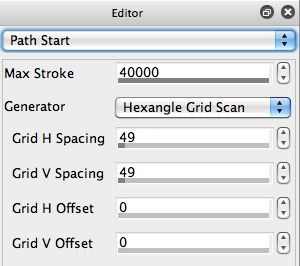
As seen above, my custom movie brush has a 64 by 64 pixel frame size. Due to the way I constructed the hexagon masking, I needed to use a 49 by 49 pixel hexagonal grid for positioning the individual hexagonal tiles so that they tiled adjacently with no extra spacing between them. You can see how I set that up in the Path Start control panel in the 2nd gallery image above.
I used a Max Path Length of 1 in the Path Shape control Panel, since I want each paint stroke to consist of a single paint nib.
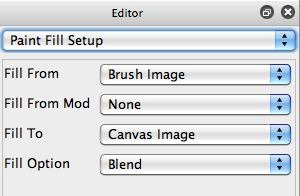
I also wanted to keep things simple for this example, so I configured the Paint Fill Setup control panel with a Fill From parameter set to the Brush Image, and the Fill To parameter set to the Canvas Image (since I had a little bit of anti-aliasing in my hexagonal embedded alpha mask).
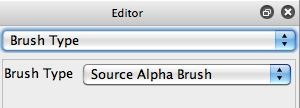
The other thing you need to remember to do when setting up a photo mosaic paint effect like this is that you want to use the Source Alpha Brush option for the Brush Type parameter in the Brush Type control panel. Remember, we want to paint with the RGB image stored in each movie brush frame, but we want the brush shape to be the embedded alpha channel associated with the movie brush frame. Using this particular Brush type setting insure that this will happen.
I used RGB Mapping as the option for the movie source brush MB 1D Frame Mod frame indexing parameter. This particular setting chooses the movie frame that best represents the source coloring in the local spatial tiling area currently being painted.
We have previously discussed approaches here using the Paint Brush Load feature of the paint synthesizer to colorize a movie brush frame image on the fly so that it can better represent the local source coloring in a photo mosaic. We could have done that with this particualr preset if we wanted the hexagonal mosaic image to better represent the original source image.
Again, we were trying to keep things simple for the purpose of this post, which is really just showing how to use an embedded alpha channel to build a hexagonal photo mosaic tiling effect.

