There was some recent discussion on the Studio Artist User Forum suggesting adding gradient lighting effects to the Vectorizer in the future. I had suggested one approach to doing something like this today would be to use a MSG Gradient Lighting effect to post process Vectorizer output. I whipped this effect together quickly to show off what I was talking about. We’ll examine the effect in detail in this post.
Please Note: There are many Gradient Effects presets in the Image Effects Mode that you can use to process vectorized images. Also there has been “Vector Shadow Lip” option added to the Vectorizer Drawing Panel that can simulate gradient effect
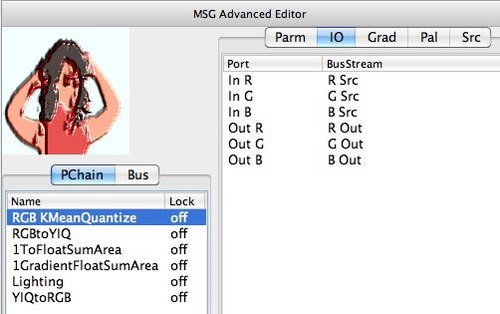
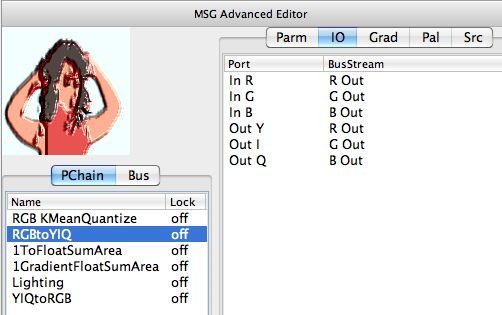
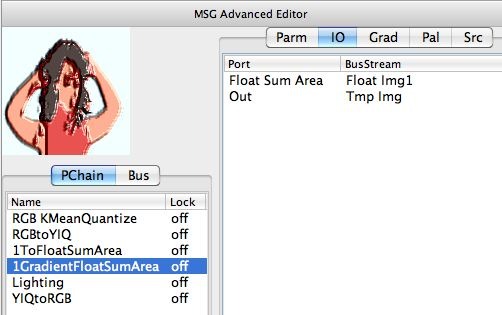
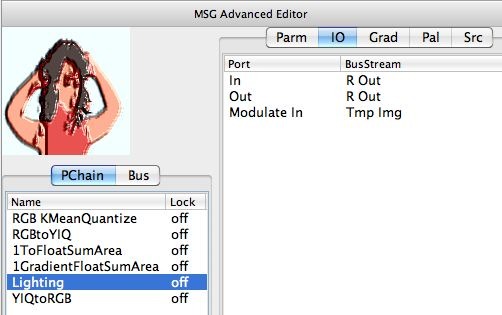
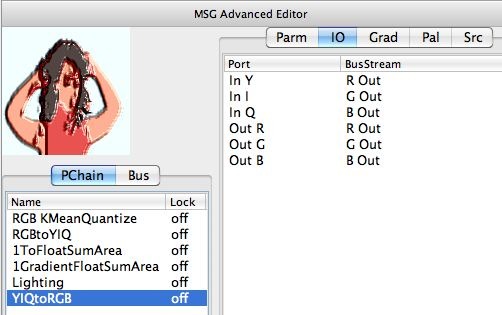
The image gallery below shows the IO connections for the various processors that make up the effect shown above.
There are 2 different effect components to the over all MSG based effect. The first RGB KMeanQuantize processor is processing the input source to the MSG preset and converting it into a flat color representation. The rest of the processors in the processor chain editor are generating a resolution independent gradient lighting effect.
The gradient lighting effect works by first converting the color image from RGB colorspace to YIQ color space. We do this so that image stream R Out represents the flat color image luminance channel (the Y channel in YIQ colorspace).
We wanted the lighting effect to be resolution independent. So we want to use FSA based gradient processor (the 1GradientFloatSumArea processor). FSA stands for float sum area. It’s basically a mathematical shortcut for building resolution independent blur or gradient style effects. To use these kinds of FSA effects we first convert an image stream into a floating point FSA stream (the 1toFloatSumArea processor). The 1GradientFloatSumArea processor converts the floating point FSA stream back into a gradient image stream. The lighting processor then uses that gradient image stream and the original luminance stream to add a specular lighting effect. The lighting effect is placed in the R Out stream (our luminance stream in YIQ colorspace). We then convert the color image from YIQ colorspace back to RGB colorspace.
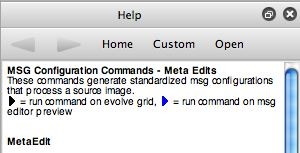
I could have built the entire MSG preset from scratch by dragging the appropriate processors from the Source library (Src tab) on the right side of the MSG Advanced Editor over to the processor chain editor on the left side of that palette. I did this for the first RGB KMeanQuantize processor. I then used MSG MetaEdit help commands to add the gradient lighting effect with a single MSG meta-edit command link.
There’s a specific metaedit command link that will add a 3D lighting effect to the end of an existing MSG processor chain when you press the associated help command link. We discussed MSG Help commands in a previous post, and again here.

