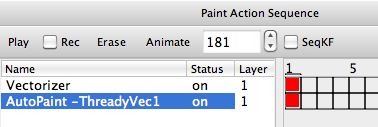
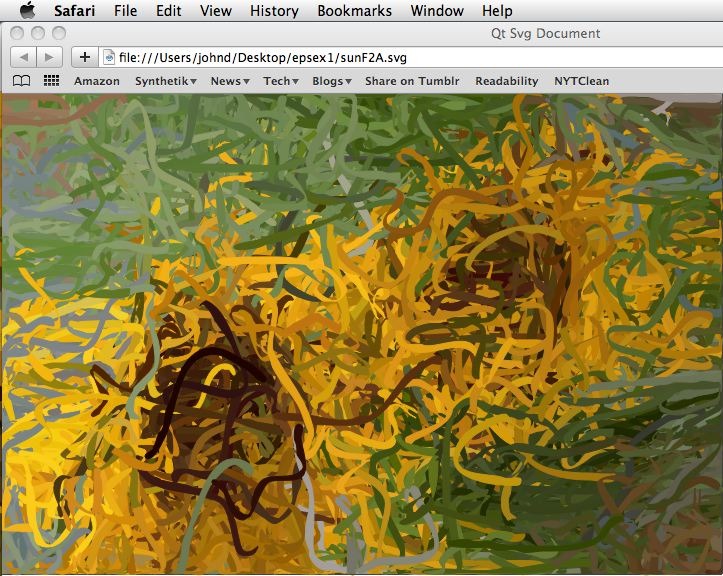
Today’s post continues our series devoted to examining how to use Studio Artist to output resolution-independent vector effects as EPS or SVG vector files. Yesterday we discussed how to work with the vectorizer to output vector files. Today we’ll take a look at how to record vector paint presets in a paint action sequence (PASeq) and then use the PASeq playback to stream vector painting directly from the paint synthesizer to a vector file.
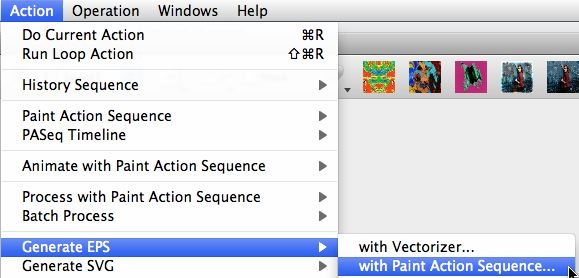
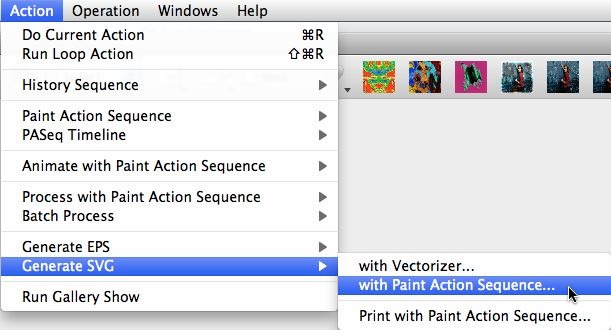
Yesterday’s post spent a lot of time explaining the historical development of vector effects and vector file output, and how generating vector file output I somewhat different than the normal approach to generating raster based digital imaging or digital paint effects in the raster-based Studio Artist canvas. Outputting vector files requires using a specific vector output Action command that plays back a PASeq and steams vector output in real time while the PASeq is doing vector drawing or generating vector effects.
Vectorizer effects can either be output directly as vector files (like we did yesterday), or can be recorded in a PASeq that can then be used to later output a vector file. The paint synthesizer can also generate vector output, assuming you have configured it for one of several possible approaches to vector drawing. By working with a PASeq you can combine different action steps that generate vector output together to build more elaborate vector output effects.
The original paint synthesizer design was oriented at building vector paths that were then painted in using raster paint nibs. So direct vector output was kind of grafted onto the paint synthesizer later in it’s development, as opposed to something that was designed as a Studio Artist feature during it’s beginning design and development. Not all paint synthesizer features are available when working with direct vector painting, and the look of a vector paint preset is not going to be as organic or texturally sophisticated as what can be achieved with the normal paint synthesizer raster paint output features, so you have to live with those limitations if you want to use the paint synthesizer to generate vector file output.
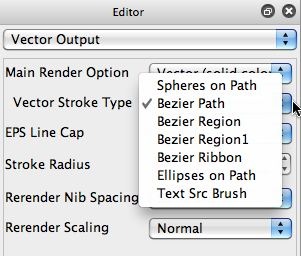
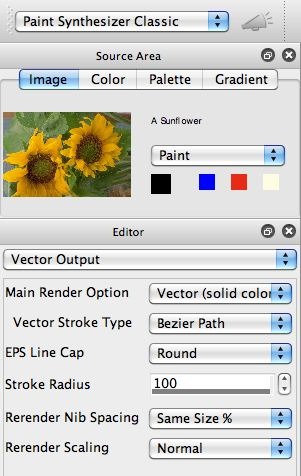
There are 2 main approaches you can use to generate vector painting in the paint synthesizer. Today we’ll be looking at the original vector drawing option added to the paint synthesizer (via the Main Render Option parameter in the Vector Output control panel). Tomorrow we’ll look at some additional approaches to building paint presets with direct vector drawing and vector file output capabilities.
Historically EPS vector output was added to the paint synthesizer when the Vectorizer was originally first added to the program. The adjustable parameters in the Vector Output control panel determined what the paint synthesizer would do if outputting eps file output, but what you saw draw on the screen was still the original raster based paint model associated with the original paint synthesizer design. You had the option of configuring your raster paint to emulate the flat color look of the vector paint output, or you could actually vectorize individual raster paint strokes one by one as they were painted to generate vector file output.
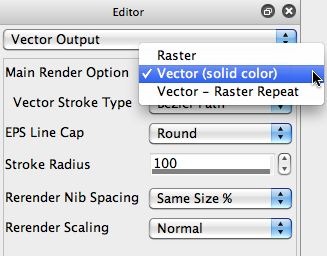
Later, we added the Main Render Option parameter as a new feature to the Vector Output control panel. The Main Render Option lets you choose between the Raster option (the original paint synthesizer drawing mode), the Vector (solid color) option (true vector drawing that overrides much of the original paint synthesizer drawing engine), and the Vector-raster Repeat option that lets you build hybrid vector-raster paint styles (combining initial vector painting with a secondary raster paint overlay, which allows you do add things like wet paint effects to vector painting).
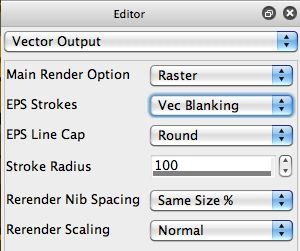
The first gallery image below shows the normal Raster setting for the Main Render Option. Painting occurs using the normal paint synthesizer raster paint engine. But if you are outputting a vector file then the EPS Strokes paramter determines how vector paint strokes are derived from the raster paint strokes being drawn into the canvas.
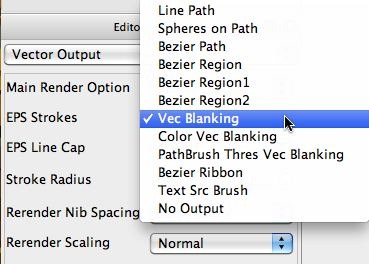
The 2nd gallery image below shows off the different EPS Strokes options available. The Vec Blanking one active actually uses the vectorizer to vectorize each individual paint path when it is drawn as a vector region and then output the color filled vector paint stroke region out to a vector file. Other settings assume the paint path is rendered with vector spheres, or as a bezier path or bezier region, etc. Again, none of the EPS Strokes options determines what you see drawn on the screen, just what gets drawn into a vector file if you are using the paint preset recorded in a PASeq to output to a vector file using one of the vector output Action menu commands.

