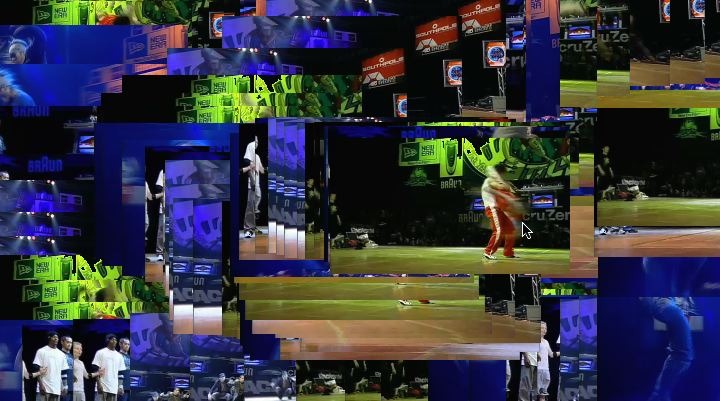
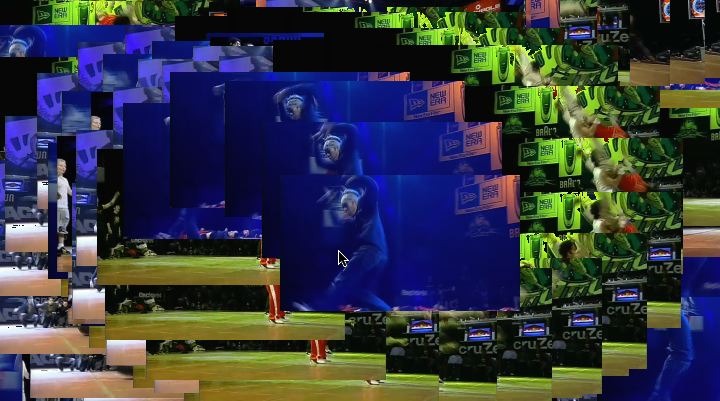
The 2 canvas images shown here were generated by painting with a movie brush. The second example was using manual painting that cycles through the individual frames in the movie source brush, placing them one by one along a manually paint path as you move the pen on the canvas. The first example was generated by running an auto-paint preset that allows you to use a hovering Wacom pen positioning to determine the position of the movie as it plays live.
So you can position a live playing movie paint nib (or other kind of paint effect) that paints continuously in a static canvas location you have control over specifying. In a later post we’ll discuss how to extend this idea to multiple paint start locations that continuously spew paint that can be interactively positioned using a hovering Wacom pen.
We’ve discussed working with movie brushes on this blog before, typically in the context of building photo mosaic effects, or building dynamic brush shapes where the shape variations are stored as individual frames in a movie file. But some of the new features available in Studio Artist have allowed for users more interested in live interactive visual performance to expand their notion of what digital painting means.
We’re going to try to dive into exploring some of these new approaches in the next few blog posts. To start off, I thought we’d start with something simple. Building a paint preset that will dynamically play back a live movie loop in a paint nib you can dynamically reposition on the canvas as the movie continues to playback live.
To do this we will use a cool and underutilized feature of a Wacom tablet, called pen proximity. Wacom tablets have the ability to sense when a pen tool is in proximity. Being in proximity means that the pen is hovering close to the tablet surface without yet touching it. If you don’t have a Wacom tablet, then most of today’s discussion is going to be somewhat academic, since it depends on using pen proximity to really work properly.
Building a Simple Movie Brush Paint Preset
To build my movie brush paint preset, I started off by running the Reinitialize paint Synthesizer Macro Edit command (as shown below). This macro editor command resets the paint synthesizer editable parameters to simple default settings.
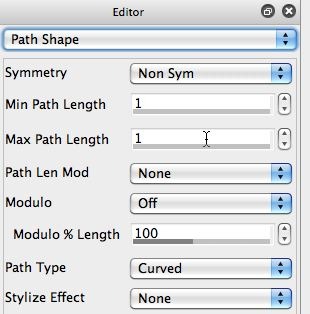
I then set the Max Path Length parameter in the Path Shape control panel to 1, so that each paint path would be composed of a single paint nib.
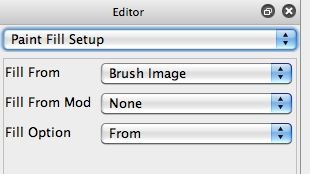
I then went to the Paint Fill Setup control panel and setup a very simple set of control settings. I set the Fill From parameter to the Brush Image. And I set the Fill Option parameter to From, so that only the Fill From source was used to build the paint nib. So the paint nib will be generated from the movie source brush only.
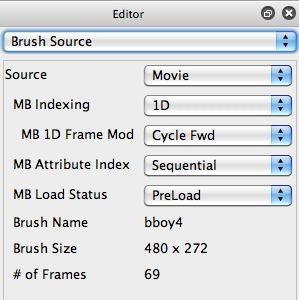
I then ran the File : Paint Synthesizer : New Movie Brush menu command to load a movie file as a movie source brush. I picked a small 69 frame break dancing bboy dance movie to use as my movie loop. Note in the Brush Source control panel shown above that i’m using a 1D option for the Movie Brush Indexing (MB Indexing), and the Frame Modulation (MB 1D Frame Mod) is set to Cycle Forward. So when used for drawing, the movie brush will just cycle forward frame by frame, looping back to the beginning after to runs through it’s 69 individual frames.
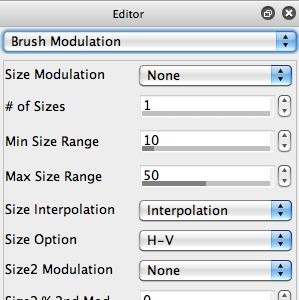
The original frame size of the movie brush is 480×272 pixels, so I set the Max Size Range parameter in the Brush Modulation control panel to 50% to reduce the brush size down to 240×136 for the size of my paint nibs used for drawing.
The canvas image below shows what happens if I hand draw a paint path moving diagonally from the top left downwards to the right. Note that a series of individual paint nibs that are composed of 50% size reduced sequential movie frames from the movie source brush are overlaid on top of each other as my manual path path progresses.
The spacing of the paint nibs is determined by the settings in the Path Application control panel. Increasing the Spacing control there would increase the spacing between the individual paint nibs placed on the manually drawn paint path. If you observe the drawing closely, you will see that the movie frames are advancing one by one as the different rectangular paint nibs are drawn along the manually drawn path.
Dynamically Controlling the Position of a Live Playing Movie Brush
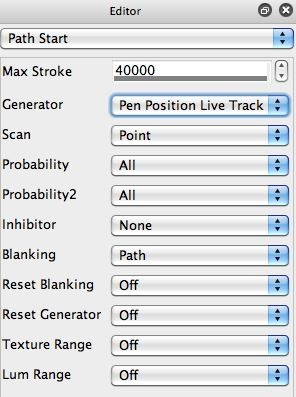
As we mentioned at the beginning of this post, one interesting thing you can do in Studio Artist is setup a free-running movie brush that can be dynamically positioned on the paint canvas in real time as the movie plays in a live loop in real time as well. The trick to doing this is to use a special Path Start control panel Generator parameter option that tracks the Wacom pen position. This Generator setting is shown below and is called Pen Position Live Track.

