The following is a photo mosaic image created using a movie brush in the paint synthesizer. In a previous post here we described how to build a black and white pantograph effect. This post will discuss how to fill the white interior cells of a black and white pantograph image with photo mosaic blocks. This effect creates a nice organic tiling effect, where the tiles ebb and flow with the source features of the image as opposed to being laid out in a regular grid.
The effect shown below requires a 2-dimensional black and white grid to be defined by the pantograph effect. There are several of these available in the Pantograph Etching PASeq preset category. All of these PASeq presets require 2 layers. I picked the SimpleLumPanto1C PASeq preset to work with, as shown below.
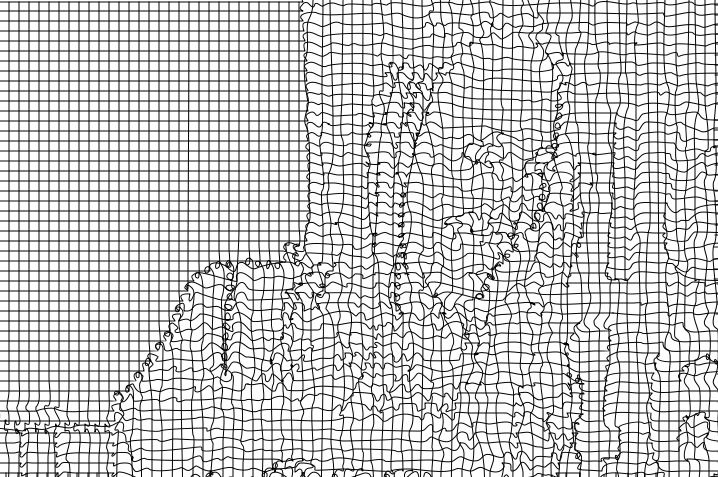
As mentioned before, these PASeq presets require 2 layers to work properly. A smoothed black and white relief image is built in layer 1. Layer 2 is then set to white, and then 2 passes of an AutoPaint preset are used to paint a series of relief modulated horizontal and vertical black lines on the white background. So you end up with a relief modulated black grid pattern painted on top of a white canvas.
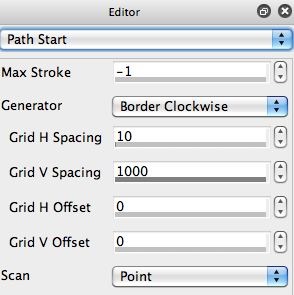
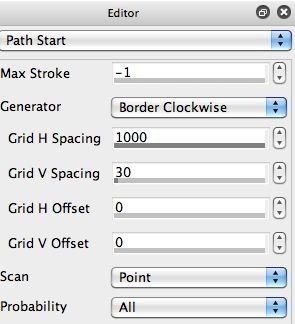
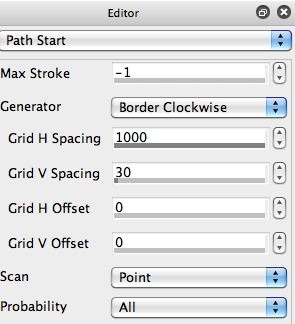
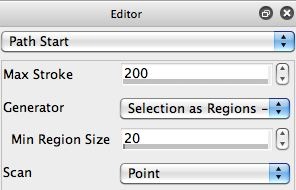
The 2nd gallery image shows how the Path Start Generator is setup to generate a series of horizontal lines that scan completely across the canvas. You would reverse the horizontal and vertical grid spacing to generate the second perpendicular line scan that works with the first to build the modulated grid patterning. The large scan spacing needs to be bigger than the dimension of the overall canvas in order for this trick to work.
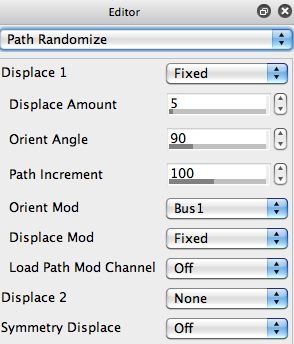
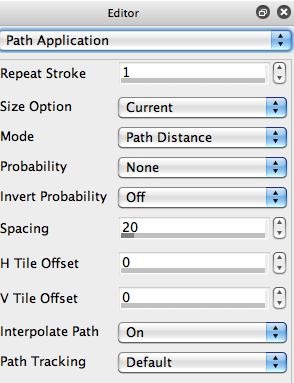
The 3rd gallery image above shows how Bus1 modulator is being used to modulate the orientation displacement of the path randomization offset. The 4th gallery image shows that the Bus1 modulator is set to layer 1, which is the hidden layer where the relief image is being build up. The 5th gallery image shows that the Interpolate Path control in the Path Application control panel is turned on so that a continuous path is drawn. Otherwise the path randomization processing would generate discontinuities in the randomized path, and we want the displaced path to be smooth and continuous as it draws across the entire canvas axis.
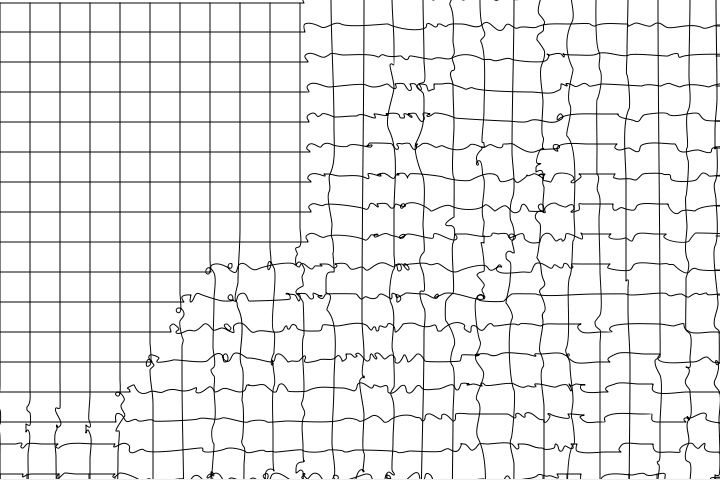
The 6th gallery image above shows the finished pantograph effect. Here’s a link to the wikipedia entry that describes a pantograph if you are curious about the ancient drawing device we are trying to simulate in this PASeq preset. The spacing of the grid generated by the original PASeq preset is a little too small for optimal use in building a photo mosaic effect based on the relief modulated grid. To increase the size of the grid, we need to adjust the Path Start control panel Grid Spacing, as shown in the first gallery image below. Note that only the smaller of the 2 Grid directions is increased, since the longer spacing is designed to force the rest of the border scan to take place off canvas. This is an edit of the first AutoPaint action step in the PASeq.


