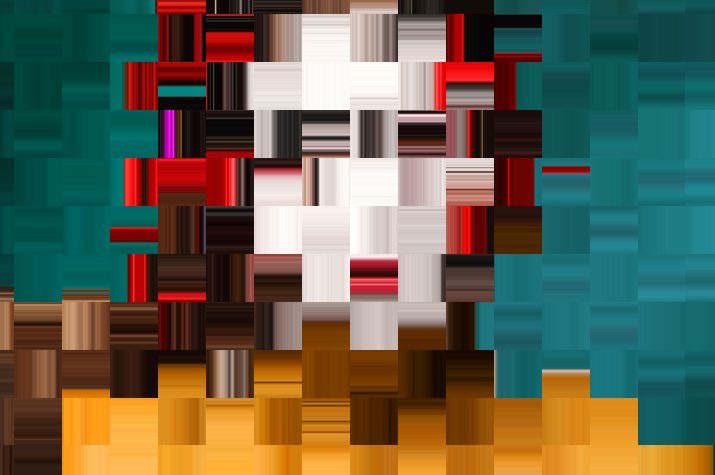
The following image was generated using a new feature in the Image Processing Brush Load section of the paint synthesizer. The block patterns were generated by pixel smearing the source image as opposed to using a movie brush filled with horizontal and vertical textures. This post will show you how to use the new pixel smear features.
The screen snaps in the gallery below show some key control panel settings to build the pixel smear effect shown above.
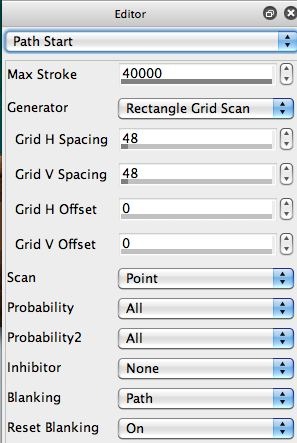
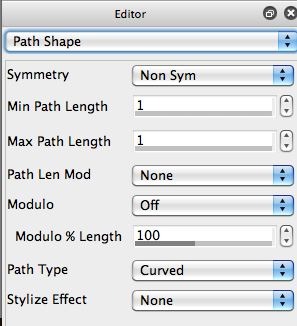
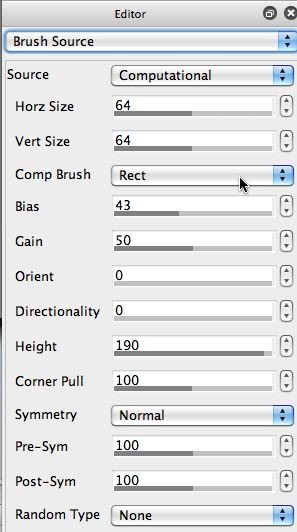
The first gallery image is the Path Start control panel. Note that a Rectangular Grid Scan is used with a horizontal and vertical spacing of 48 pixels. The second gallery image shows the Path Shape control panel. Note that a path length of 1 is specified. So at each start point we paint a single brush nib. The third gallery image shows that our source brush is a square rectangle (so a square nib of paint will be applied at each path start grid point).
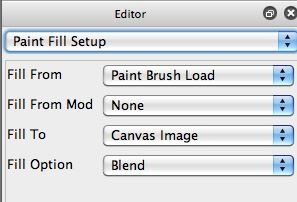
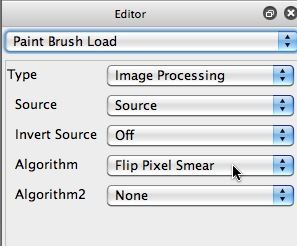
The 4th gallery image shows the Paint Fill Setup control panel. Note that the interior of the source brush will be filled from the Patin Brush Load module. The 5th gallery image shows the Paint Brush Load control panel. The Type is set to Image Processing. The source image is used as the Source for the image processing brush load, and the Flip Pixel Smear option is used for the Algorithm parameter. There are currently 3 different Pixel Smear algorithm options available, a horizontal smear, a vertical smear, and a flip smear. The flip smear alternates between horizontal and vertical smears.
You aren’t restricted to regular grid scans. The example below shows a similar effect modified so that an Adaptive Block Regionize path start Generator was used instead of a regular grid scan. I had to switch to a Path Start Regionize Path Type with an Outline Region Pattern type, and Region Fill as Brush Pen Mode to do the block fills for this new effect.



1 Comment