This post will discuss how to use multiple applications of the Vectorizer outline technique to build a different kind of stylized abstraction effect. We’ll be using the Fixed Contour Outline Type, but you could use a similar approach with any of the Outline Type options.
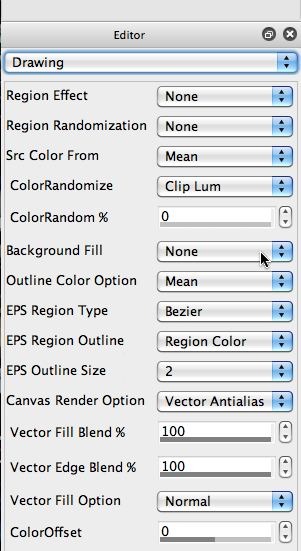
I’m using the Vector Antialias option for the Canvas Render Option to generate smooth vectorizer shapes for this effect. I also want to make sure the Background Fill is set to None (as shown in the first gallery image below), so that the vector outlines are drawn without erasing the rest of the canvas.
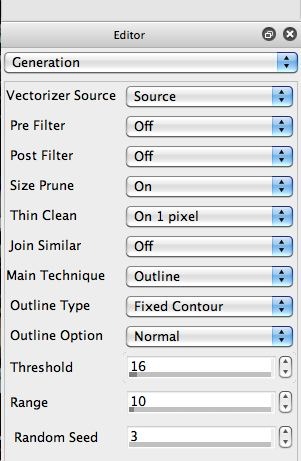
The idea behind this effect is that I will first erase the canvas to a solid color (white in this example), and then use the vectorizer Outline technique multiple times with different settings to build up the final effect. As seen in the second gallery image i’m using the Fixed Contour option for the Outline Type. I will be varying the Threshold setting for each of the multiple applications of the vectorizer outline technique.
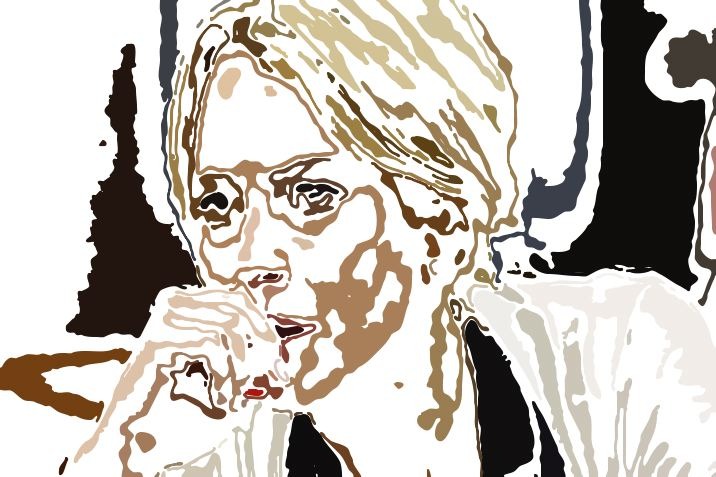
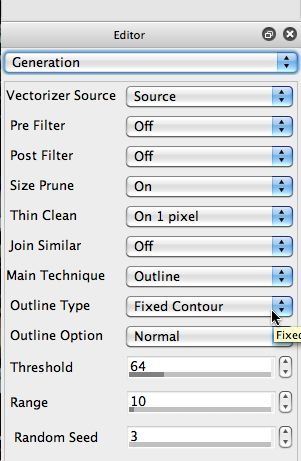
I used 5 different Vectorizer action steps in my PASeq for this effect (4th gallery image above). The Threshold option was adjusted from 16 to 64 to 127 to 296 to 240 for the 5 different vectorizer action steps. All of the other vectorizer settings were identical for the 5 action steps.
What the effect is doing is sweeping the fixed contour through the tone range. By adjusting the number of vectorizer steps in the overall sweep, as well as the Range setting, you can generate a wide variety of different effects. You can also try other Outline Types, or do things like add Region Effects to modify or distort the stacked outline passes. You can also work with different Outline Color Options to change the look of the end resulting stacked effect.
This is a fun approach to building a whole set of interesting effects, so have fun trying it out.


