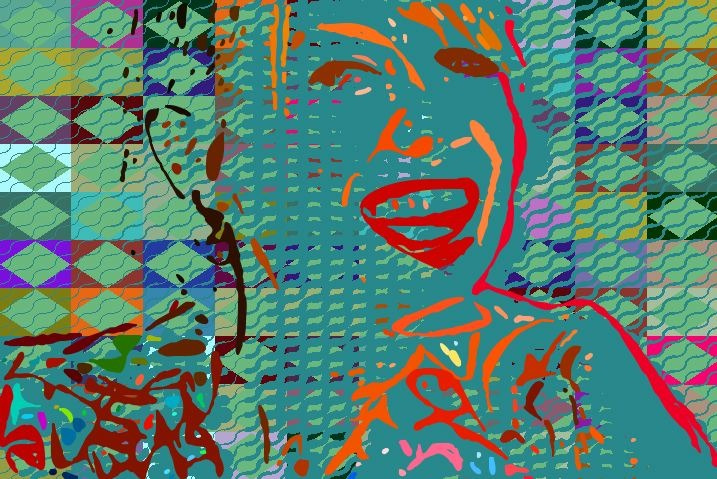
This post will delve into the 2 steps used to build the following stylistic effect. The image was generated by a combination of a custom MSG preset and the Vectorizer.
The 2 step paint action sequence (PASeq) below was used to create the effect shown at the top of the post.
The MSG action step builds the background styling. A Vectorizer action step using the Outline technique was then used to overlay a stylized color outline on top of the abstracted MSG background.
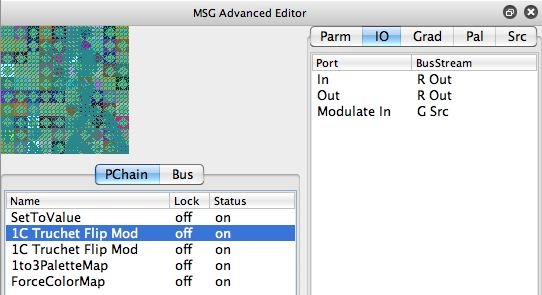
The screen shot below of the MSG Advanced Editor shows the set of individual MSG processors used to build the stylized background image.
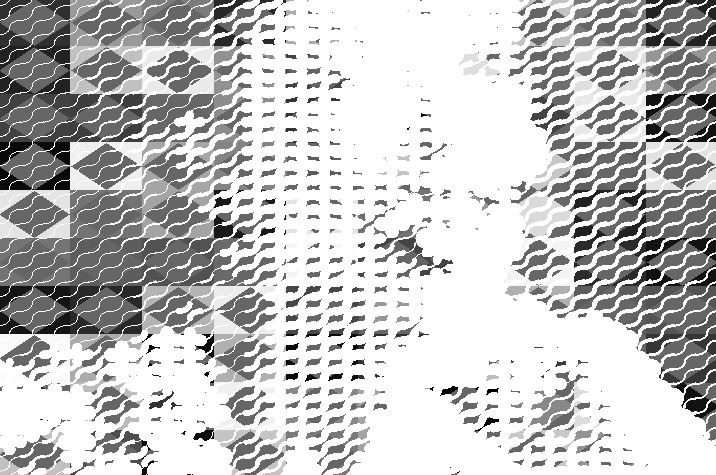
Two 1 channel 1C_Truchet_Flip_Mod processors are used to generate the abstracted patterning. The Truchet patterning is used to screen the source image green channel, which is a crude approximation of the source luminance image. If you look at the IO (input-output) connections for the 1C_Truchet_Flip_Mod processor in the screenshot above you can see that the GSrc image streeam is used as the modulator. The output patterning is overlaid into the ROut image stream.
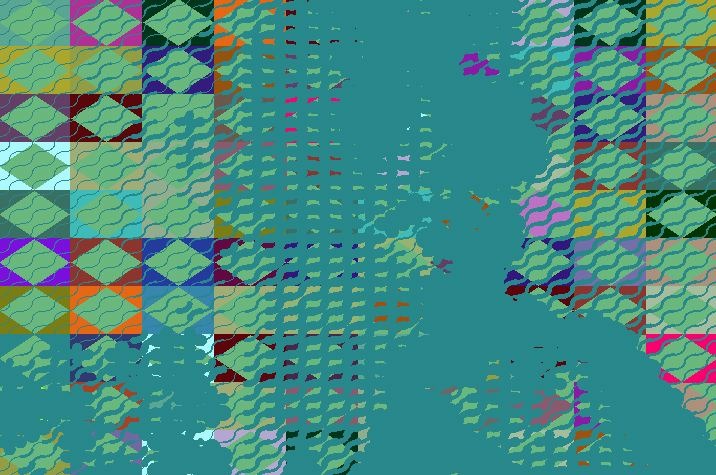
The 1 channel black and white Truchet screened output in the ROut image stream is then converted to a color image using the 1to3PaletteMap processor. A ForceColorMap processor is then used to introduce an additional palette based color mapping that generates the final abstracted pattern coloring.
The image gallery below shows the output of the 5 individual MSG processors in order from top to bottom in the processor chain editor, which should give you a sense of how the final effect is built by each of the individual processors.
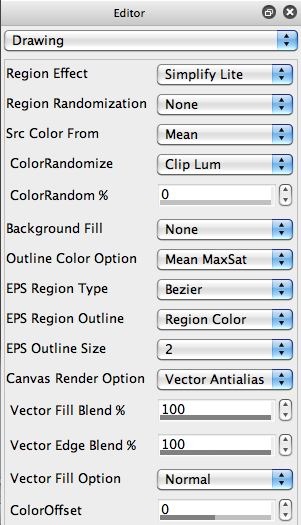
The stylized high saturation colored source overlay was generated using the Vectorizer. The Outline Technique was used, along with a Simplify Lite Region Effect. The 2 screen shots below show the Vectorizer setting used to generate the source overlay.
The Mean MaxSat option for the Outline Color Option in the Vectorizer Drawing control panel is what generates the high saturation coloring. Note that the Background Fill parameter is set to the None option, which is why the outline effect overlays without filling the entire existing draw canvas.







Thanks again for another great tutorial John, now have a deeper understanding of the MSG Advanced Editor. Not able to reproduce what you had but came close.
There’s a number of different MSG tips on the Studio artist Tips Sitehttps://synthetik.com/tips/wordpress/tag/msg/They cover working with the MSG Advanced Editor, editing IO (input-output) stream, etc.When i generate the images that show the output of the individual MSG processors, i need to do some temporary editing of the processor list by turning off the processors that come after the one being looked at, and possibly adding a 1to3 processors to route a single output channel to a 3 color black and white image. I’d like to add something in the future that lets you do this kind of examination as a preview feature based on the current selected processor, since i think it would help with hand editing by letting people better visualize what is going on in each individual processor in the chain.