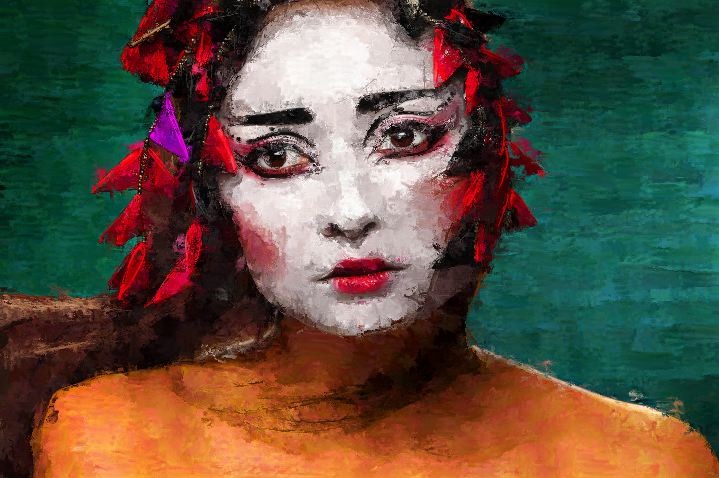
Today’s post will describe an approach you can take to tighten up a paint preset. By tighten, we mean make it generate a more realistic representation of the source image, as opposed to generating a loose abstracted painting style.
Different artists have different artistic goals. Some people are interested in generating very loose or abstract digital paintings. Others want to generate something that very closely tracks their source image. So that the resulting finished painting is very representational.
There are some different approaches you can use when starting with a given paint preset to edit it and make it generate a tighter rendition of the source image. One thing that works really well for raster paint presets is to automask the individual paint nibs so that they don’t overdraw source edges.
Working with auto-masking for paint nibs is initially a little obscure if you do it by manual editing in the paint synthesizer (although once you understand how it works it’s pretty straightforward to do this edit). Fortunately, you can use the Paint Synthesizer Macro Edit help commands to automatically turn on or off auto-masking for any raster paint preset.
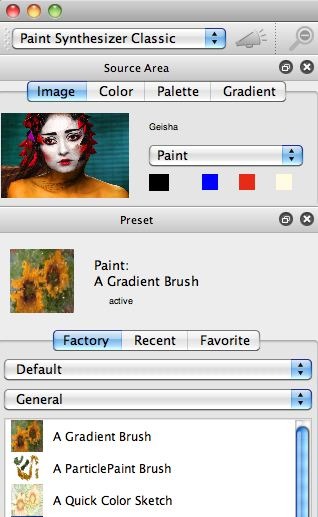
I started off with a factory paint preset called A Gradient Brush from the Default : General category.
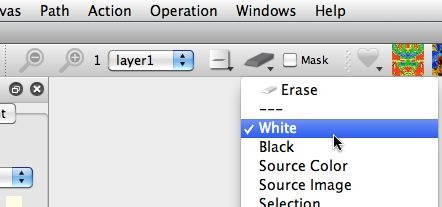
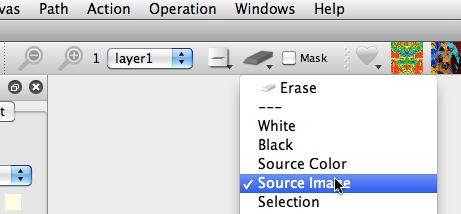
I first erased the canvas to white by clicking down on the eraser icon in the main operation toolbar, waited a few seconds with the mouse button held down to active the ‘erase to‘ popup menu options, and then selected White as my ‘erase to‘ option. Note that if I had previously erased to white, I could just click on the eraser button, since the eraser remembers your last ‘erase to’ option.
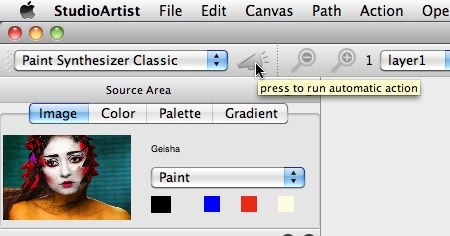
I then pressed the Action button to begin auto-painting with the A Gradient Brush paint preset. I let the auto-painting run for a few seconds until the canvas filled in with paint, and then pressed the spacebar key to stop auto-painting.
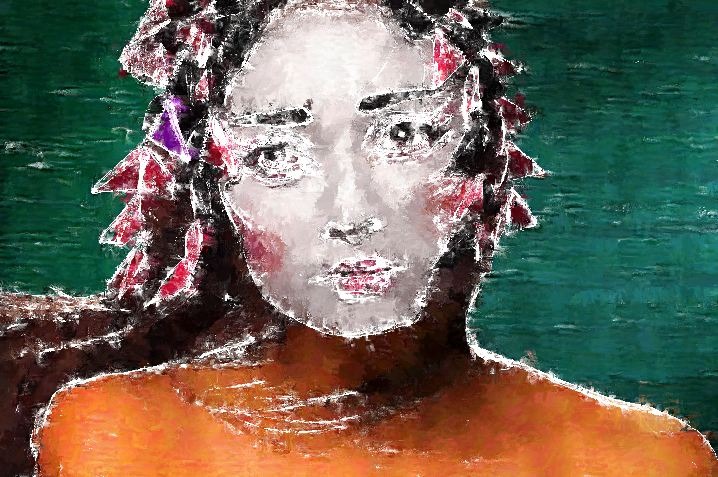
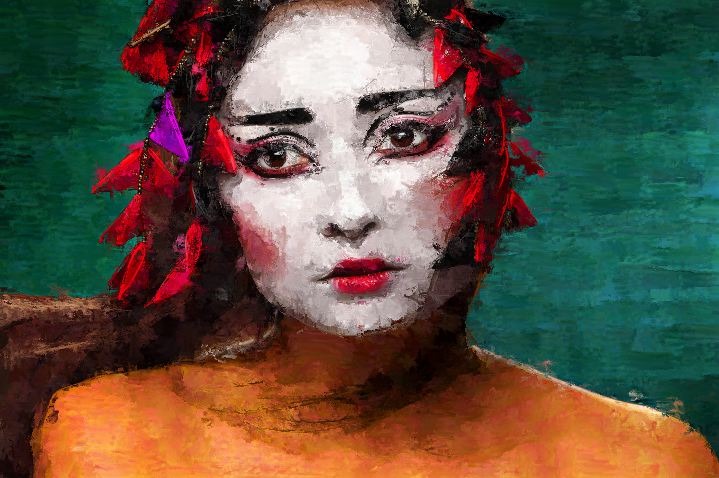
My painted canvas following the steps outlined above can be seen in the 4th gallery image above. Note that it’s a loose painted rendition of the source image.
Tightening Up the Paint Preset
To tighten up this paint preset, I used a Paint Synthesizer MacroEdit command. MacroEdit commands are high level ‘push button’ editing commands you can run to change the behavior of paint presets. You can access them in the integrated Help Browser. If the Help Browser is not currently actively displayed in the Studio Artist workspace, you can open it by using the Windows : Help menu command.
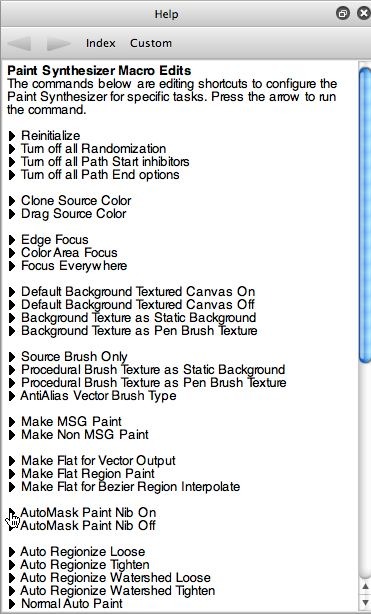
I started by going to the home (or index) page in the Help Browser (1st gallery image below). I then clicked on the PaintSynth MacroEdits link. That took me to the Paint Synthesizer Macro Edits help page (2nd gallery image below).
The Paint Synthesizer MacroEdit help page contains a series of active command links, each of which edits the current paint synthesizer settings in some specified way. The particular MacroEdit command I was interested in is called AutoMask Paint Nib On. To run this command, you click the mouse on the little triangle button located to the left of the text description for the command.
Running the AutoMask Paint Nib On macroedit command turns on an auto-masking feature within the paint synthesizer. What auto-masking does is look at the source image when each individual paint nib is being painted, and it auto-masks the paint nib if necessary before placing it in the canvas to insure that the paint nib never overdraws a source image edge feature.
Automasking paint nibs works very well to tighten up any raster paint preset. The effect for the A Gradient Brush paint preset can be seen in the 3rd gallery image above. Note that the source image is much more recognizable in this second painting, due to the auto-masking, which makes the paint effect much tighter.
However, since I first erased the canvas to white, there is some of that white background showing through at the source image edge locations. Any easy way to get rid of this white edge haloing is to first setup the canvas to something other than solid white that better represents the source image.
One approach would be to paint in the canvas without the auto-masking, and then paint on top of that with the masked paint preset. Another approach is to erase the canvas to the source image, and then over paint on top of that. A third approach would be to use an image operation effect like Color Simplify to set the canvas to a simplified color region rendition, and then overpaint on top of that.
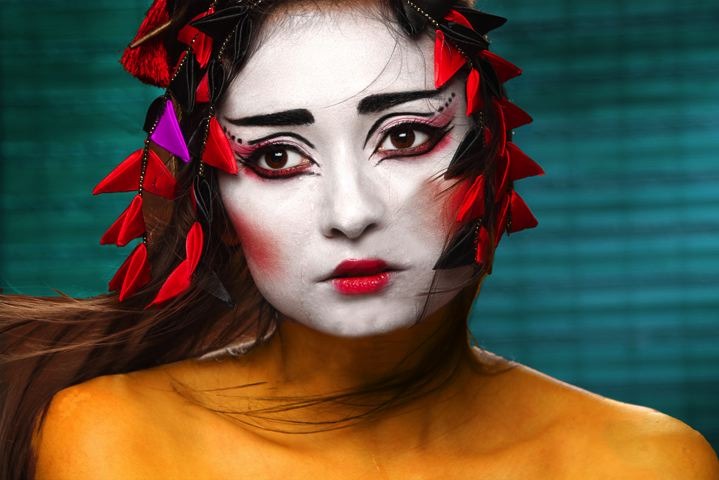
I decided to erase the canvas to the source image, and then overdraw on top of that, since it’s fast and easy. I clicked down on the eraser icon, waited a few seconds for the ‘erase to‘ popup options to come up, and then selected the Source Image ‘erase to‘ option (4th gallery image above). This erases the canvas to the source image (5th gallery image above).
I then pressed the Action button and let my edited paint preset run for a few seconds to fill in the canvas with my tightened up paint preset. The end result is shown in the 6th gallery image above. Note that I have a nice tight painted rendition of the source image that is very realistic in it’s appearance. And the white edge halo effect you get if you paint with this preset on a white backing canvas is now gone.
Under the Hood
Paint Synthesizer presets are built and edited using the Editor palette when in paint synthesizer classic operation mode. There are a number of different individual control panels (accessible via the popup menu located at the top of the Editor). These control panels let you individually edit the 500 different adjustable parameters that make up a paint preset.
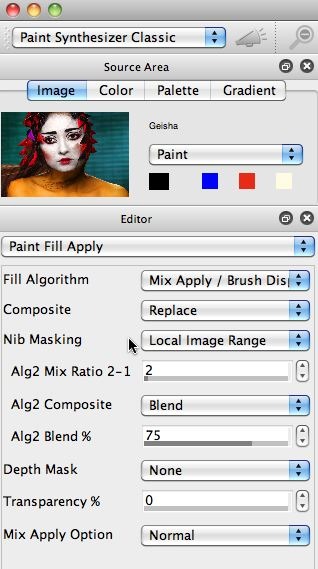
The AutoMask Paint Nib On macroedit command performs a specific edit on an editable parameter called Nib Masking located in the Paint Fill Apply control panel in the paint synthesizer Editor.
The first gallery image above shows the Paint Fill Apply control panel settings for our initial A Gradient Brush paint preset. Note that the Nib Masking parameter is set to Normal (which means no nib masking is taking place).
You can think of a paint nib as the dab of digital paint that is applied to the digital paint brush by the paint synthesizer, and then placed on to the canvas when painting.
The 2nd gallery image above shows the Paint Fill Apply control panel settings after running the AutoMask Paint Nib On macroedit command. Note that the Nib Masking parameter has now been changed to use the Local Image Range option. This editing change is what turned on the auto-masking feature discussed above that leads to a tighter paint effect.
So MacroEdit commands are just a high level way to edit one or more paint synthesizer Editor parameters at the push of a button. As opposed to having to jump into the paint synthesizer, go to the appropriate control panels, and manually edit the individual parameters. You could do the desired edit manually, but it’s typically quicker to just press the MacroEdit command button. And you can use MacroEdit commands at the level of working with pre-built factory paint presets without having to understand anything about how the paint synthesizer works under the hood in the Editor.
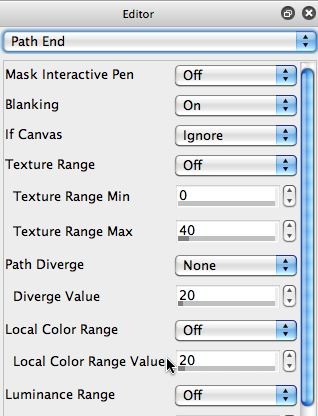
The local image range can be edited. It’s controlled by the Local Color Range Value in the Path End control panel (3rd gallery image above). Making the Local Color Range Value larger will reduce the amount of auto-masking, slowly loosing up the painted image rendition generated by the associated paint preset.
The discussion above applies to raster paint preset. The paint synthesizer is also capable to painting with vector paint preset. AutoMasking paint nibs currently does not work with vector paint presets, because they draw in a different way. Depending on what kind of vector paint preset you are working with, there are some things you can do to tighten them up as well.

