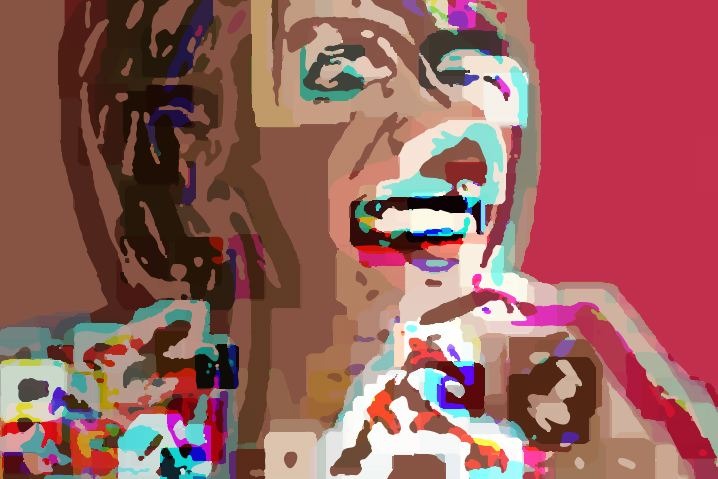
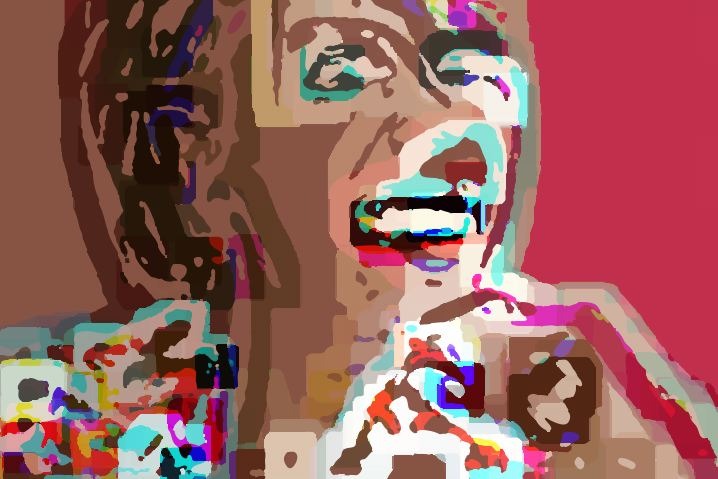
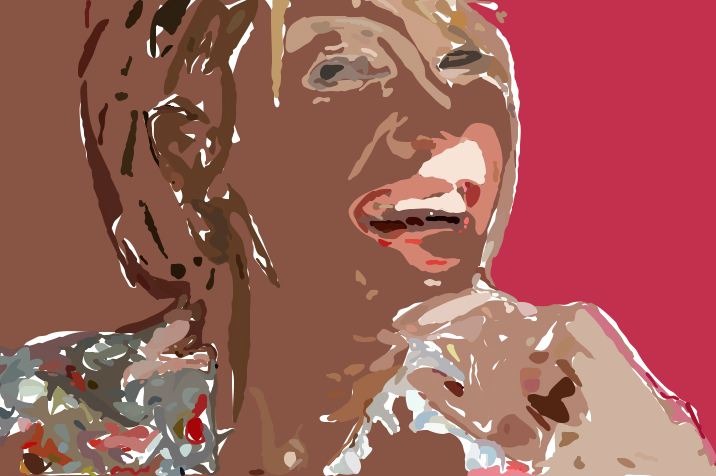
The following image is a fun abstraction effect you can create that utilizes the vectorizer and an image operation effect working in conjunction with one another to create the final abstraction. In this post we’ll take a look at how this effect was generated with a 4 step paint action sequence (PASeq) And we’ll discuss 2 different vectorizer processing tricks I used to help create the effect.
The PASeq used to create the effected image above is shown below.
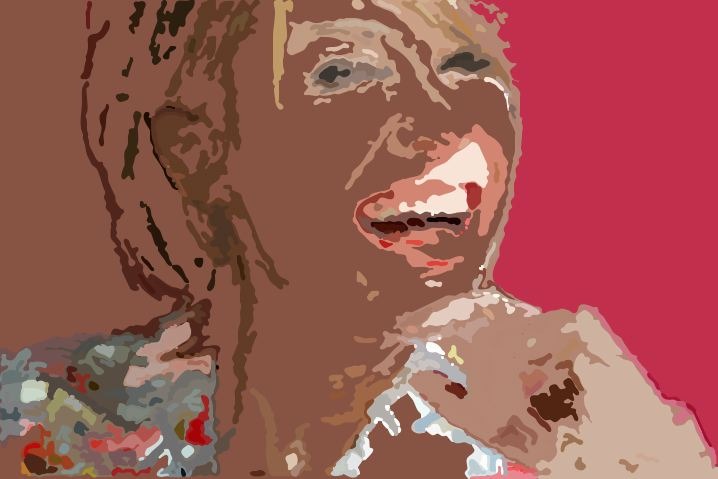
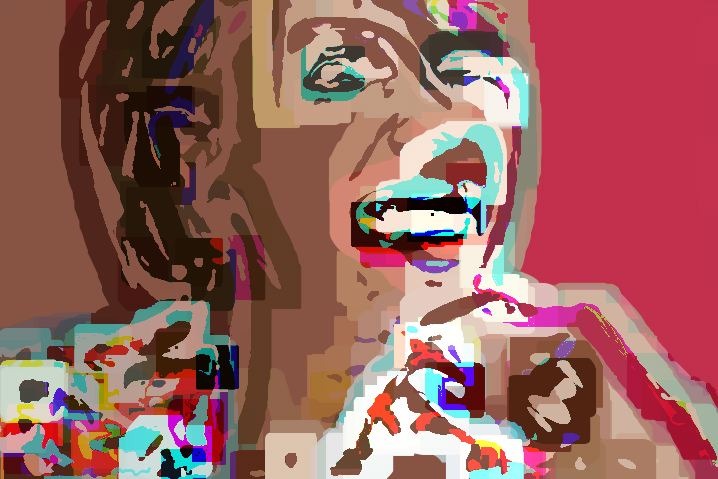
The gallery below shows the individual steps used to create the effect. They correspond in order to the canvas output for the 4 steps in the PASeq.
The first Vectorizer action step is really there just to provide a background that totally fills the canvas. The second Vectorizer step generates the initial region effected style we want. The second Vectorizer action step is using a Region Effect set to Simplify Lite and a Background Fill set to None. The Simplfy Lite setting leads to stylized vector regions that don’t totally fill the entire canvas. Since we initially used a non-region effected vectorizer preset to completely cover the canvas,that intial vectorizer effect will show through the holes in the second vectorizer output. The second image in the gallery below shows what would happen if we used a white canvas and just applied the second vectorizer action step.
So initially setting the canvas to a non stylized vector preset prior to running a stylized vector preset is a way to fill any coverage holes the stylized vector preset creates with coloring. This is the first of the 2 vectorizer ‘tricks’ covered in this effect example.
The Rank Area Filter image operation effect used in PASeq action step # 3 introduces the serious abstraction of the initial stylized vector regions. We used the MinMax Max Distance setting for the Algorithm parameter to get this particular kind of region abstraction.
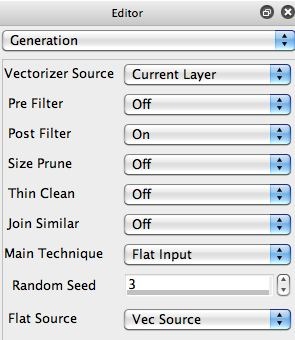
Since this ip op is a raster effect, we have gone from vector output to a raster effect. However, this particular raster effect leads to a series of solid color regions. Because of this, we can use the Vectorizer as a final step to take the solid color raster regions and convert them back to a vector representation. To do this we can use the Flat Input setting for the vectorizer Technique parameter.
This Flat Input Technique assumes your input to the vectorizer is already composed of flat colored regions. So the flat color regions are converted to vector regions with no additional processing. Most vectorizer techniques and their associated settings assume the input is a continuous tone image and process it accordingly to convert it into flat color regions.
Using the vectorizer flat input technique to convert the output of an image processing effect into a vector effect is the second ‘trick’ covered in this post. Again, your image processing effect needs to be one that generates solid color regions, so this trick will not work with any arbitrary image operation. But there are a large number of image processing effects you can generate in Studio Artist that do generate solid color regions, and using this second technique provides a way to convert them into vector output effects.
Vector output is nice because you can scale the resulting file to any arbitrary resolution for printing. Studio Artist supports eps, pdf, and svg vector output from the Vectorizer.

