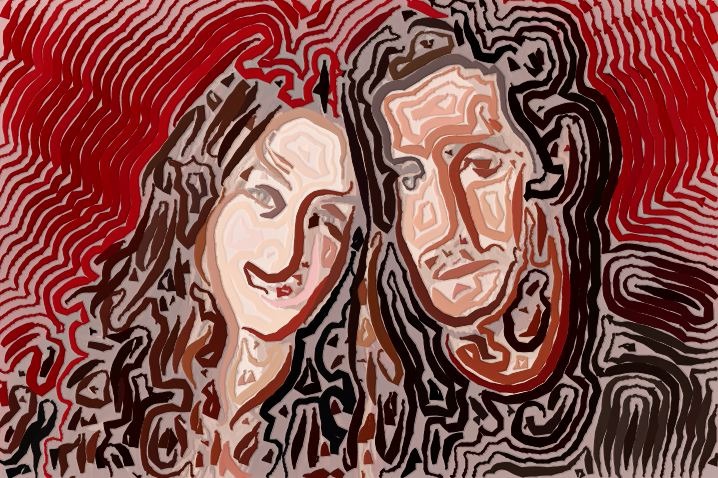
There are lots of different approaches you can take in Studio Artist to simulating different traditional woodblock print effects. The example shown above uses a series of path menu commands to build a stylized set of bezier paths that are then painted in with a paint synthesizer vector paint preset. This post will discuss in detail how the effect was put together.
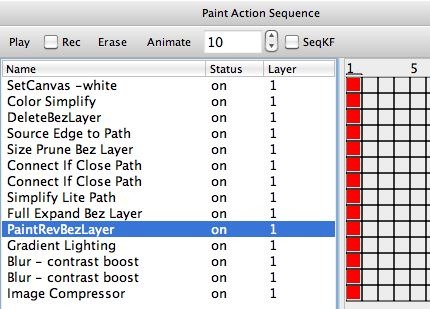
The paint action sequence (PASeq) below was used to build the color woodblock print effect shown above. I wanted to simulate a line patterning that spread out from the edge structure of the source image for the effect. And I wanted to have a loose stylized look rather than a really tight representation of the source image. To do this I used a series of different path menu commands executed in sequence to build the stylized bezier paths that represent the wood cut lines.
The first 2 action steps erase the canvas to white, and then mix in a flat color cartoon styling generated by the Color Simplify image operation. I used a Mix of 50% so that the solid color region backing was washed out and lighter than the original source image coloring. I could have just used a solid color backing as an alternative.
I then started my series of recorded path menu commands to build the bezier paths that would then be painted in to generate the woodcut paint look.
Each Studio Artist layer has an associated bezier path frame that can store a set of bezier paths. Under the main Path menu are a number of different menu commands that can be used to generate paths or modify the existing paths in the current layer’s bezier path frame in some way.
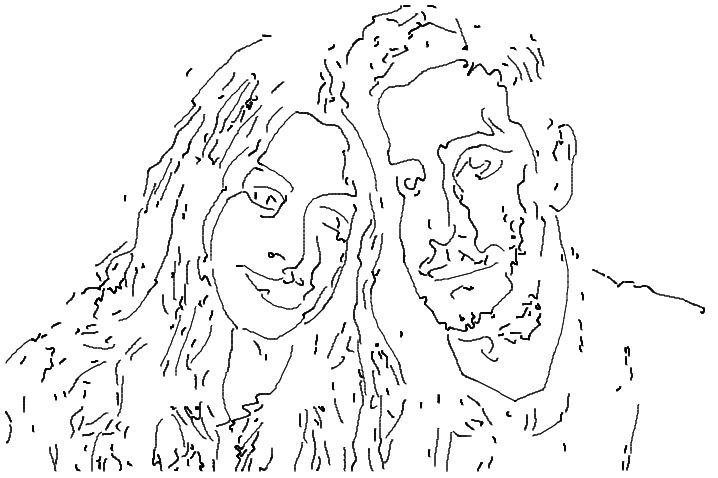
I started by erasing the bezier path layer. I then generated paths from the source edges. I then ran a path layer command that size prunes the bezier paths. Size pruning removes small paths from the path frame. There are 3 different size prune menu commands, each removes progressively larger small paths from the path frame.
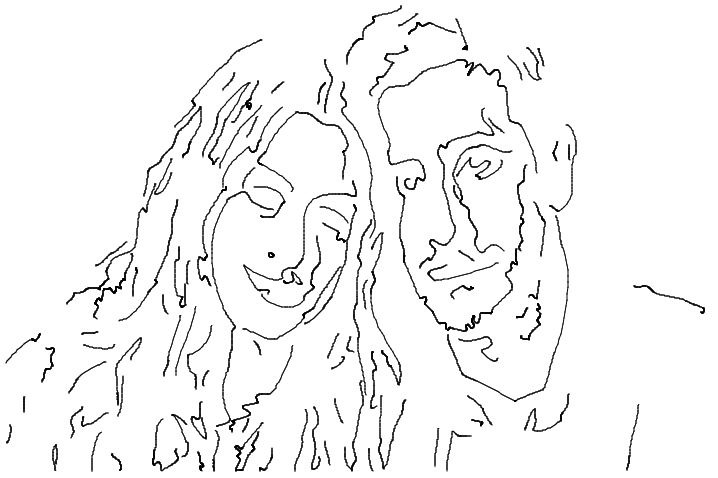
I then ran 2 Connect if Close path menu commands. This path command connects 2 paths if their endpoints are near each other. I then ran a Simplify Lite path command, which stylized the bezier paths, making them look more hand drawn and smoothly curved.
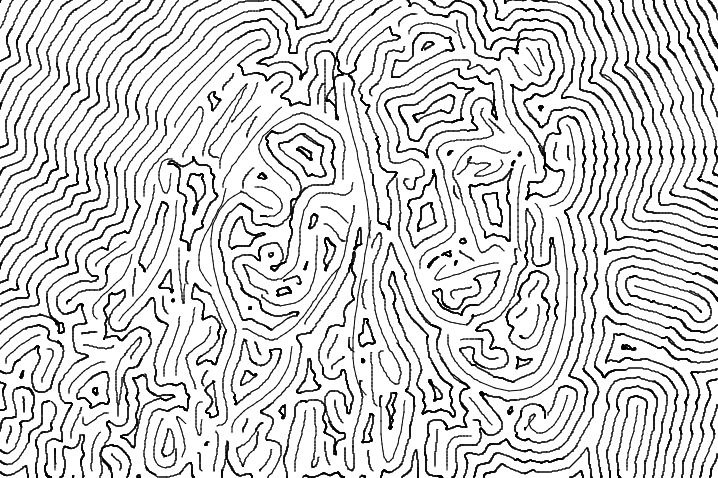
I then ran a Complete Expand path menu command. This tries to fill in the entire canvas by adding additional paths that run parallel to the existing paths. If you are in Bezier operation mode you can see the results of the various path menu commands displayed in the canvas. The image gallery below shows the bezier path output of the various path menu commands discussed above (source edges to path, size prune, connect if close, simplify lite, and full expand).
I used a antialias solid brush type for the paint synthesizer preset to paint in the generated bezier paths. I ran the Path : Paint Paths : Full Reversed Layer menu command so that the bezier paths would paint in from the exterior edge paths and paint in the original stylized edge paths last. The brush size was modulated with the Sin Path Length option to emulate the look of wood cut strokes.
The final 4 action steps in the PASeq are finishing steps. I lighting gradient is added to the painting with a low Mix setting to add a slight 3D look to the paint strokes. Then 2 Blur ip op action steps are used with Edge1 compositing to provide a contrast boost (again with a low Mix % since a little bit of contrast or edge boost is typically what you want). And a small amount of image compressor adaptive contrast boost is added to add some mild additional punch to the final image.
For More Fun
Bezier operation mode gives you the ability to manually edit individual bezier curves. And there’s also an interactive Bezier Warp option that works like the main interactive warp feature except you are warping the set of bezier paths rather than warping the raster canvas image. By manually editing the stylized edge curves, or interactive warping them, you can further customize the stylized look of the woodcut effect.

