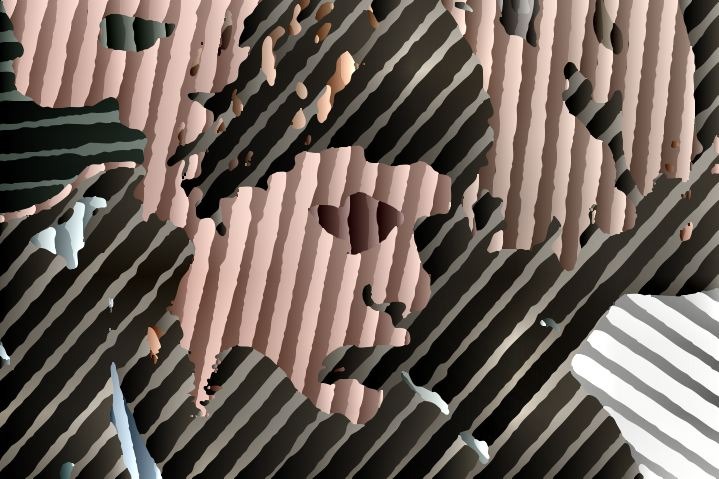
This post will discuss how to use the Line Screen Regionize image operation effect to create a stylized line screen rendering of the source image. We will then use the Vectorizer to convert the raster line screen image processing effects into a vector effect. Vector effects have smooth anti-aliased edges, and can also be output as eps or svg vector files for resolution independent printing.
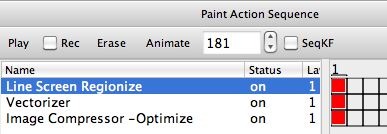
The paint action sequence (PASeq) below was used to build the effect above.
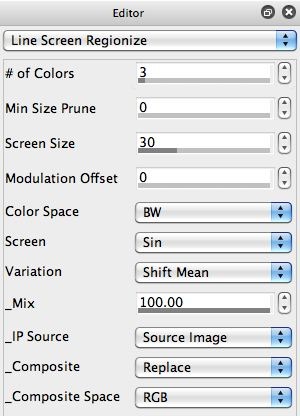
The color screening effect was created using the first action step, based on the Line Screen Regionize image operation effect. The 2nd gallery image above shows the control panel settings for the Line Screen Regionize ip op effect. Note that the IP Source is set to the Source Image.
The 3rd gallery image above shows the raster output of the Line Screen Regionize ip op effect. If you look at the edges of the colored screen areas you can see that they are somewhat ragged, since the effect does hard clipping and is a raster effect (as all ip op effects are). I could have used the Smart Blur ip op to smooth out the rough edges, but I decided to take a different approach and convert the effect into a vector effect.
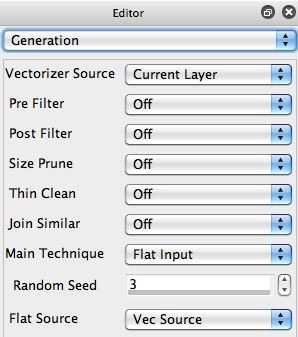
To make the effect a vector effect, I used the Flat Input vectorizer Main Technique. The Flat Input technique assumes your vectorizer input is already composed of a series of flat color regions. The flat color regions are then directly converted into vector regions when using this technique. So this technique provides a way to convert any raster image operation effect that generates flat colored regions (there are quite a few) into vector output.
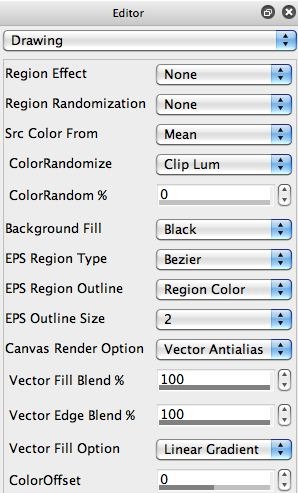
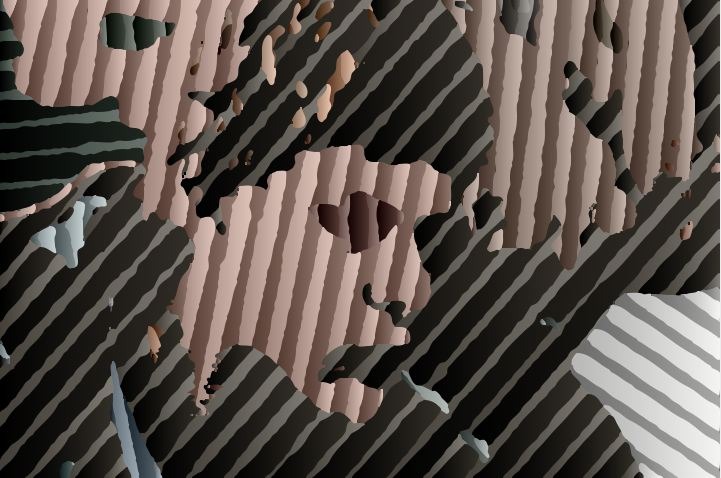
The 4th and 5th gallery images above show the vectorizer control panels used to convert the raster line screen canvas into a vector representation. The 6th gallery image shows the vectorizer output. note how the edges are smoothed out. A linear gradient fill was also added in the Drawing control panel settings to slightly modify the effect (Vector Fill Option control). If I had turned that off then the vectorizer output would directly mirror the raster canvas input except that all of the flat color regions would now be anti-aliased vector regions.
The last step in the PASeq used the Image Compressor ip op effect, which I used to boost the overall color contrast a little for the final canvas output. If I was outputting the final canvas to a vector file format, I would have skipped this step (since it’s a raster processing step).

