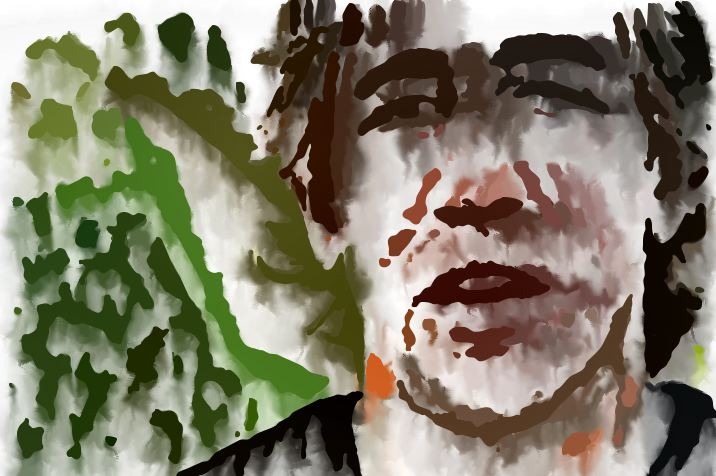
The following image is a frame capture from a processed movie file. This post will explore how the wet dripping vectorizer animation was generated.
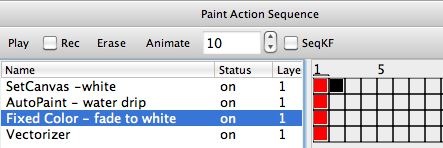
The paint action sequence (PASeq) below was used to generate the wet drip vectorizer animation visual effect shown above.
The first step in the PASeq erases the canvas to white. Note that a mute keyframe is added at frame 2 for this action step, so the erase to white step only runs for the first frame in the animation.
The second action step Autopaint – water drip uses a water drip paint preset to simulate dripping water onto the canvas. It is followed by the 3rd action step Fixed Color – fade to white which uses the Fixed Color image operation to do a 10% Mix to slightly fade to white.
The last action step uses the Vectorizer Outline technique to generate flat colored vector regions to represent the features in the source image. This step is what is actively drawing something on the canvas. the other steps modify the existing canvas by dripping water on it and then slightly fading it. So what has previously been drawn melts and dissipates over the course of several frames in the animation.
The slight fade to white is important for this particular animation, since removing that step quickly leads to an overly dark canvas. In addition to providing a nice visual aesthetic, the water melt and fade work to provide temporal continuity in the final animation. Maintaining some kind of temporal continuity is important to reduce or eliminate flicker in an animation. If 2 adjacent frames are radically different, then the constant radical change over time can be perceived by the eye as flicker. But if things smoothly move or transform from one frame to the next in an animation, then that continuity over time is perceived as motion or moving transformations rather than flicker or noise.
The complete vectorizer wet drip animation example can be seen here.


