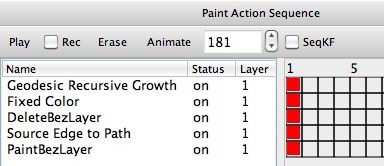
The Process Movie Tutorials are some old Studio Artist tutorials that were originally generated several version releases ago. They discuss some fundamental basics regarding how to go about constructing paint action sequences (PASeq) for movie processing so that the processing scripts incorporate the notion of temporal continuity into the paint animation effects they generate. We’ll be taking a look at these old movie processing tutorials over the next several posts, since the information they contain is timeless, and worth delving into for anyone interested in getting started processing movie files with Studio Artist.
What is Temporal Continuity?
How to go about constructing a PASeq for movie processing that leads to reduced or eliminating visual flicker is a topic of interest for everyone who wants to generate auto-rotoscoped paint animation effects using Studio Artist. The key conceptual component to eliminating flicker is to incorporate the concept of temporal continuity into the successive movie frames of the visual effect you are creating.
Temporal continuity is a fancy way of saying that there needs to be visual similarity between adjacent frames. Perceived flicker in an animation or video processing effects is caused by variations at what is visually presented in localized spatial areas over adjacent frames over time. If the visual information at a particular spatial location in the movie frame is always changing from frame to frame, then you perceive that as flicker.
Obviously video frames contain temporal variations, because the whole point of video is to observe movement and change over time. But imagine an object moving in front of an unchanging background. The object is moving, but probably slowly from adjacent frame to adjacent frame. Otherwise you would just perceive it as a blur rather than something specific moving. And the background of the video is the same, or slowly changing.
Individual paint strokes that blink into and out of existence every new frame seem to be flickery to a viewer. Color variations in time sustaining paint strokes that randomly change from frame to frame will also be seen by a viewer as noisy flicker.
So the way to reduce flicker in a paint animation is to introduce some form of continuity from what is painted in one frame to the next one to the next one, etc.
Treating paint strokes as time based objects that sustain themselves over multiple frames would be one approach. And indeed the paint synthesizer provides such a feature, called Time Particles. But in the next few posts, we’re going to ignore that feature and just concentrate on how to introduce temporal continuity into paint animations.
A powerful approach to generate temporal continuity is the concept of overdrawing on the previous output frame. If you think this through, it’s pretty obvious how this introduces temporal continuity into an animation. Everything that is not newly drawn in a new frame is what was output in the previous frame. So that provides visual continuity over time in the animation.
The general concept of overdrawing can be extended to the notion of modifying the previous output frame in some way, and then overdrawing on top of the modified previous output frame. There are an endless number of different ways and techniques to use to go about ‘modifying‘ a previous frame. It could be as simple as introducing a fade to a solid color. It could be the addition of some kind of feathering or softening effect. It could be adding dripping or flowing liquid effects to the last output frame. It could be introducing a spatial warp.
The list of potential ‘modifications‘ goes on and on. The key point is that they work in a way that doesn’t introduce additional flicker. So they tend to be subtle as opposed to radical changes in the appearance of the previous frame content. And temporally smooth.
So adding uniform random noise to each individual frame would be a bad idea for modifying the previous frame unless you wanted to add more flicker. Now if you wanted to make your footage look more grainy or old then adding some form of stylized flicker might be just what you wanted to do. But if your goal was to reduce flicker, then it would be a bad idea, since local spatial areas in the movie frame would radically change from one frame to the next one (the opposite of temporal continuity).
A Simple Processing Example
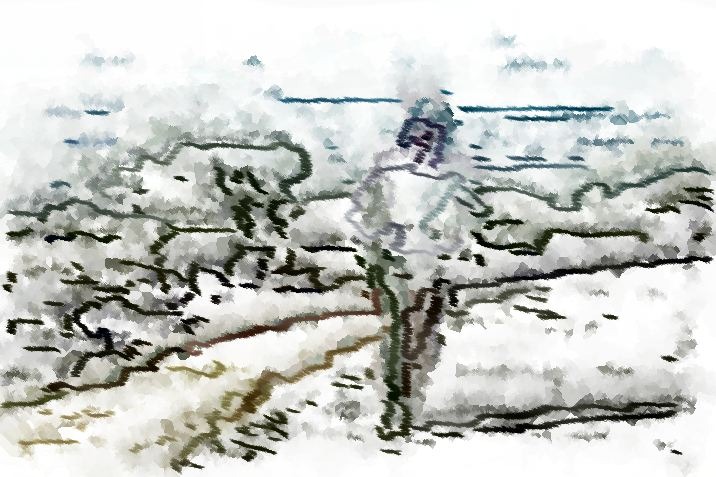
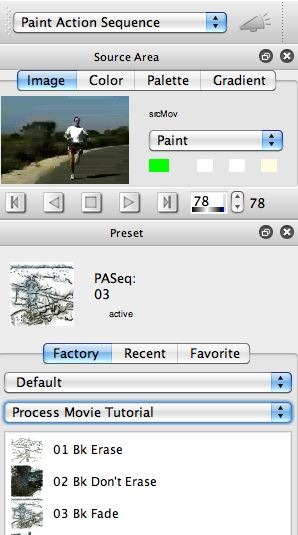
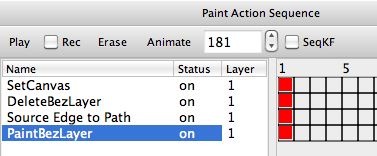
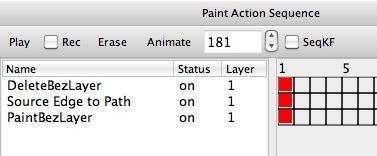
For today’s post we’ll take a look at the first 3 factory PASeq presets associated with the old Process Movie Tutorials. The first gallery image below shows off the source movie or a runner we will use for these examples, and the Default : Process Movie Tutorial PASeq preset category in the Preset Browser.

