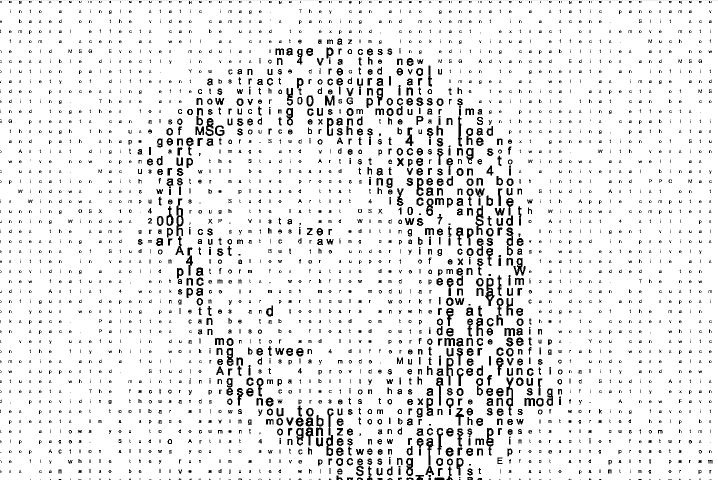
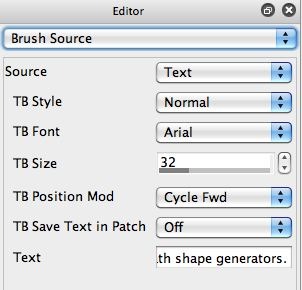
The Text entry edit field at the bottom of the Brush Source control panel is fairly small, but you can paste in a very large block of text if you wish to. For example, I copy and pasted the entire Studio Artist text description shown in the 2nd gallery image into the Text entry area. You can’t see much of it in the control panel, but it’s all used in the image shown at the top of the post.
Now, for this particular image I wanted to draw the individual text letters one by one in a grid that fills the entire canvas. So to do this, I first wanted to make sure I used the Cycle Forward setting for the TB Position Mod control. This indexes through the text in the same way you would when reading it.
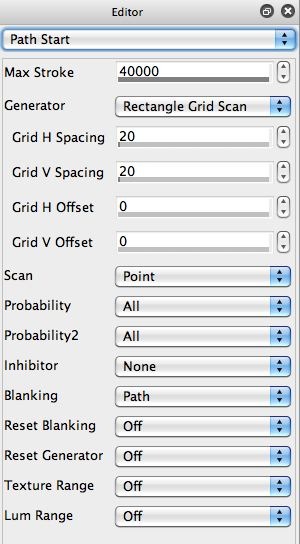
I used a Rectangular Grid Scan option for the Path Start Generator parameter, as shown in the 3rd gallery image above. Again, I did this because I wanted the text to be laid out in a readable grid to build the image representation.
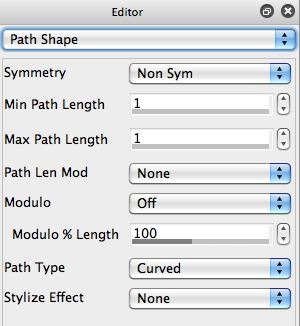
Since I was interested in laying down individual characters at each grid point (as opposed to longer paint paths built out of text nibs), I set the Max Path Length to 1 in the Path Shape control panel (4th gallery image).
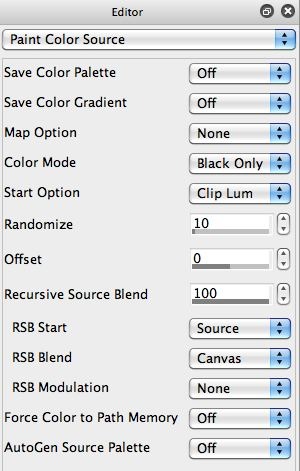
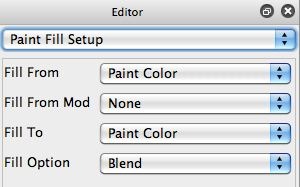
I wanted the text to be drawn solid black, so I set the Color Mode parameter in the Paint Color Source control panel to the Black Only option. I then set the Fill From and Fill To parameters in the Paint Fill Setup control panel to Paint Color.
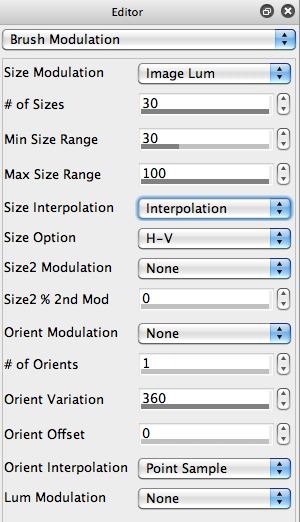
Since I wanted the brush size to be modulated by the source image luminance, I set the Size Modulation parameter in the Brush Modulation control panel to the Image Lum setting. I also wanted to insure that some text was drawn everywhere in the canvas, even in spatial locations that corresponded to white ares of the source image. To do this, I increased the Min Size Range control to 30%.
I used a brush size cache of 30 different brush sizes by setting the # of Sizes to 30. You may recall that normal raster image brushes like the computation brush, text brush, image brush, etc build a series of different sized (and also different orientations if that’s being modulated as well) brush images, that are stored in a memory cache.
I then pressed the Action button and generated the text image above, in a style similar to the ones recently discussed on the user forum photo section. You could of course generate all kinds of variations of this simple image generation effect, like modulating the brush size based on the source image Texture Energy.
The effect we built today is using a raster source brush for the text brush. What if you want to build smooth anti-aliased vector text nibs for generating this style of image effect. We’ll show you how in tomorrow’s post.

