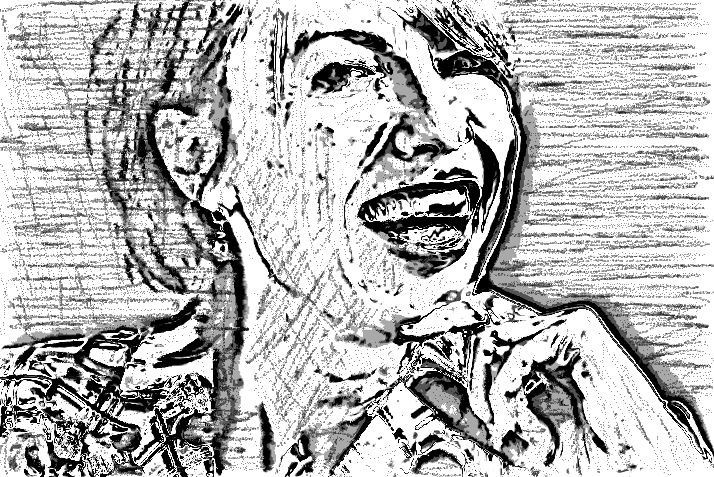
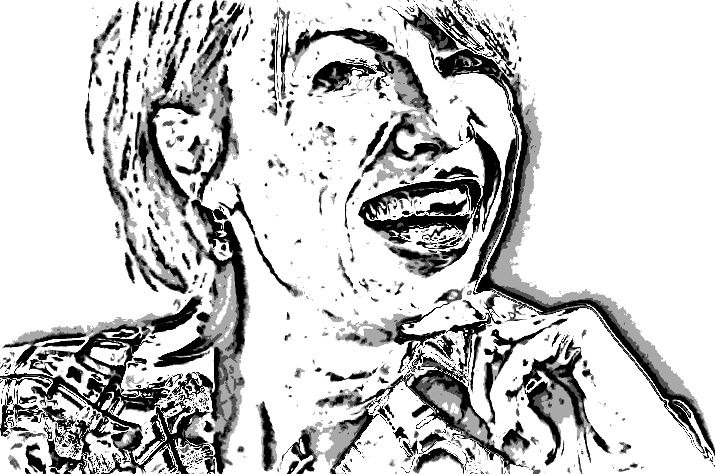
The following image is an example of a rough black and white sketch effect. It was made with a combination of image processing and paint synthesizer treatments. This post will discuss how the effect was put together in detail.
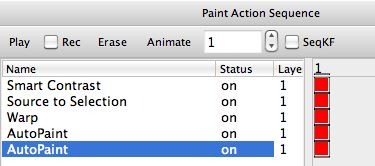
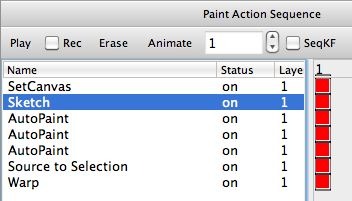
The paint action sequence (PASeq) below shows the steps used to create the above bw sketch effect.
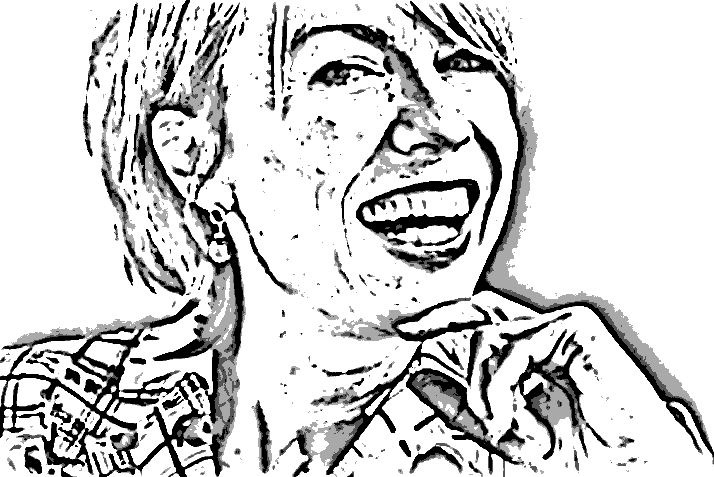
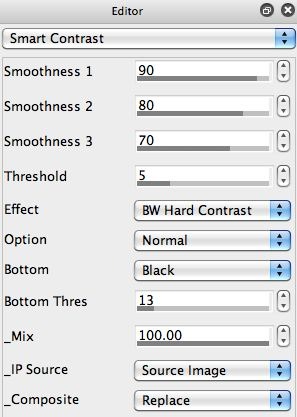
The first action step uses the Smart Contrast image operation to create a hard black and white edge rendition of the source image. The output of the Smart Contrast ip op action step and it’s associated Editor parameter settings are shown below.
The next 2 action steps in the PASeq set the selection to the source image, and then interactively warp the canvas with a Selection Modulate Rotate warp. This loosens up the feel of the Smart Contrast output a little, as seen in the 3rd image in the gallery above.
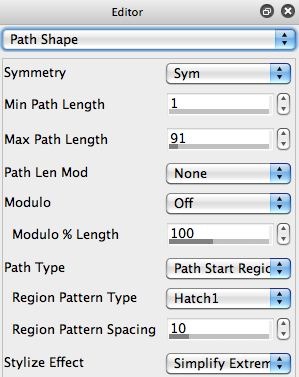
The next 2 AutoPaint action steps add some additional loose gray tone sketching to finish up the final sketch effect. They are using the Color Simplify Regionize path start generator along with the Path Start Regionize Path Shape (with a Hatch1 Region Pattern Type) and a Simplify Extreme Stylize Effect setting to generate the loose hatching paint strokes for the gray tone sketching.
I tried a second variation of the rough sketch effect effect as shown below. I used the Sketch Edge Ip OP as opposed to the Smart Contrast effect. I then used similar AutoPaint action steps to build some loose gray tone sketching. I then used the source modulated warp trick we used for the initial sketch at the end of this second PASeq to soften the final effect and make it look a little more like a pencil sketch.

