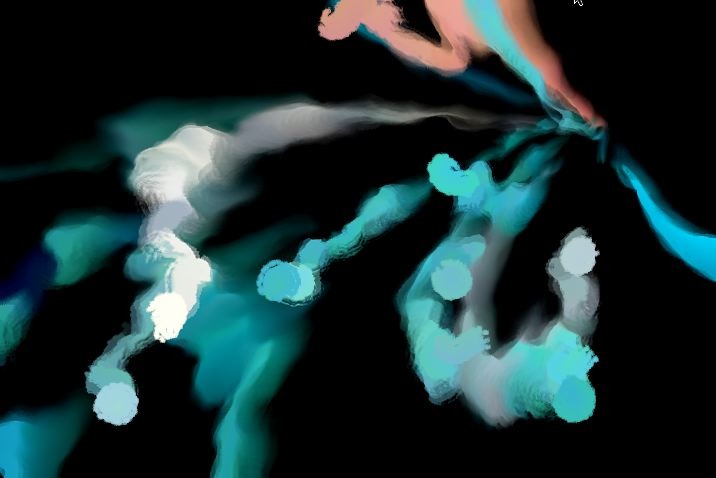
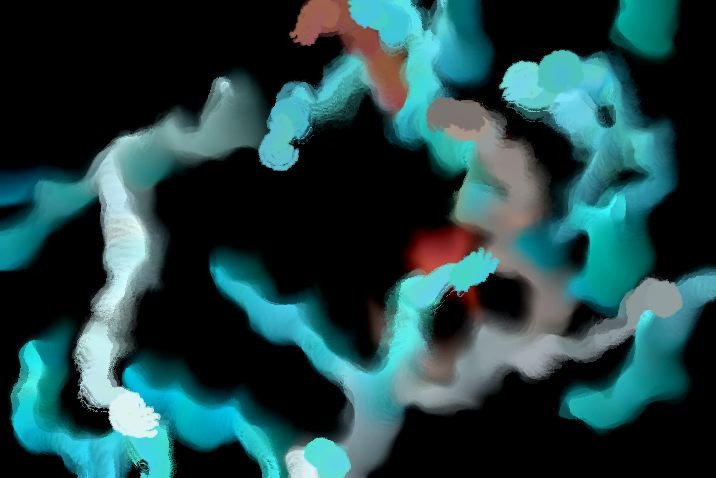
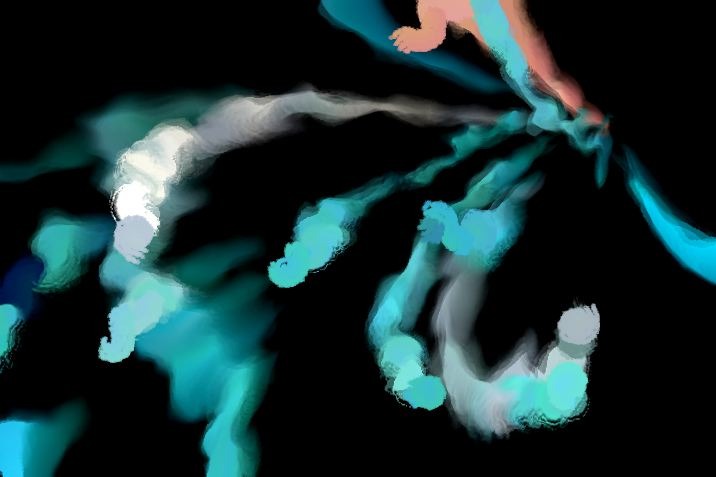
The following two images are frame captures from 2 different generative paint animation. The paint animations are based on the same paint action sequence (PASeq) that combines some image operations, interactive warps, and auto painting time particles to build a wispy abstract paint animation. The first animation frame capture is using an interactive warp PushPull action step that causes the time particle trails to pull into an attractor point that moves over the course of the animation. The second animation frame capture is the same generative animation without the addition of the PushPull warp action step (so no attractor point).
This short post will discuss how you can use geometric distortion or warp effects like PushPull to introduce attractive or repulsive effects into generative paint animations.
The paint action sequence (PASeq) used to create the generative animation examples is shown below.
The PASeq starts by using a Source Context action step to set the source image to a specific image I picked for it’s coloring (a swimmer in a pool with blue water) to build this particular animation. A black mute keyframe is recorded at frame 2 for this action step, which means it only runs on the first frame of the animation.
The canvas is then erased to black. Again, a black mute keyframe is used to insure that the ‘erase to black’ step only occurs for the first frame of the animation.
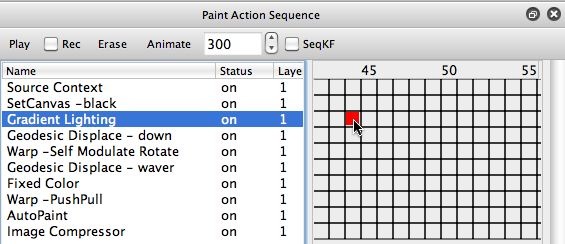
Two image operation effects (Gradient LIghting and Geodesic Displace) were then recorded. The Gradient Lighting provides a small amount of 3D lighting to be added to the animation. The Geodesic Displace ip op was used to cause the time particle trails to pull down like they are influenced by gravity over the course of the animation. The lighting effect didn’t work well for the first few frames, and I didn’t want the gravity effect to occur until the middle of the animation. So I used black mute keyframes to turn off these 2 action steps at the beginning of the movie. They are keyframed on at later frame times in the 300 frame animation. The third screen snap in the above gallery shows the Gradient Lighting action step keyframed on at frame 44.
A Self Modulate Rotate interactive warp action step was then used to help define the paint wisp trails better. A second Geodesic Displace ip op action step was used to add a small amount of waver to the paint trails over time.
The Fixed Color ip op action step was used to add a small amount of fade to black, so that the paint trails dissipate over time in the animation.
The PushPull interactive warp action step was used to introduce the pull-in attractor behavior. So this step was included in the first animation example at the top of the post, and was not included in the second animation example. This step will be discussed in more detail below.
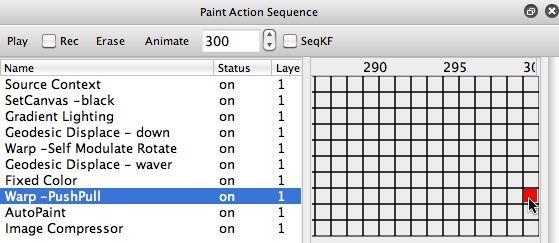
The PushPull action step is keyframed. The second snap above shows a second keyframe added at frame time 300 for this action step. The keyframing is used to move the pull-in attractor point from the top-right side to the bottom-left side of the canvas over the course of the 300 frame animation.
A single AutoPaint action step was used to paint in the time particles. Time particles is a cool feature available in the Studio Artist paint synthesizer. Turning on time particles means that individual paint strokes have temporal continuity from frame to frame in an animation (and associated individual movement over time).
The Image Compressor ip op was used to provide a small amount of contrast boost, and can be considered a polishing step as opposed to being something that generates the perceived movement of the paint wisps.
PushPull Interactive Warp
The PushPull interactive warp option is one of many available in interactive warp operation mode. It generates a geometric distortion that can pull the canvas into an attractor point, or pull the canvas away from the attractor point. Where you mouse down when you interactively generate the warp effect is where the center point for the effect (the attractor or repulser) will be. If you pull the mouse to the left the warp effect is to pull in, generating an attractor effect when used in an animation. If you pull the mouse to the right you will pull out, generating a repulsor effect when used in an animation.
The 3 screen snaps above show the PushPull interactive warp Editor controls, a pull in warp, and a pull out warp.
How the PASeq builds the Paint Animation
This example is showing one approach to building a generative abstract paint animation. Generative means that a static processing script is run over and over to build up an animation over time. And that the animation is really being generated in an algorithmic way (as opposed to being explicitly defined by keyframing bezier paths, or by working with a source movie file and explicitly painting the source movie).
Note that the canvas is only set to something specific (black) at the beginning of the animation. Every other frame consists of modifying the previous frame output in some way, and then overdrawing on top of the modified previous frame image. This approach of overdrawing on top of the previous frame introduces temporal continuity into the animation.
Subtly modifying the previous frame prior to overdrawing is what is being exploited to add various artistic effects to the animation. So ip op effects are used to add some waver and later gravity effects to the paint trails. The interactive warp steps are used to help add wisp to the paint trails, and to cause them to pull towards a moving attractor point.
The paint time particles themselves are fairly short paint strokes. The wispy paint trails that stream off of the moving time particles is created by process of modifying the previous output frame image, and then overdrawing on top of it. So over a series of frames in the animation the paint trail effect builds up. the fade to black caused by the Fixed Color ip op action step insures that the paint trails stay wispy. If you turned this step off then paint density builds over the course of the entire animation, leading to a very different overall artistic effect.
The first image above shows the first frame output of the animation. Note how crisp the individual paint stroke time particles are. Since this is the first frame output, there are no wispy paint trails. The second image shows the output at frame 20. Note that the repeatative operations in the cycling PASeq that first process the old output frame canvas and then overpaint lead to the wispy paint trail effects seen in the final animation.




thanks for teaching me; I tried to replicate your PASeq but could not find “source context” anywhere. I am working on creating continuity in my movies, and you gave me a good idea of that. Can you drop me a hint as to “source context”?Otto
The Source Context action step is not really essential. I used it so that i could associate a specific source image with my PASeq, so that if i ever needed to replicate the animation it would load my original source image (which the coloring of the animation is being derived from). If you don’t put that action step in your paseq, then the current loaded source image will be used as a coloring source for the animation.Here’s a tip post that talks about the Context action steps and what you can use them for.https://synthetik.com/tips/wordpress/2008/08/paseq-contexts/
thank you so much for your reply about SourceContext. Otto