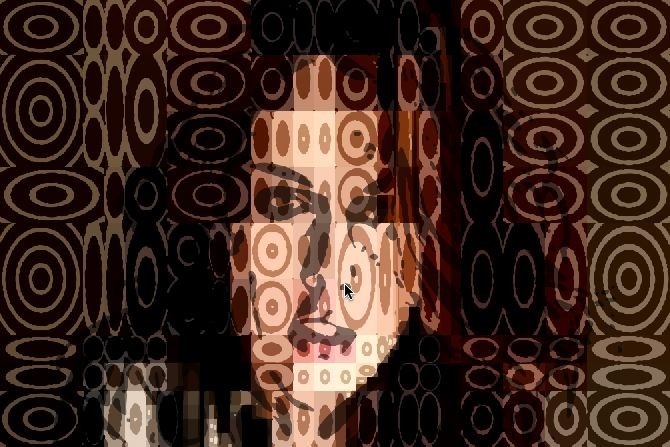
The first image in the following gallery shows off a circular block print effect. This post will discuss how the effect was put together. We’ll also take a look at a cool trick used in the effect that allows you to convert raster image processing effects that generate solid color regions with hard aliased edges into vector renditions with anti-aliased edges.
Please Note: There are a lot of Line Screen Presets in the Vectorizer > Line Screens and Block Prints
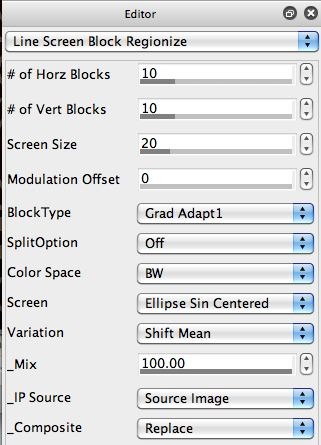
The simple 4 step paint action sequence (PASeq) below was used to generate the block print effect.
Note that the first action step in the PASeq is using the Line Screen Block Regionize image operation effect. This ip op effect is processing the source image and generating a block print with circular screening patterning in each individual block. The Line Screen Regionize ip op is another similar effect you can check out that can emulate different kinds of lithography and screen printing effects.
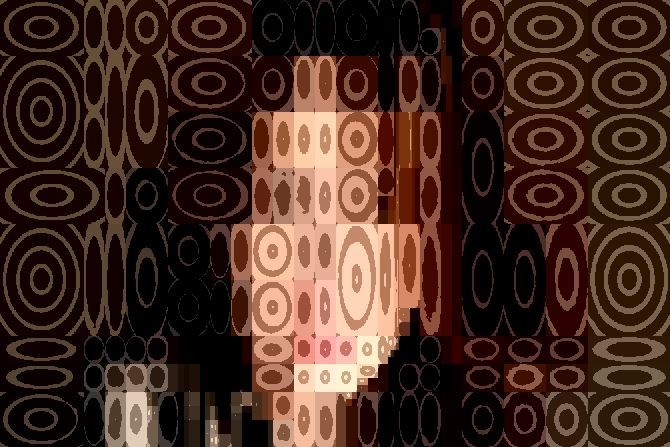
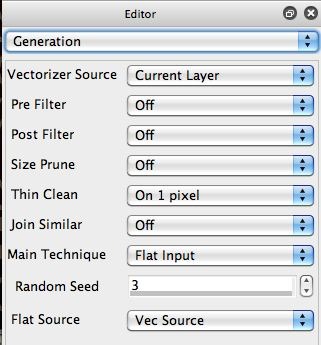
The output of the Line Screen Block Regionize ip op effect consists of solid color regions with hard edges. The region edges generated by the raster ip op effect are not anti-aliased. We could use something like the SmartBlur ip op to smooth out the rough edges generated by the effect. However, another approach is to use the Vectorizer to convert the solid color region into anti-aliased vector shapes. To do this, we used the Flat Input option for the vectorizer Technique parameter.
The Flat Input Technique is designed to directly convert an input image consisting of a series of flat color regions into vector regions. It assumes the input image is already flattened, so it’s not going to work properly if you input a continuous tone image with a lot of smoothly varying tonal areas of anti-aliased edges.
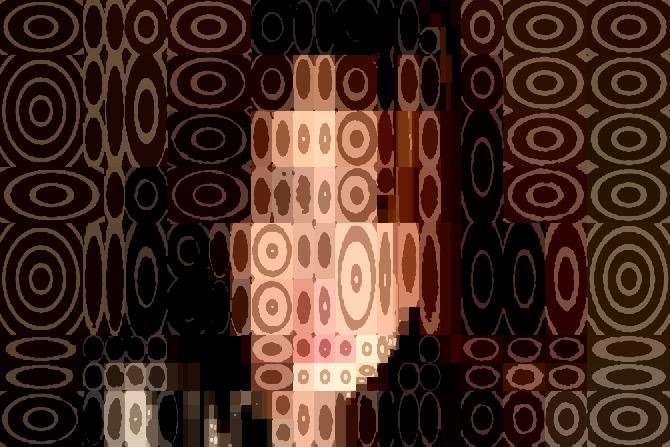
The second image in the gallery at the top of the post shows the hard edged raster output of the Line Screen Block Regionize ip op. The third image in the gallery shows the Flat Input Technique vectorizer converted vector version of the same effect (note that the edges in the line screen block printing effect are now smooth and anti-aliased).
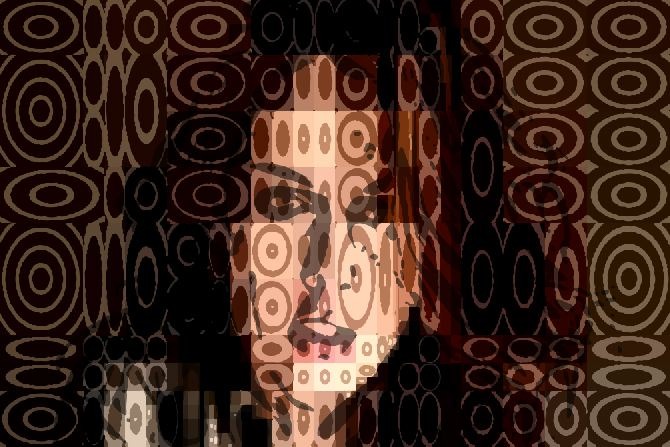
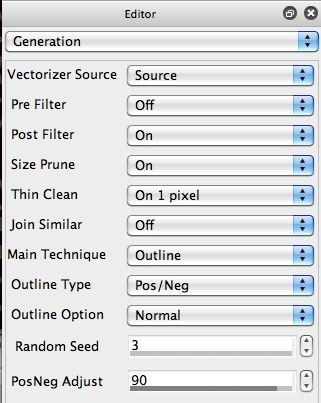
I then wanted to add a partially transparent outlining effect in the style of a block or screen printing overlay. I used the Vectorizer to add the outlining effect. I used the Outline option for the vectorizer Tecnique parameter to build the feature based overlay effect. The Outline Technique is designed to provide vector overlays derived from input image features on top of an existing canvas (as opposed to total coverage of the entire canvas with the vector effect).
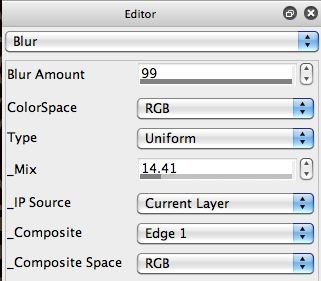
To finish off the final image, I used the Blur ip op with the Edge1 composite option to add a slight contrast boost. Remember, Studio Artist’s built in compositing options for image processing effects allows effects that blur the canvas to be converted into sharpening or contrast boost effects.

