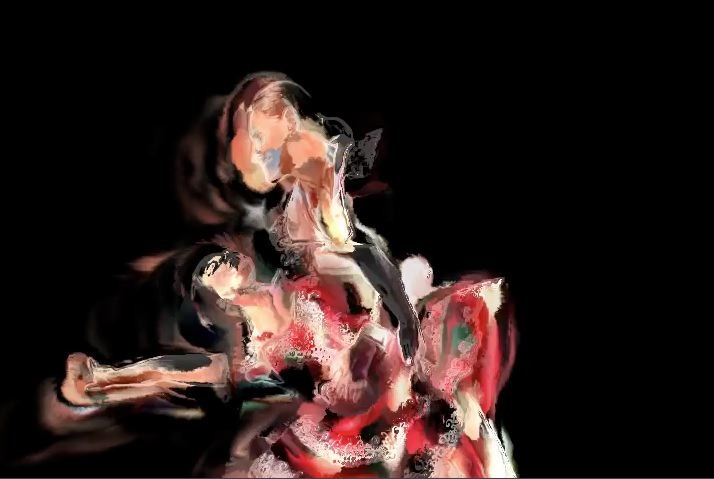
The following image is a frame capture from a paint animation. We’ll take a look at the different processing steps used to create this effect, and generate a few different animation examples to help get a better understanding of how the individual components of the complete processing script interact to build the final visual effect.
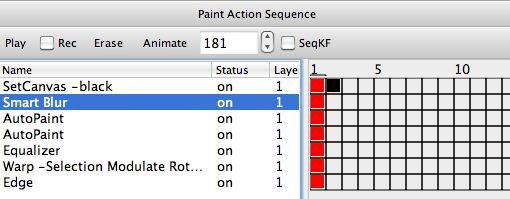
The paint action sequence (PASeq) below was used to build the above paint animation processing effect.
The first action step erases the canvas to black for the first frame only. The black keyframe at frame 2 for this action step is a mute keyframe, so the action step only plays back for the first frame in the animation. If you hold down the m key and then option click a keyframe you record a mute keyframe.
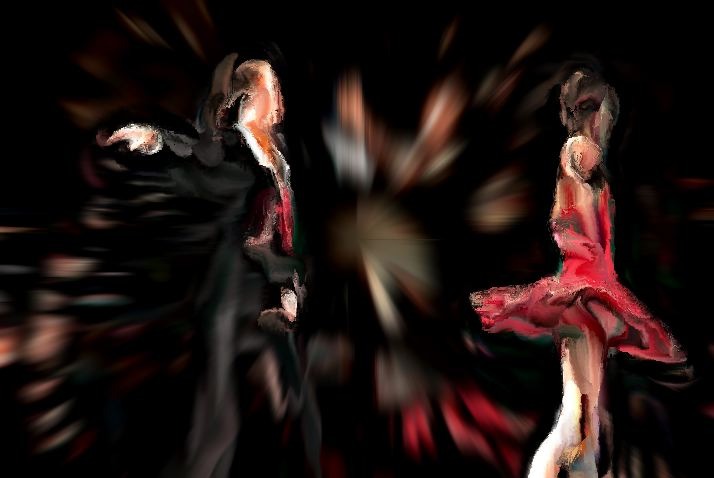
The second action step uses the Smart Blur image operation to generate a polar blur in the canvas. The polar blur pushes outward from the center of the canvas, so it generates a spreading out trail effect that also softens the existing canvas image.
The 3rd and 4th action steps use the paint synthesizer to AutoPaint the canvas. Broad wet paint strokes are used that focus painting onto the high texture areas of the source image. The soft paint strokes rough in the source image features without drawing any real detail. Additional paint steps could be used to paint in more detail, but a different approach was taken to build this particular paint animation style.
The Equalizer image operation effect was used to build a selection mask based on the high spatial frequency information in the source image (the edge and feature details). That automatically generated selection mask is then used to modulate an interactive adaptive warp. The modulated interactive warp pulls source feature detail into the abstract paint strokes as well as adds a left moving translation warp to the background areas of the canvas.
The last action step used the Edge image operation to composite some additional source edge features into the painted canvas. This step also adds a more etherial quality to the painting, pulling source features into the painting while making other parts of the paint strokes partially transparent.
The various image processing action steps work recursively over time to build a moving paint trail effect into the final paint animation. If the interactive warp and Edge strength enhancements action steps are turned off in the PASeq, a final animation is built with very different visual qualities. The gallery below shows the final animation frame output for the original PASeq and 2 edited variations of it.
The first image in the gallery used the original PASeq detailed above. the second image was generated by turning off the last 3 action steps of the PASeq, and then running that edited PASeq to generate a paint animation. Note that the fine feature detail is missing, and the nature of the paint trail effect is very different than the original animation.
The 3rd image above used the same PASeq as the second image, except that the 2 AutoPaint action steps were slightly edited. I wanted to use the same soft wet paint strokes to build the painting, but I wanted then to better represent the source edge features. So I set the Nib Masking parameter in the Paint Fill Apply control panel to the Local Image Range option. This paint synthesizer edit turns on an auto-masking feature for the individual paint nibs that make up the paint stroke, and insures the the paint stroke will not overdraw edge features, giving a much tighter source feature rendition with the same paint strokes as the 2nd animation example.
The 3 modified paint animation examples described above are posted here. The 3 examples run back to back in this posted animation example.
The original PASeq used to create this paint animation effect is described in detail in a movie processing strategies tutorial tip. The PASeq used for the effect is available as a part of the example PASeqs posted here.


1 Comment