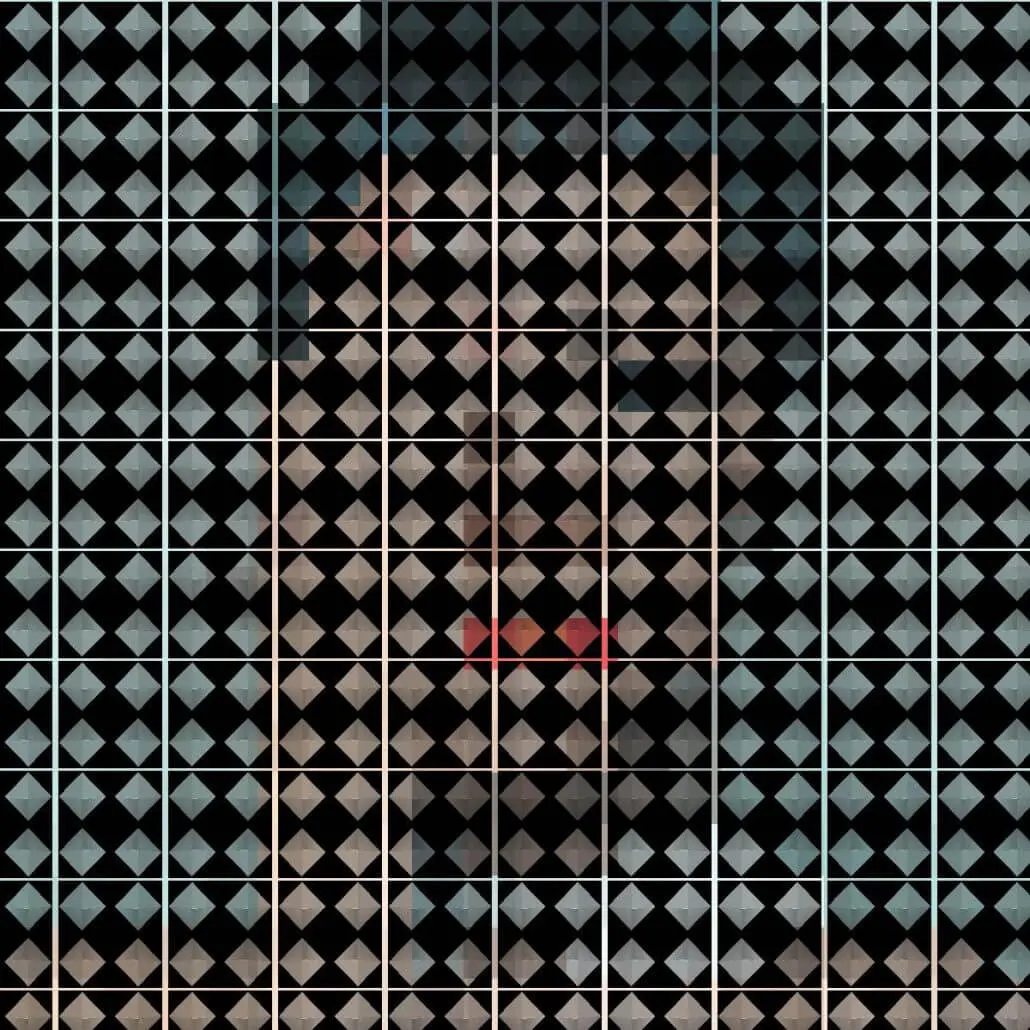
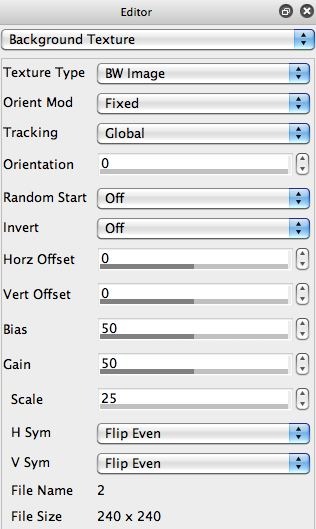
There are 2 specific controls (H Sym, V Sym) associated with image or movie background textures that let you define automatic horizontal and vertical symmetry transformations associated with any image or movie tiling (1st gallery image above). The symmetry tiling effect shown at the top of this post was generated with a Fill Even option for both the horizontal and vertical symmetry associated with the image background texture tiling.
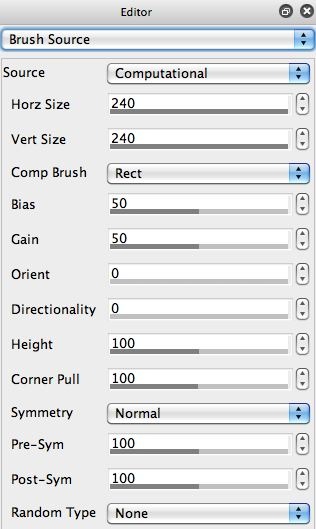
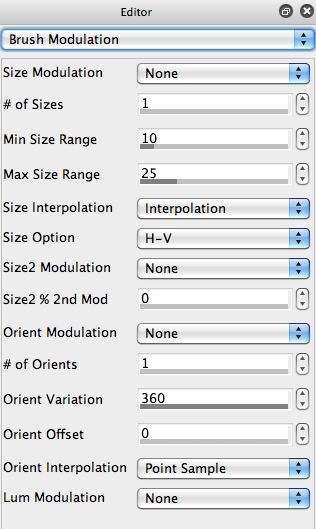
The image file uses for the image background texture is 240×240 pixels (2nd gallery image above). I reduced the tiling size to 25% (60×60). I also setup a rectangular computational source brush of 240×240 pixels in the Brush Source control panel (3rd gallery image above). And set the maximum brush size (Max Size Range) in the Brush Modulation control panel to 25% to match (4th gallery image above).
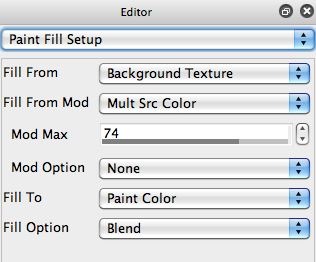
I wanted to slightly colorize the black and white background texture, and then use that as a paint nib. So I configured the Paint Fill Setup control panel to use the Background Texture option for the Fill To parameter. And I used a Mult Src Color option for the Fill From Mod parameter (5th gallery image above).
I could have also used the image processing brush load option discussed previously here for colorizing movie brushes as an alternative approach to colorize the background texture.
The paint preset I used to create the symmetry tiling effect shown above is available for download 6-11-.paint There’s also a tutorials group discussion on the Studio Artist User Forum that discusses this approach (and others) for rotating successive image tiles.
This paint preset uses a Grid Scan – Max Brush Generator option in the Path Start control panel to lay down individual tiling paint nibs in a rectangular grid pattern. The Max Path Length is set to 1 in the Path Shape control panel, so each paint stroke only paints a single paint nib. The Path Application control panel is also setup to support a rectangular tiling pattern. The Mode is set to Rect Tile, and the horizontal and vertical Tile Offset controls are set to 50%.
To import your own custom image to use as an image background texture into this paint preset, use the File : Paint Synthesizer : New Background Image Texture menu command. Remember that you will need to edit the Brush Source size controls to match the image size you used for your image background texture.
You can examine these control panels when you import the effect paint preset to learn more about how to edit paint presets that block tile. Here’s a link to another post that discusses editing tiling paint presets in the context of building photo mosaic effects.

