THIS IS AN ARCHIVED POST (Please see the Mosaic Training videos)
In yesterday’s post we showed how to build a masked photo mosaic effect from a movie brush that contains an embedded alpha channel. Today we will show how we built the masked movie brush used in yesterday’s post from a folder of alpha matted images.
It’s easy to use Studio Artist to convert a folder of images into a movie brush. You just build a single step paint action sequence (PASeq) that erases the canvas to the source image. You then run the Action : Process with paint Action Sequence : Image to Movie menu command. This menu command will then process a folder of images you select one by one, and output the images as frames in a generated movie file.
If the images you want to use to build a movie brush have alpha channels associated with them, you can incorporate the image alpha channels into an embed alpha channel in your movie brush. So each frame in the movie file will consist of a RGB image as well as an alpha channel that can be used to mask the RGB frame image. The coffee cup frame shown at the top of this post is an example of an alpha masked movie frame. Embedded alpha channel movie brushes are useful when you want to build photo mosaic imagery composed of irregular shaped objects (as opposed to rectangular mosaic blocks).
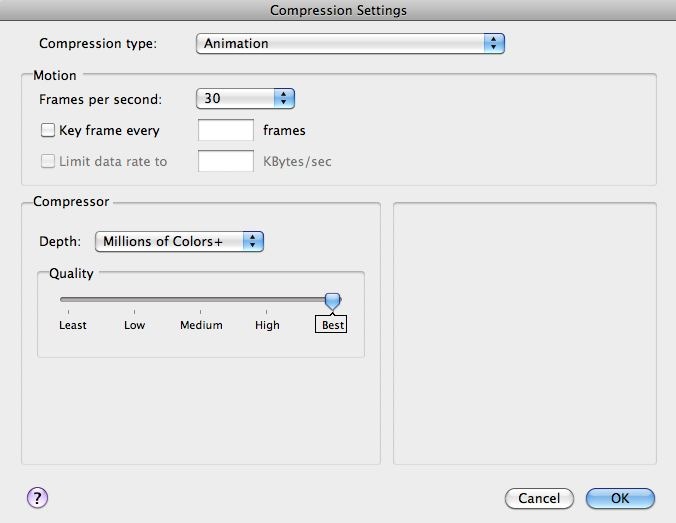
Not every movie compression codec supports embedded alpha channels, so you need to make sure your movie is generated with a compression coded that supports embedded alpha channels. For this example we’ll be using the Animation codec at Millions + colors option.
The screen capture below shows the folder containing 4 alpha matted photoshop images that will be used as the source for the embedded alpha channel movie brush I want to generate. Note that I sequentially numbered the individual image files.
In general, you would want to use many more images than 4 to create a movie brush. Especially if you want to use RGB Mapping for your frame modulation when painting. You want to put together a full set of images that can represent the coloring of the main source image you want to represent as a photo mosaic composed of smaller movie brush frame images.The paint action sequence (PASeq) I used to generate the embedded alpha channel movie brush from the above folder of images is shown below. Note that it is composed of a single action step that erases the canvas to the source image.
If for some reason you have been manipulating the alpha channel of the current layer, you should either reset it to full on or erase to white before rendering the output movie file. And turn off Canvas : Alpha : Enable for View if you had it turned on. Also, you want to be using a single canvas layer when you generate your movie file. And you want the view to be set to View Current.
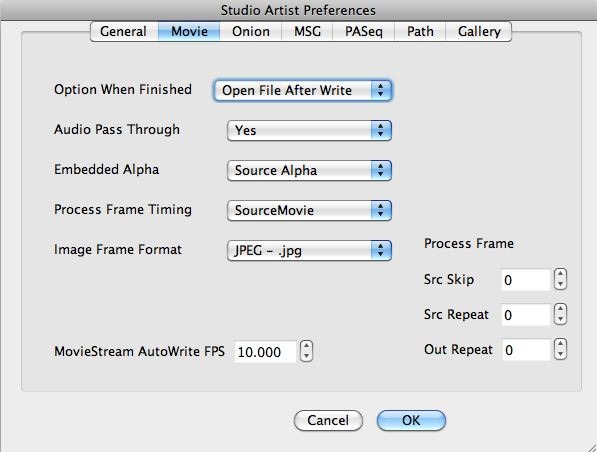
The Embedded Alpha option in the Movie Preferences dialog tab determines how an embedded alpah channel is generated when Studio Artist renders out a movie file. Note that I used the Source Alpha option for the Embedded Alpha movie preference. This will directly generate the alpha channel of the output movie frame from the alpha channel of the source image being drawn into that frame.
As mentioned above, you need to insure that you are using a movie compression codec for your rendered output movie that supports embedded alpha channels. As shown above, I used the Millions of Colors+ Depth for the Animation Codec. You can get to the Compression Settings dialog using the File : Movie Codec Settings menu.
At this point we’re ready to run the Action : Process with paint Action Sequence : Image to Movie menu command. Doing so first brings up a standard file dialog that asks you to select the folder with your images that you want to convert to a movie file. Select the appropriate folder.
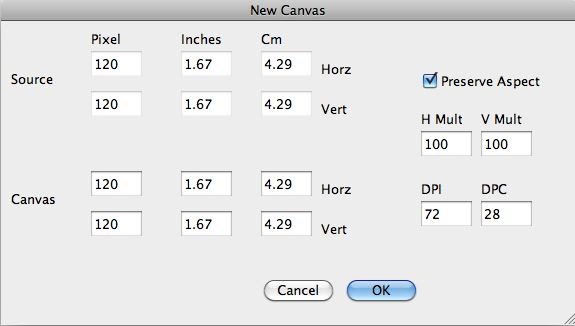
A second Canvas Sizing dialog then comes up. Set the canvas size for your output movie file appropriately.
A third standard file dialog then comes up asking you to name your output movie file. Do so and then press ok. Studio Artist will then open all of the images in the source folder you specified one by one and output them to the generated movie file.
At this point you now have a rendered movie brush file. The movie you generated consists of the individual images in the image folder you selected above. And the movie file contains an embedded alpha channel, that was generated from the alpha channels associated with each of the individual image files in the selected folder.
For More Information
Yesterday’s post shows how to use the movie brush with an embedded alpha channel we created in today’s post.
Here’s a tip that discusses making a Movie Brush to Create a Photo Mosaic.
Here’s a tip that discusses generating a Movie with an Embedded Alpha Channel.
Here’s a previous post that discusses how to build a custom movie brush for photo mosaic effects.


