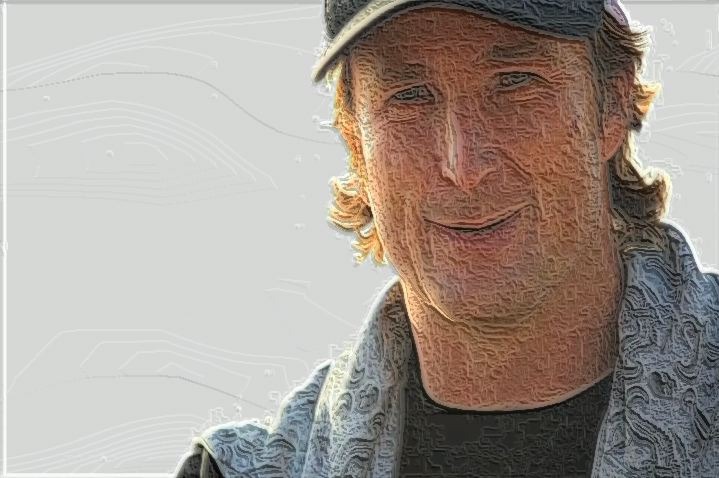
Today’s post continues our discussion of the canvas gradient lighting PASeq preset discussed in yesterday’s post. Yesterday’s discussion focused on how we used the Simple Texture ip op to build a canvas texture simulation. Today we’ll take a look at a MSG preset used within yesterday’s PASeq preset that implements the gradient lighting effect shown above.
NOTE: There are a lot of gradient presets you can look at in Image Operations > Emboss – Lighting EFX
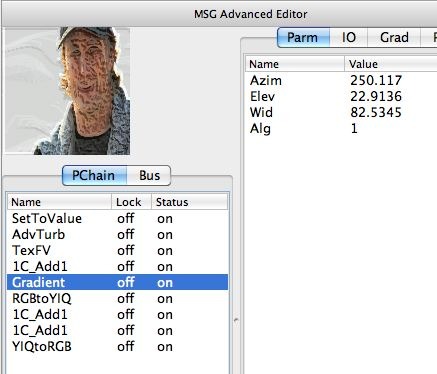
The MSG gradient lighting effect preset used in yesterday’s PASeq is shown below. You can use the MSG Advanced Editor to look at the preset in MSG preset in detail to get a better feel for how it’s constructed. Try looking at the individual processor IO connections in the IO tab one by one to get a sense of how the preset is constructed.
An AdvancedTurb processor and a TexFV processor are used to build a turbulent noise texture and a source input edge map in 2 temporary image streams. These are then added together, and then run through a Gradient processor.
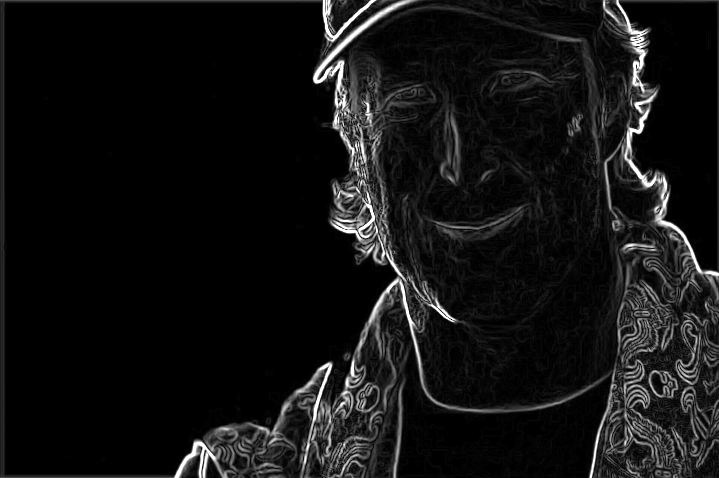
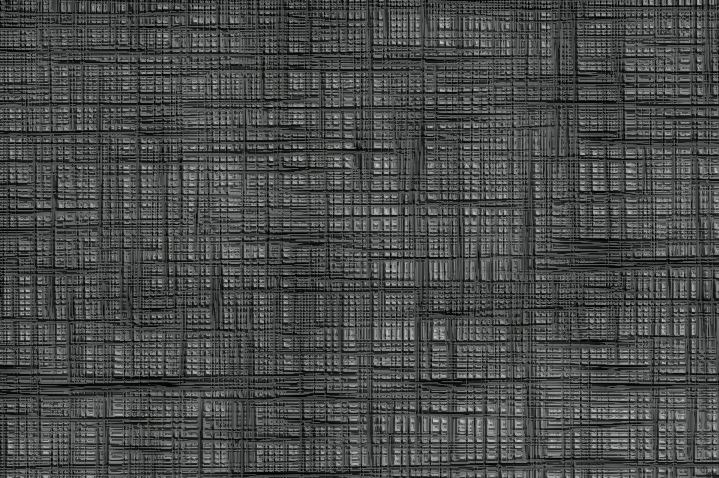
The 2nd gallery image above shows the source edge output from the TexFV processor. If just the output of the TexFV process is run through the Gradient processor, it would look like the 3rd gallery image above. The 4th gallery image above shows the combination of the turbulent noise field and the source edge map being used as input to the Gradient processor. Note the additional texturing patterning generated by the turbulent noise field.
The rest of the MSG preset’s processors then take the 3 channel RGB color input image streams, convert them into YIQ color, add the Gradient processor output to the luminance channel of the YIQ color image, convert the YIQ color image back to RGB color space for output from the preset. So the MSG effect acts to make the gradient processed source edge map and turbulent noise filed becomes a part of the luminance variation of the image the effect is processing.
In yesterday’s PASeq preset, the input to the MSG effect was the canvas texture field image generated by the 2 Simple Texture ip op action steps. The first gallery image below shows this canvas texture field we discussed in detail in yesterday’s post.
The 2nd gallery image above shows the result of processing the canvas texture field with today’s MSG gradient lighting effect. This and the effected source image at the top of this page should give you a sense of what this MSG effect is doing visually.
Yesterday’s PASeq effect adds the source image to the canvas edge texture before running it through the MSG gradient lighting effect. So you get a combination of canvas texture and source image features being run through the gradient lighting effect.
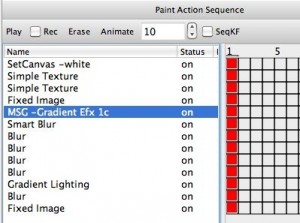
The rest of the action steps in yesterday’s PASeq (3rd gallery image above) work to enhance the MSG gradient processed canvas texture. First by using a Smooth Blur ip op to smooth out noise. The by using various Blur ip op action steps with Edge1 compositing to sharpen the final result.
The last action step adds some of the original source image back into the final PASeq effect output (as shown in the 4th gallery image above).

