The Rutt Etra analog video synthesizer was invented in the 70’s and was used by many early analog video artist pioneers. There are several different approaches you can take within Studio Artist to construct effects that simulate the look of Rutt-Etra video processing. In today’s post we’ll explore how to work with the paint synthesizer to create some Rutt Etra like vector paint effects.
The Rutt Etra video synthesizer was an analog video live manipulation device. It allowed for interactive modulation of the scanlines associated with analog video signals. You can think of what is going on inside of the Rutt Etra video synthesizer as being a form of displacement mapping. Here is the preset RuttEtraEsk1.dualMode
Today’s paint synthesizer preset is based on using the Path Randomization control panel features to modulate a series of vector paint paths that simulate analog raster scan lines. We’ll be using the source image luminance to modulate the paint paths. So this simulates using a video signal’s luminance channel to modulate an analog scan line (the key component of the Rutt Etra processing effect).
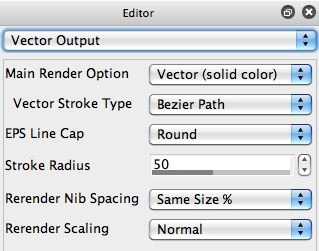
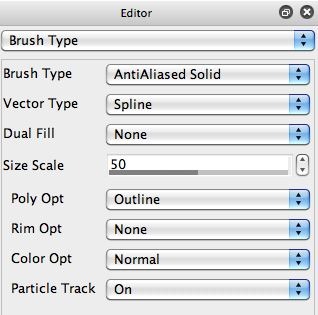
I built 2 different versions of vector paint presets for this post. The first uses the Vector (flat color) option for the Vector control panel’s Main Render Option parameter. The second uses the AntiAlias Solid Brush Type. Both of these 2 different approaches are techniques for generating vector painting in the paint synthesizer. I choose to work with vector paint styles so that I could get crisp fine scan lines for my paint effects to accent the ‘scanline’ part of the effect. You could use other paint styles like wet smearing paint if you were shooting for a different kind of visual look from this effect.
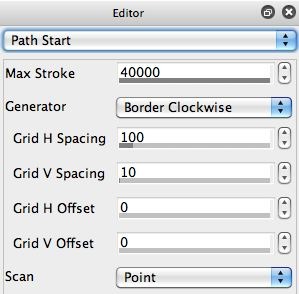
Note that i’m using the Border Clockwise option for the Generator parameter in the Path Start control panel. I did this because I was interested in painting a series of tightly spaced scan lines across the canvas. So the top, right, and bottom parts of the border scan are not really doing anything. The last part of the scan that moves up the left side of the border is what is generating the painted scan lines you see on the canvas.
I setup the Path Shape control panel so that the Max Path length was longer than the horizontal dimensions of my canvas (1000 Max Path length for my 720 pixel horizontal canvas size).
I tuend on the Interpolate Path parameter in the Path Application controll panel because I wanted to have continuous vector scanline paths that run across the entire canvas.
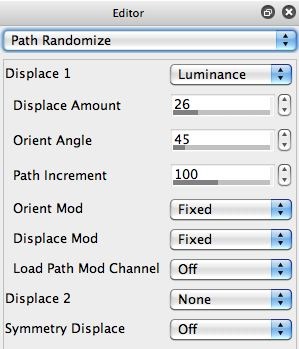
The Path Randomization control panel parameters were configured to generate a fixed path displacement mapping effect based on the source luminance modulating the path displacement. If you run the preset in loop action mode, you can interactively adjust the Path Randomization controls (like Displace Amount and Orient Angle) and see the effect change in real time (or record your interactive adjustment into an open movie stream).
My second at generating a set of displacement mapped scan lines rendered as vector paint strokes is shown below, along with some relevant paint synthesizer control panels.


