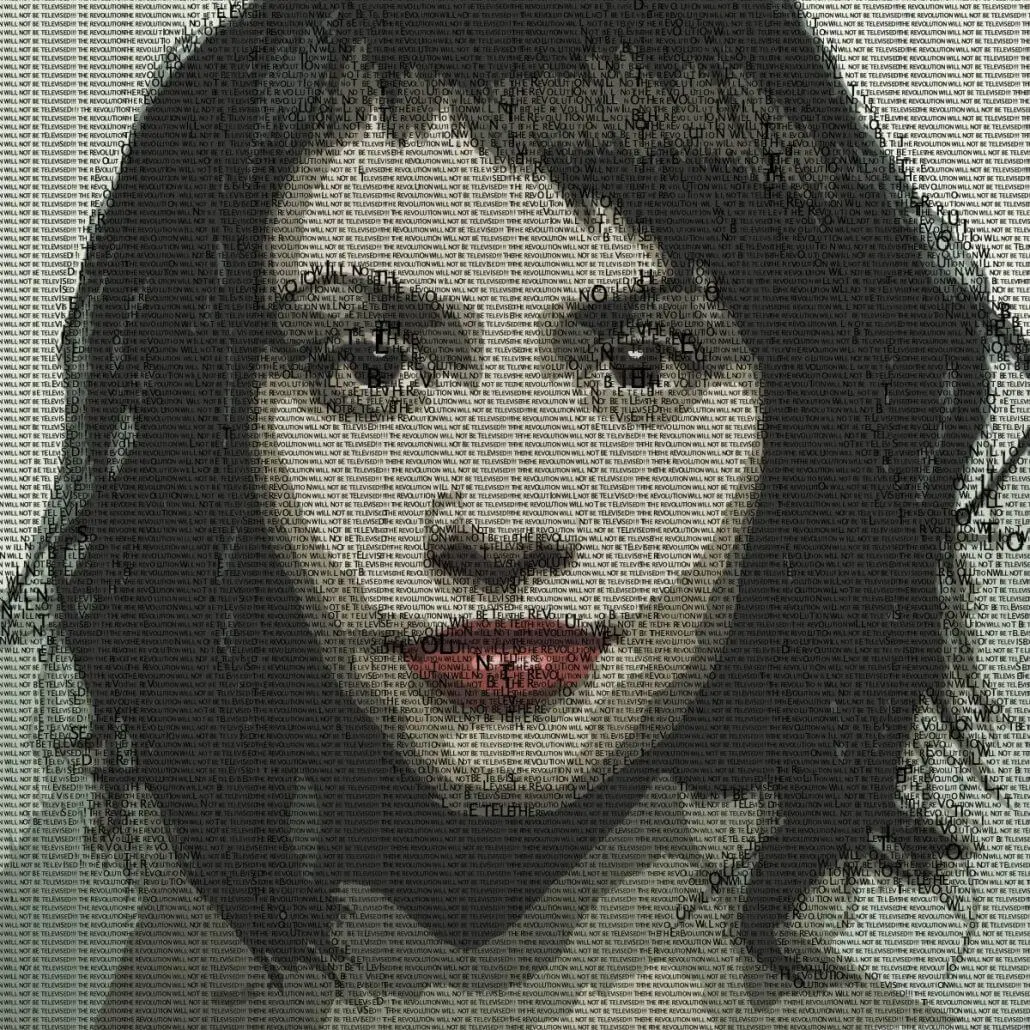
Today’s post will look at a paint synthesizer text brush effect incorporated into a paint action sequence. The Vectorizer is used to build a light flat colored background image that is then overdrawn with a size modulated text brush using the paint synthesizer. The text size is modulated based on the source image texture, so you get larger characters drawn in areas of the canvas associated with edges in the source image.
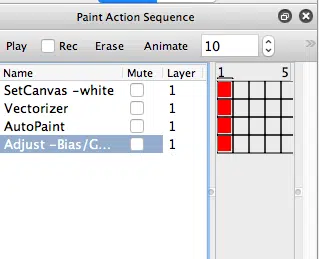
The following paint action sequence (PASeq) was used to build the effect above.
The PASeq starts by first erasing the canvas to white.
The Vectorizer is then used to generate a simple flat color rendition of the source image. The Mix parameter in the Vectorizer’s Composite control panel is set to 70%, so that the flat color image generated by the Vectorizer is light and washed out (2nd gallery image above).
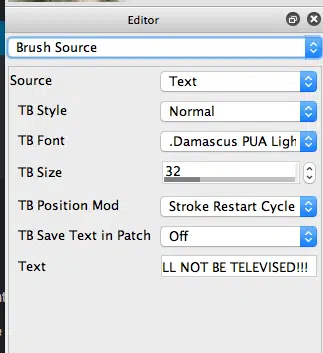
The paint synthesizer was then used to overpaint a black text brush on top of the light flat color source rendering in the canvas. I used the American Typewriter font (as shown in the 3rd gallery image above).
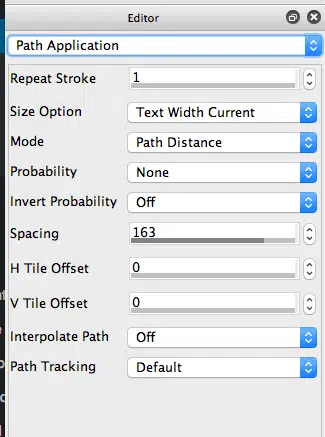
The 4th gallery image above shows the Path Application control panel settings used for this text brush paint preset. Note that i’m using the Text Width Current option for the Size Option parameter. So the paint nib spacing is based on the actual font character sizing as opposed to the overall source brush buffer size which would be the case if it was set to Current, which is a typical setting for a normal non text paint preset.
Note that if the font I used is not available on your computer, you may beed to adjust the Path Application Spacing control a little to get the optimal text font spacing you want the effect.
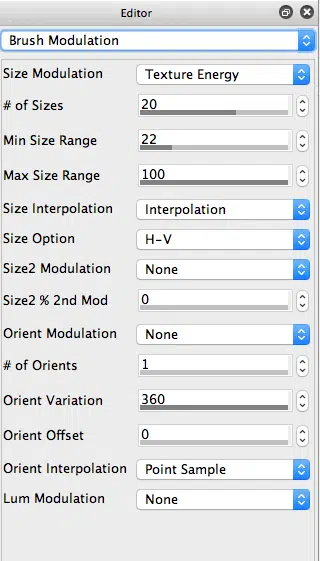
I setup the paint synthesizer so that the brush size was modulated by the Texture Energy (5th gallery image above of the Brush Modulation control panel). So the text brush gets bigger at positions in the canvas that correspond to source edges.
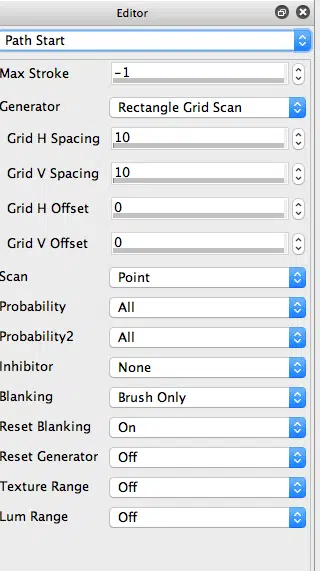
The 6th gallery image above shows the Path Start control panel. Note that i’m using a Rectangular Grid Scan to get the regular spacing associated with the text brush overlay. Setting Max Stroke to -1 insures that a complete grid scan will be painted in.
I wanted to adjust the contrast of the final painted image to boost the coloring and make it a little darker. So I used the Bias/Gain Adjust option in Interactive Adjust operation mode. To use interactive adjust, you click the mouse in the canvas and then drag the mouse while the mouse button is held down. You mouse movement adjusts the Bias/Gain effect in real time. When you are happy with the results, let go of the mouse button.
The PASeq preset used for this post will be available for download 6-6a-11.paseq

