This post continues the discussion about using embedded bezier paths to generate keyframed animation that morphs between a series of stylized renditions of different source images. We will extend yesterday’s black and white sketch animation example by incorporating a second animating Bezier Context action step that encodes a morphing colored backing for the animation.
As you may recall from yesterday’s post, we build a keyframed black and white sketch animation from a series of different facial images referenced as individual keyframes in a Source Context action step. Of course, you are not limited to using a single Bezier Context action step when building a keyframed animation. You can use as many as you wish, and each set of interpolating bezier paths associated with different bezier context action steps can be painted in with a different paint preset.
For this post, we used the Vectorizer to build a set of bezier regions that coarsely represent the source image coloring for the set of source images keyframed in the same Source Context action step used for yesterdays black and white sketch animation. So the goal is to paint in keyframe animating bezier regions with a vector paint preset that fills the morphing regions with solid color, and then overdraw yesterdays morphing black sketch animation on top of the morphing colored backing.
We built the keyframe animating bezier color regions using the same overall procedure as yesterday’s post. However, we used the Vectorizer to build the bezier paths for the color regions, as opposed to the Sketch Edge ip op we used in yesterdays example.
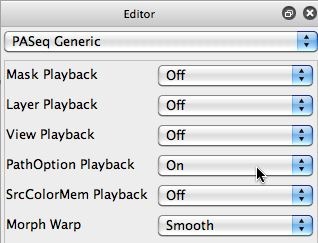
The PASeq shown above was used to automatically generate the Bezier Context containing the colored bezier region paths for each Source Context keyframe image. Before recording the vectorizer action step in the PASeq, I made sure the Vectorizer Path Layer Record Option menu flag was turned on. I did this so that the vectorizer would generate bezier paths for each flat color region in the vectorizer output. I also made sure that the PathOption Playback PASeq Generic Editor parameter was turned on, so that the status of the Path Layer Record Option menu flags wold be recorded and played back in the PASeq.
Note that the bezier path layer is erased before the vectorizer is run, so that any existing bezier paths in the bezier path frame are erased before the new ones are inserted there by the vectorizer. If we didn’t add this action step then old bezier paths would continue to accumulate from frame to frame.
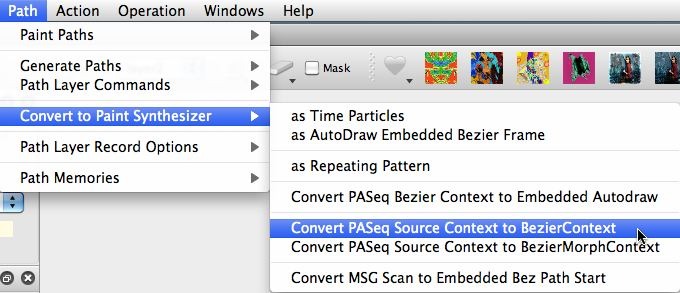
I then selected the Source Context action step in the PASeq, and then ran the Path : Convert to Paint Synthesizer : Convert PASeq Source Context to Bezier Context menu command. This menu command play cycles the current PASeq for each keyframe associated with the selected Source Context action step. The contents of the current bezier path frame at the end of each PASeq play cycle are used to build an associated Bezier Context action step keyframe. So when the menu command is finished running, we have automatically generated a new Bezier Context action step that contains keyframes everywhere there was a Source Context keyframe.
As we discussed in yesterday’s post, for smooth bezier animation you really want the same number of bezier paths in each bezier context keyframe. And you want to associated spatially adjacent paths to tween interpolate between adjacent keyframes. So we have the normalize the number of bezier paths and then reorder them by spatial distance. I used the Normalize Recycle menu embedded bezier frame menu command, followed by the Reorder Minimal Distance menu command.
I then built a paint preset using the Region Fill as Brush pen mode to paint in the bezier regions as solid color vector fills. I made sure the Force Color to Path parameter in the Paint Color Source control panel in the paint synthesizer was turned on for this paint preset. I did this because I wanted the painting to use the original coloring of the vectorizer generated bezier regions as opposed to working off of the source image or fixed color picker in the main Source area.
Now I wanted to add the 2 Bezier Context and Paint Bezier Layer action steps I used in yesterdays’ animation post as the final 2 steps in my PASeq for today’s animation example. History sequences provide an easy way to transfer action steps from one PASeq to another. You can open any PASeq preset in the History palette. You can then drag and drop individual action steps from the History Sequence to the PASeq list.
If the PASeq action steps imported into the history sequence have multiple keyframes, you will not see them displayed in the History Sequence since it does not have a timeline. However, after you drag and drop the associated multiple keyframed action step to the PASeq window, you will see the keyframes displayed there in the PASeq timeline.
At this point I opened a new Movie Stream (with a PASeq cycle write flag enabled), and ran my final PASeq animation. The PASeq contained 2 different Bezier Contexts. The first one contained the keyframes for my colored vector regions. The second one contained the keyframes for yesterday’s black and white edge sketch animation.
The image at the top of the post shows a single frame capture from the animation taken between 2 different keyframes. the complete animation can be seen here.


