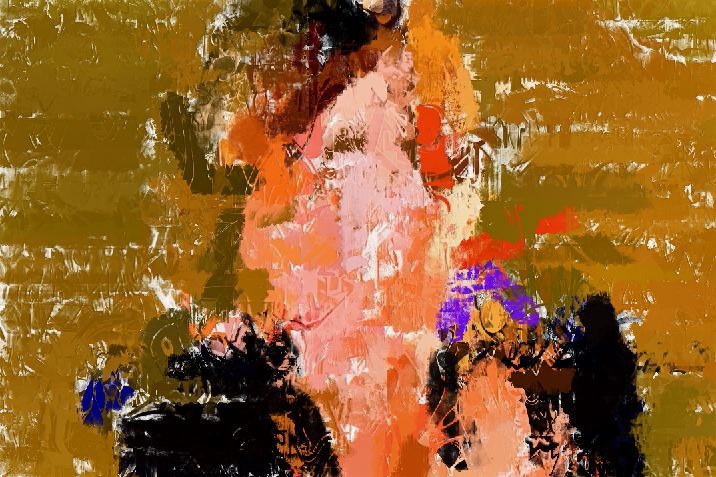
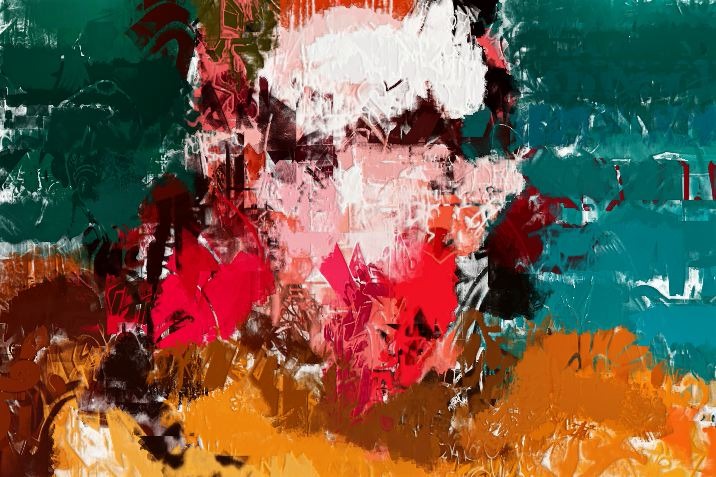
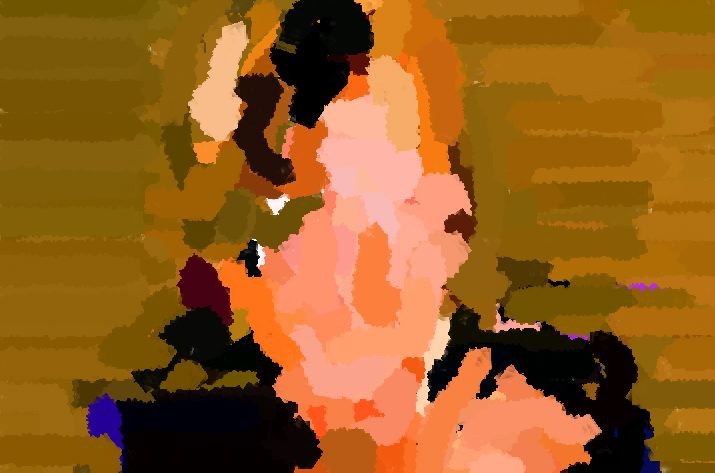
The following 2 images show off using a movie background texture to add visual complexity to a conventional simple rectangular gradient computation source brush. We’ll take a look under the hood of the paint synthesizer preset used to generate the above images in today’s post.
The first gallery image below shows the Brush Source control panel settings used for today’s paint effect.
Note that the source brush is a simple rectangular gradient (bottom left preview image in this control panel display). However, the painting generated by the paint synthesizer preset is rich in visual texture, and obviously it isn’t coming from the simple rectangular gradient source brush. So how is it generated?
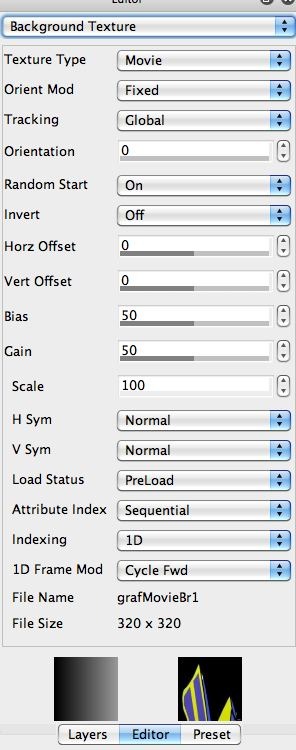
The 2nd gallery image above shows the Background Texture control panel. Note that a movie background texture is being used for the background texture. The bottom right preview image in the control panel shows off a single frame from the movie file used for the movie background texture. The movie consists of a series of graffiti images I took with a digital camera in Melbourne. For more information on converting a folder of images into a movie file check out this tip.
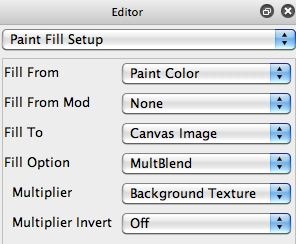
The 3rd gallery image above shows how we are using the movie background texture to convert a rather boring rectangular gradient source brush into a richly textured paint effect. Note that the Paint Fill Setup control panel is using the MultBlend option for the Fill Option parameter. The Multiplier for the MultBlend Fill Option is the Background Texture. And as discussed above, the background texture is a movie background texture where the movie Frame Modulation is set to Cycle Forward. This means it uses a new sequential movie frame every time the background texture is recomputed.






1 Comment