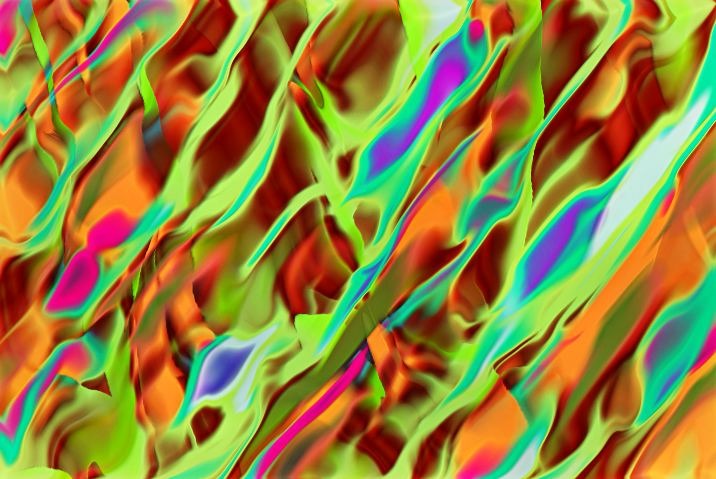
This post continues the recent series focused on using temporal generators to build self-animating MSG presets. Today’s post will focus on different coloring strategies for building abstract color imagery.
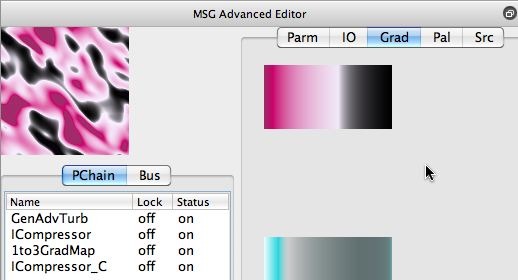
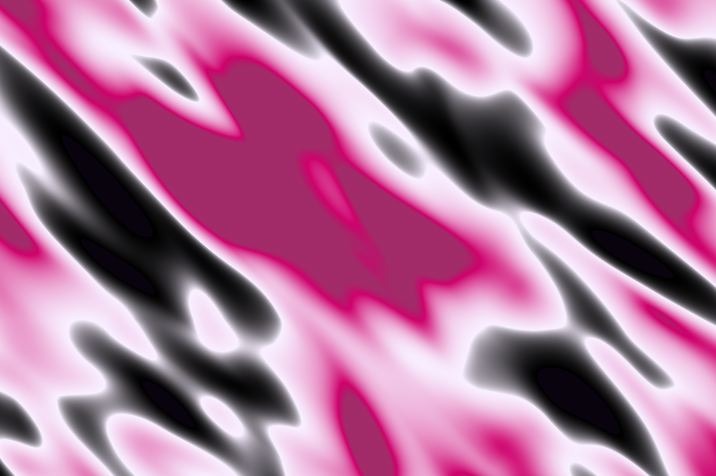
The two previous posts in this series were based on a 1 channel black and white turbulence noise image that was then index mapped into a color gradient to generate color output. An example of this kind of MSG editing approach is shown below. The output from a single GenAdvTurb processor is mapped through a 1to3GradMap processor to generate full color output.
But there are other approaches you can use to generate color imagery from MSG processors. One alternative is to build a preset using 3 different turbulence images, one for each of the 3 color channels needed to generate color output.
I modified my original MSG preset by option dragging the GenAdvTurb processor 2 times to create 2 copies of that processor. Since all 3 processors initially routed their output to the R Out image stream, I had to manually edit the 2 new processors so they routed their output to the G Out and B Out image streams. I removed the old 1to3GradMap processor since there was no longer a need for it.
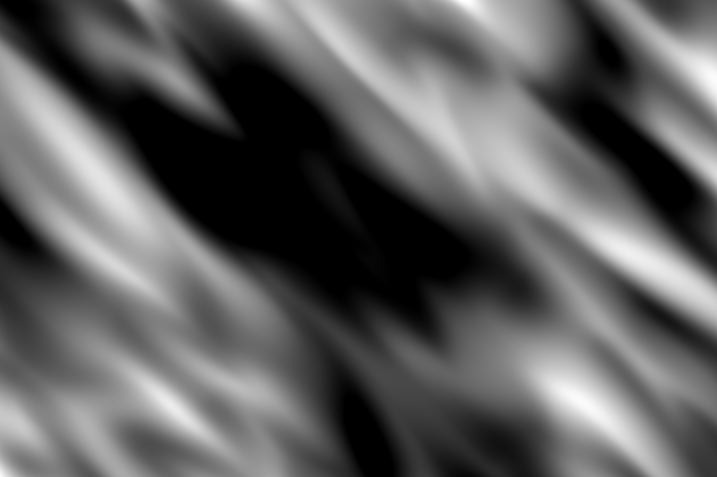
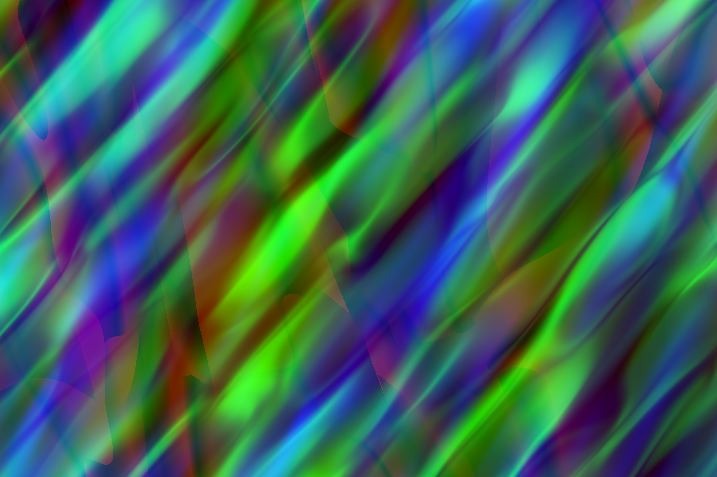
Note that the initial output was still a black and white image, since all 3 processors had the same set of internal parameter settings. After modifying their internal parameters so that all 3 processors were different, I then had a preset that generated a full color image.
Building a color image with 3 independent noise images for the 3 color channels has a certain classic psychedelic coloring look to it. But that can get old quickly. Fortunately, there are other ways you can modify the coloring of abstract MSG imagery. One approach I like to use is either the SmoothColorMap or ForceColorMap processors. These 2 processors colorize a full color image based on a color palette. By working with the individual colors in the color palette you can modify the colors of an abstract color image to map it as you see fit.
The SmoothColorMap processors maps each color input pixel into the closest color in the color palette being used for the color mapping. The ForceColorMap processor is a little more interesting, since it uses 2 different color palettes for it’s mapping. It finds the closest color in the first palette to an incoming pixel, and then index maps that to the same index in the second color palette. So a wider range of different color transformations can be achieved by this processor.
Remember that a color image is composed of 3 different 1 channel image streams in a MSG preset. Color Palettes and Color Gradients are also stream types. You can have up to 3 different color palettes and color gradients in a specific MSG preset. Each processors has one of more IO connections that get hooked up to associated stream types.
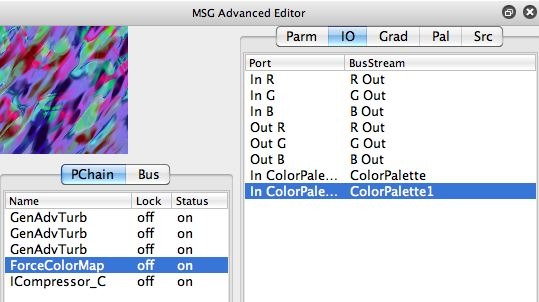
I manually edited the MSG preset in the last image gallery to incorporate a ForceColorMap processor as shown below. Note that i’m manually dragging a ForceColorMap processor from the Source tab library over to the processor chain editor.
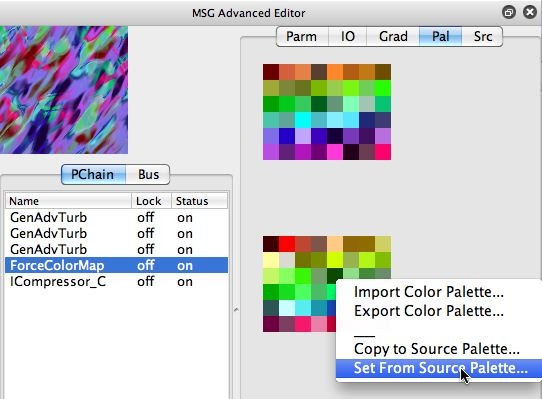
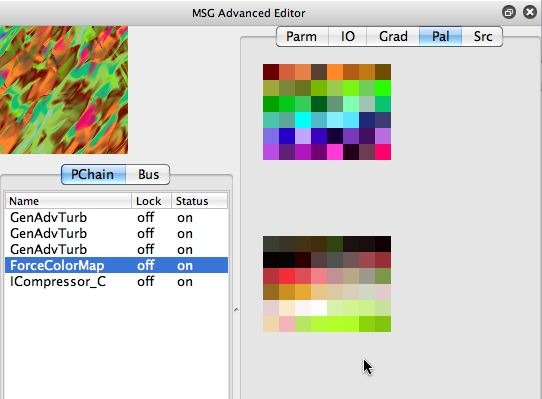
I then need to manually insure that the IO connections for the new ForceColorMap processor are correctly hooked up, as shown in the second image in the gallery above. The 2 color palettes routed into this processor are shown in the third image in the gallery.
All of the GenAdvTurb processors used in the presets we edited above are using the same temporal generator attached to the Z Offset parameter discussed in the last 2 posts. So this temporal generator will cause the Z Offset parameter for each of the GenAdvTurb processors to slowly modulate over time, leading to a continuously evolving set of 3 texture fields, one for each color channel.
The final output color is then color mapped by the ForceColor Map processor to generate the final output coloring. I was interested in changing the colorizing behavior over time in an animation. So, I manually generated a new color palette in the Source Area. I first used the Fixed Color Picker in the Source Area to select an organize color. I then used the Edit : Palette : Randomize Source Color : Analogous menu command to automatically generate a new source color palette derived from analogous color mixing of the current source color (the orange color we initially setup).
Then I used the Set From Source Palette context menu to set the second MSG color palette to my new source color palette. Remember, you can access context menus for any part of the Studio Artist interface by control clicking the interface area on the mac, or right clicking it on windows. Note that after I set the second MSG color palette to my custom source palette, the overall coloring of the MSG preset changed accordingly.
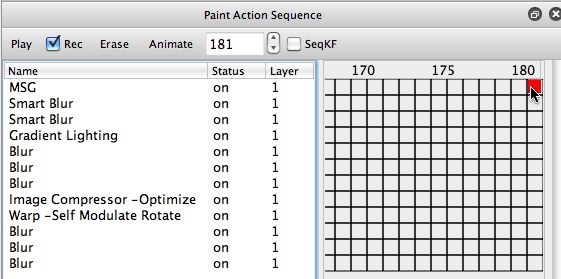
The last image in the gallery above shows the paint action sequence (PASeq) I used to generate my animation. Note that the MSG action step has 2 keyframes, one at frame 1 and the other at frame 181. The original MSG action step was recorded using my original preset based on the ForceColorMap processor initially discussed above. I then made the edit to the second MSG color palette as I described above, and then option clicked the second keyframe at frame time 181 for the MSG actions tep.
So, when this keyframed MSG action step plays back in an animation, the second color palette will smoothly interpolate from it’s initial coloring to the final edited coloring over the course of 181 frames. The 2 images below show the first and last frames of the animation. Note how the coloring has transformed.
The final simple animation example can be seen here.
For more on different MSG coloring strategies, check out this tip.
For more information on editing MSG presets, check out this tip.


