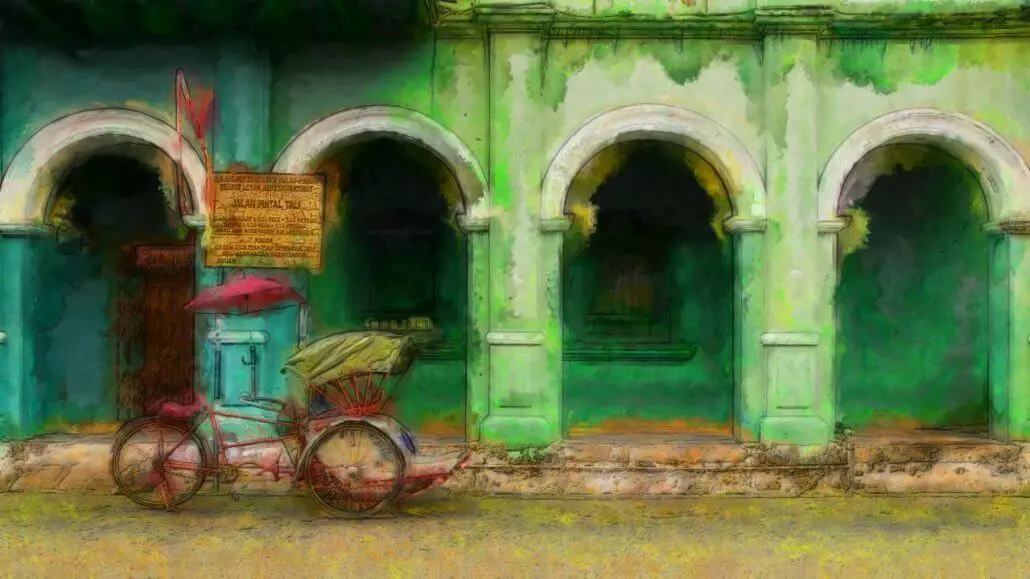
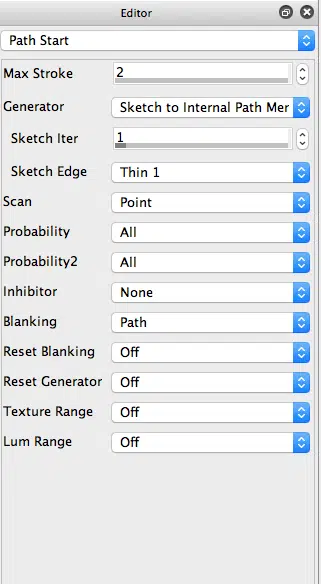
Yesterday we discussed how to use the ‘Sketch to Internal Path Memory1‘ path start Generator to create sketching paint presets. Today we will use 2 different variations of this particular intelligent sketch paint effect along with a factory water wash blend paint preset to build a paint action sequence that emulates a brightly color saturated watercolor wash paint effect.
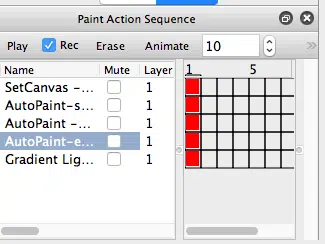
The paint action sequence used to create the watercolor wash effect shown above is detailed below. Note that after erasing the canvas to white we first run a sketch paint effect, then a water wash paint effect, then a second sketch paint effect.
My goal was to use a skeleton sketch to paint in the background areas of the canvas, then use a water wash paint preset to emulate painting my watercolor background wash on a wet canvas, then run a second application of the sketch paint preset that focuses on sketching the edge detail. For my second AutoPaint sketch effect, I used the Adjacent option for the Sketch Edge parameter. This option paints a special kind of edge sketch, where a path is draw directly on either side of a source edge (as opposed to directly on top of the edge itself).
Since the source coloring often dramatically varies on either side of an edge, an adjacent edge sketch can lead to better color reproduction in a color sketch based on source edges.
I also modified the Brush Modulation control panel from yesterday’s sketch paint preset. The brush Size Modulation was set to modulate based on the Inverse Texture Energy. What this means is that the brush size will be made larger in flat areas of the source image, and get smaller when drawing over source edge areas (high texture energy corresponds to an edge in the source image).
The first AutoPaint skeleton sketch was generated with a source brush sizing of 60×60 pixels. I then reduced the source brush sizing to 30×30 for the second AutoPaint adjacent edge sketch. The combination of a smaller max brush size and the inverse texture brush size modulation for the second sketch pass leads to a tighter rendtion for this second adjacent edge sketch.
Again, the goal (think paint strategy) for building this PASeq effect was to first generate a loose large brush size background color wet wash effect, then overdraw with a tighter smaller brush edge sketch to finish out the watercolor effect.
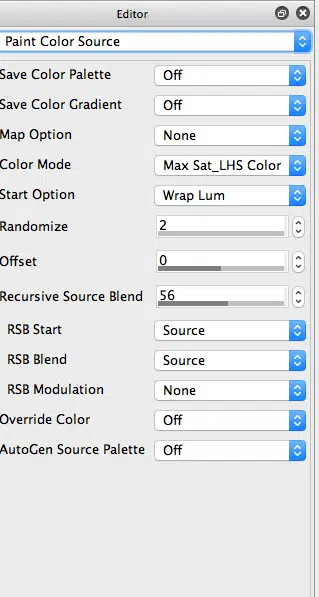
You may notice that the coloring of this particular paint effect accents the color saturation of the source image. The 5th gallery image above shows how I achieved that, by setting the Color Mode parameter in the Paint Color Source control panel to the Max Sat_LHS Color setting. This coloring option looks at the current source color, and modifies it by setting it to maximum color saturation.
The PASeq preset used to create the watercolor wash effect shown above is available Wash.paseq


