Temporal effects take multiple movie frames at different times as input and output a single effected output image. This post will help explain how to work with the temporal time window (the range of input frames used to build the effect) associated as an input to a temporal effect, and how by adjusting that time window you can change or fine tune the overall look of the effect.
To keep things simple for today’s post, we’ll be looking at the Temporal Rank Filter effect, using the Max option for the Algorithm parameter. What this particular temporal effect is going to do is take the maximum pixel value for each pixel spatial location over the entire input time window. The input time window is based on 3 different adjustable parameters, the Size, the Frame Inc (increment), and the Symmetry. You can think of these 3 adjustable paramters as defining a time window of movie frames used as the input to the effect.
The Size specifies the number of frames actually processed. The Frame Inc specifies the # of frames between each of the input frames in the time window (are they adjacent frame, or taken every N frames). The Symmetry defines the positioning of the time window in relationship to the current frame index positioning of the source movie.
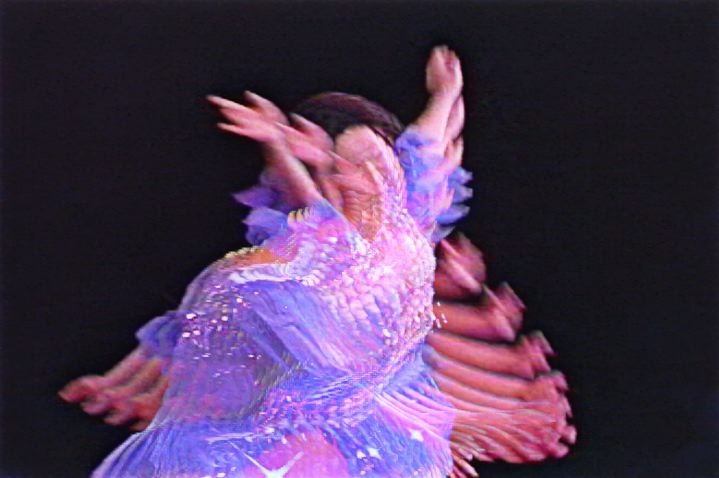
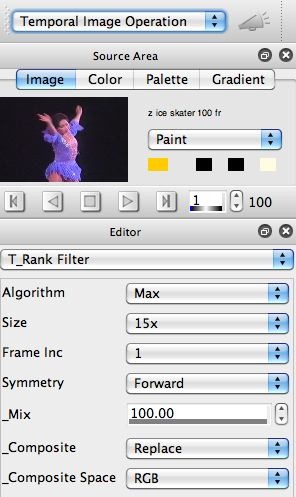
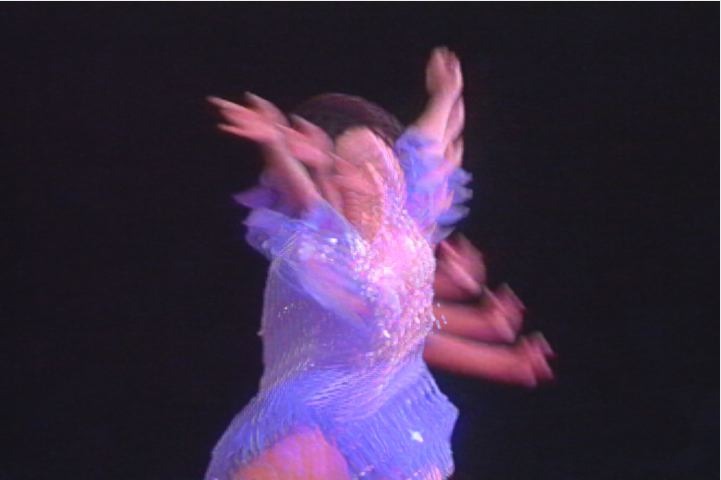
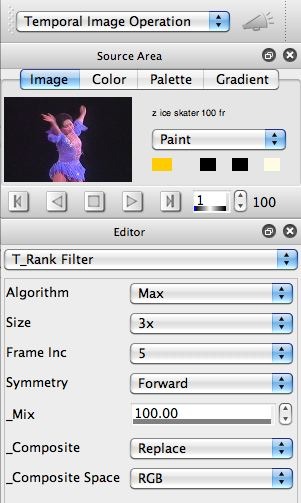
The image below shows the Editor control panel settings for the Temporal Rank Filter for the effected image shown at the top of this post.
Note that I used a time window Size of 15 frames. The frames used in the time window are adjacent (since Frame Inc is set to 1), so the total time length of the time window is 15 frames. If I had set the Frame Inc to a setting of 2, then the total time length of the time window would have been 30 frames long. If you look at the soure movie current frame position in the Source Area, you will see that it’s set to frame 1.
So I needed to pick a Symmetry Setting of Forward to have 15 distinct frames used for the effect. This specifies that the time window moves forward from the current source movie frame position. Depending where you are positioned in the source movie, you might want to use a Reverse or Centered Symmetry setting.
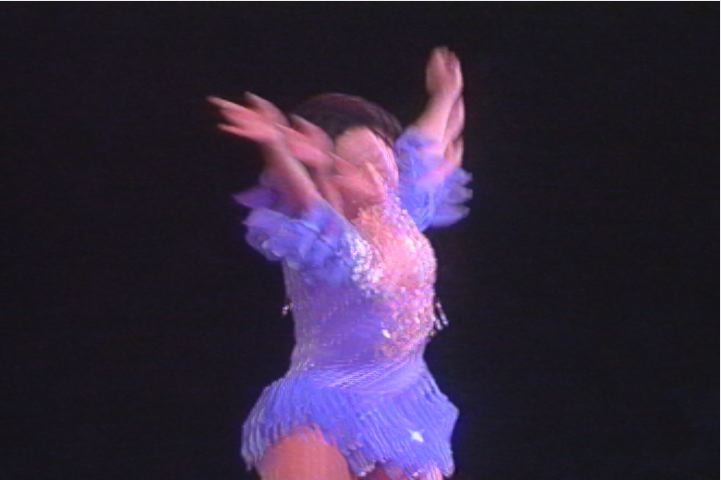
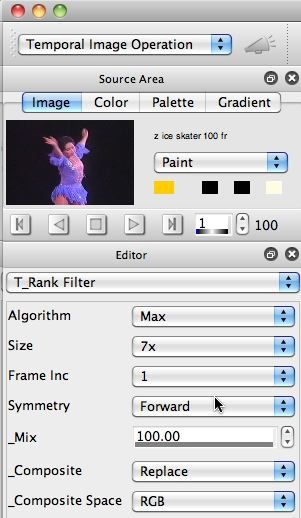
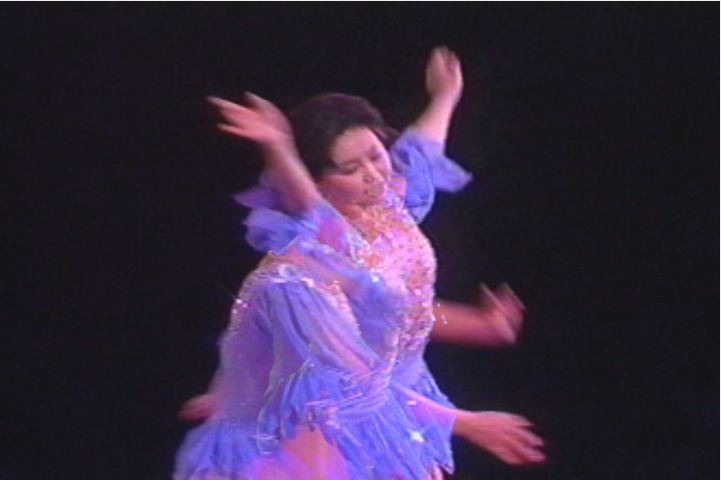
By working with the editable parameters to adjust the time window of input frames used to generate the effect, I can totally change the look and feel of the effect. The image gallery below shows 3 different control panel settings with different Size and Frame Inc adjustments, along with the resulting changes in the Temporal rank Filter effect output. I’m using the Max Algorithm for all of these examples to make things clear.
I hope looking at the 3 examples above gives you a better sense of how adjusting the frame input time window for a temporal effect can change the appearance of the effect. Basically, you are determining which frames are going to be used as inputs for the effect. Depending on how fast or slow the motion is in your source movie file, and what you are trying to achieve artistically with the effect, you can adjust the input frame time window appropriately.
In this post we’re focused on how to adjust the size and positioning of the input time window for the effect, as opposed to the particulars of the algorithm used to process the multiple input frames. The Max Algorithm for the Temporal Rank Filter should be simple to understand, we’re choosing the brightest pixel at each point in the image when looking across the range of input frames over time.
If you think about the particular image qualities of the source movie i’m working with, a black background and a lighted ice skater moving over time, then you can realize that the Max Algorithm does a good job of capturing and visualizing the motion of the skater over time. If I had a dancer dressed in black dancing on a white background, then the Max filter would do a poor job of visualizing the movements of the dancer. For this second case, a Min Algorithm would work better.
So one take home message is that there is no best set of effect settings for all source movie input when working with temporal effects. What adjustable parameter settings you end up using is often times a function of what is going on in the source movie as far as qualities of the movement and motion taking place in the movie file as well as the overall coloring of the movie file. Different temporal effects work in different ways, so some are specifically designed to pull out motion, others to eliminate motion, some work well with moving background, others really require a fixed background with moving foreground objects to generate interesting output. The specific Temporal Rank Filter we worked with in this example is like the Rank Area Filter in the image operation section, but it filters pixels over time as opposed to in local spatial nieghborhoods like the Rank Area Filter image operation effect does.
For an introduction to the temporal image processing effects, check out this tip.
The temporal and slitscan tags on this blog contain all kinds of different posts related to working with temporal image processing effects.
If you are interested in processing an entire movie file with a temporal effect (as opposed to just generating a static output image like we are in this example), then check out this tip.

