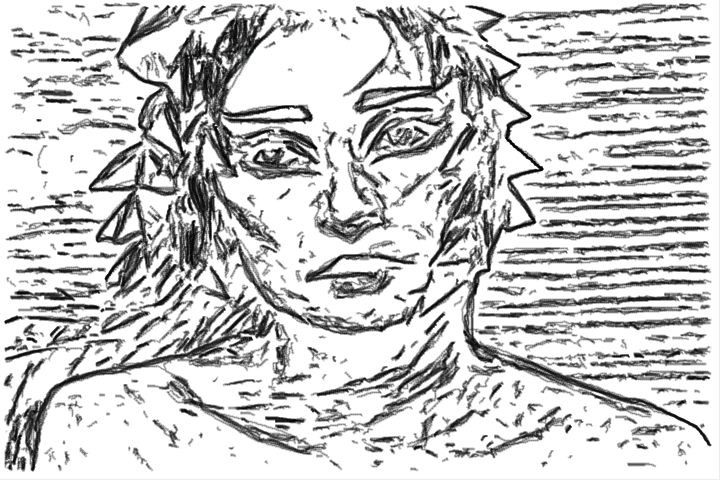
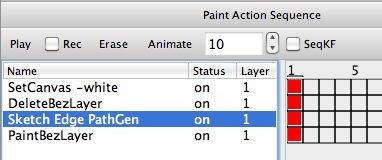
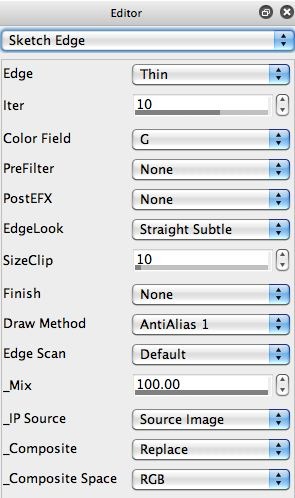
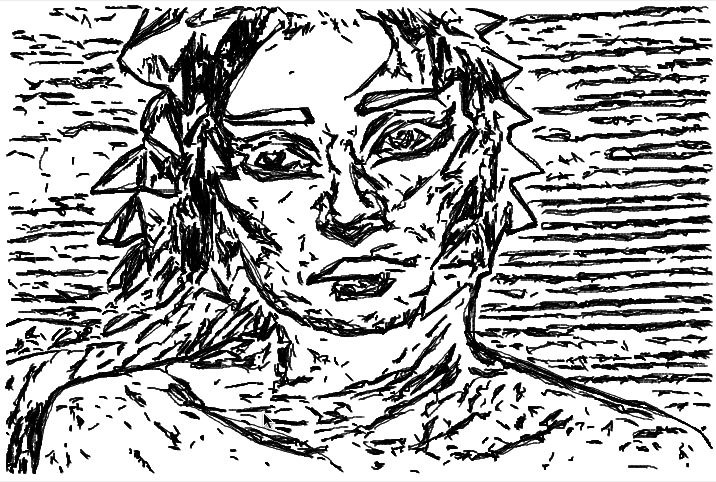
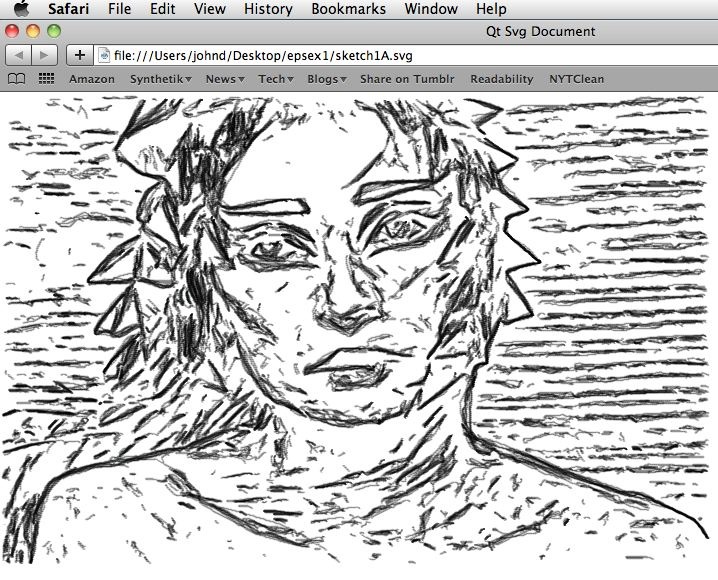
Note that I automatically generated the vector paths using the Sketch Edge image processing effect. To do this, I first configured the Sketch Edge effect I wanted. The 2nd gallery image above shows the Sketch Edge control panel settings I used for the sketch effect shown above.
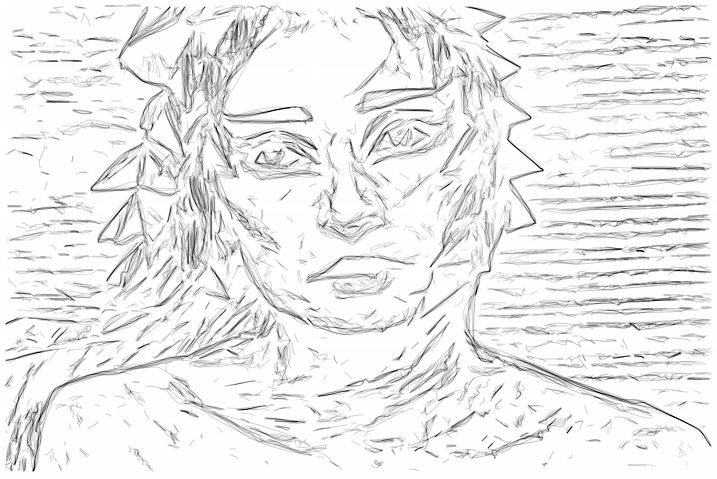
The 3rd gallery image shows the raster output of the Sketch Edge effect (generated by pressing the Action button). But when recording my PASeq, rather than pressing the Action button to run the Sketch Edge ip op effect, I used the Path : Generate Paths : from Ip Op menu command. This menu command runs the current ip op effect, and generates a set of bezier paths that are added to the current layer’s bezier path frame. The 4th gallery image above shows the resulting bezier paths stored in the bezier path frame generated by the effect.
Note that the set of bezier paths (all painted in with solid black when in Bezier operation mode) has a more dense representation than the original raster effect output for this particular Sketch Edge effect (shown in the 3rd gallery image). To duplicate this when we use the paint synthesizer to paint in the bezier path frame containing the sketch bezier paths, we will want to use partial transparency for the vector painting, so the paint density in a given area builds up with repeated over-painting.
Note not all image processing effects can generate bezier path output. If they don’t, then when you try to use the Path : Generate Paths : from Ip Op menu command, it will be grayed out. Currently, you can use the Color Edge, Edge, Sketch Edge, Sketch Mass, Smart Contrast, and Watershed Sketch ip op effects to auto-generate bezier paths. Remember, you could always use the vectorizer to generate bezier paths derived from other ip op effects in a 2 step process (discussed at the bottom of this post as a tip reference).
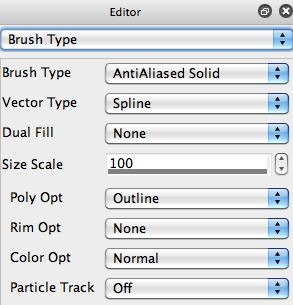
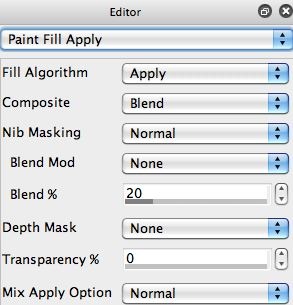
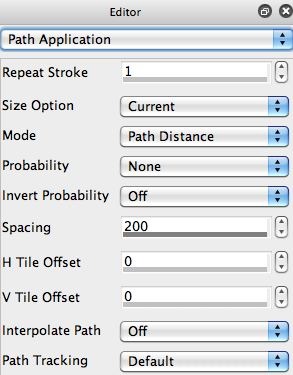
The 5th, 6th, and 7th gallery images above show off some of the paint synthesizer Editor control panel settings used for my simple black vector paint, which I used to paint in the bezier path frame by running the Path : Paint Paths : Full Layer menu command. Note that i’m using the Spline option for the Anti-Aliased Solid Brush Type. The AntiAliased Solid Brush Type does work with the Paint Fill Apply control panel Blend settings, so I set the Blend to 20% to avoid making the sketch build up too dense (as mentioned above).
Note that EPS vector file output currently will not support partial transparency, so the Blend setting will be ignored if you use EPS vector file output. Because of this, I used the Action : Generate SVG, with Paint Action Sequence menu command to generate a SVG vector file output for the effect. The 8th gallery image shows the final resolution independent vector file displayed in Safari.
For More Information
Over the last few days we’e covered a lot of ground. We’ve shown off different approaches to generating vector file output for Studio Artist effects, and discussed some of the idiosyncrasies of EPS vs SVG vector file output in version 4 as it exists today. As we have discussed, vector file output from Studio Artist is still developing over time, and to some extent has been shoe-horned into the existing original raster paint and effect engines. But there’s quite a bit of interesting and visually artistic things you can do with it at this time.
In addition to covering different approaches to vector painting, we’ve also looked at different strategies for constructing the paths associated with a painting or sketch. Looking at the vectorizer, the paint synthesizer auto-drawing capabilities, the Path menu bezier path generation features, and image processing effects that can directly generate bezier paths that can then be used for defining a painting.
Here’s a tip on Vector Drawing in the Paint Synthesizer.
Here’s a tip on Generating SVG Vector Output.
Here’s a tip on generating EPS vector output.
Here’s a tip on automatically generating paths from images.
Here’s a tip on generating vector output from a raster image operation effect.
Here’s a tip on exploring the Sketch image operation effects.
My gut feeling is that Studio Artist’s vector output capabilities are largely un-explored by the general Studio Artist user population. Hopefully this recent series of posts will give you some new ideas for utilizing these powerful vector features in your work.
