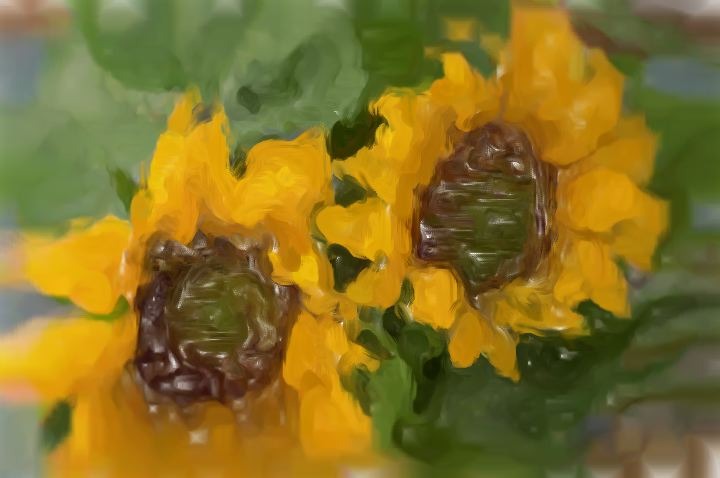
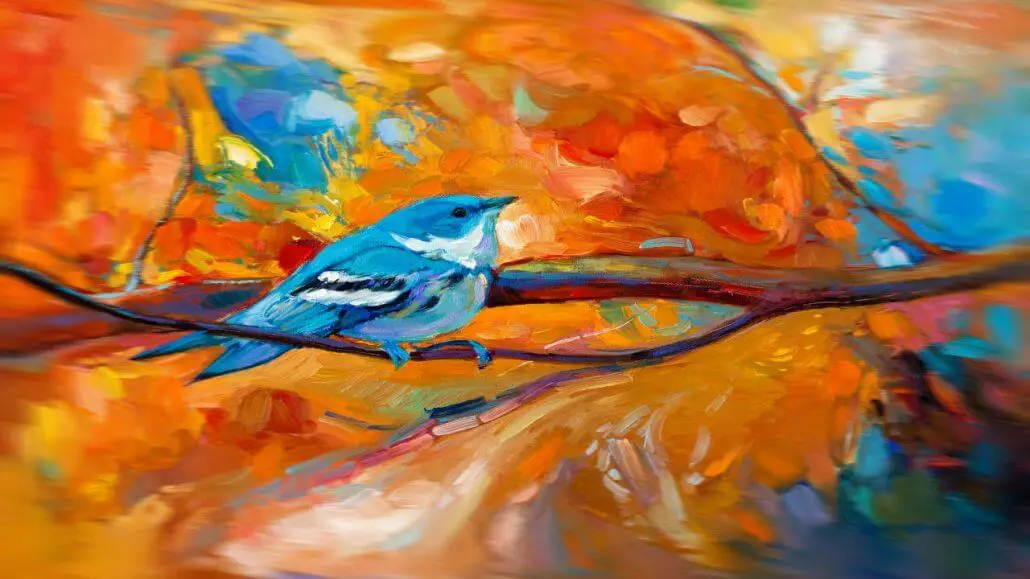
This post continues our discussion on different approaches to adding border treatments to finish a painting or image processing visual effect. Rather than using a border painting preset, we will use border modulation in an image processing effect to create a treatment that only effects the borders of the canvas.
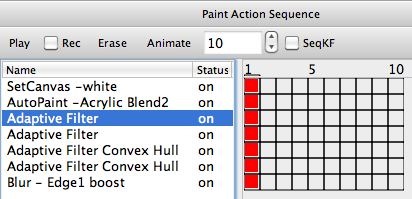
The paint action sequence (PASeq) used to create the effect above is shown below. It starts by erasing the canvas to white and then painting in the canvas with an Acrylic Blend2 paint preset.
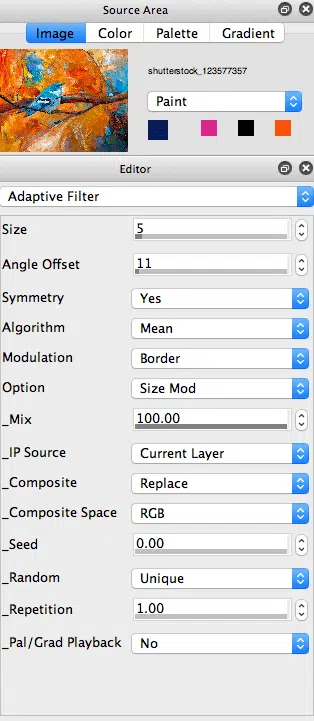
I wanted to add a soft diffuse border to my painted canvas. I could have build a paint preset that works to diffuse the canvas, but I tried a different approach. I worked with the Adaptive Filter and Adaptive Convex Hull image operations to generate the soft border effect instead.
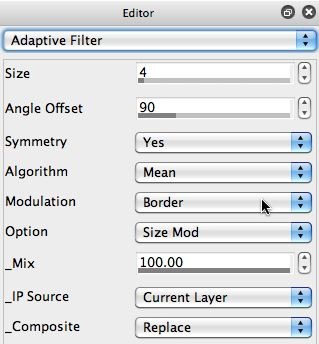
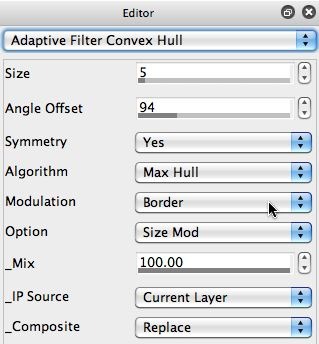
Both of these ip ops have a Modulation parameter that includes a Border option for the effect modulator. Choosing this Modulation option means that the effect is modulated to be the most extreme at the canvas borders, and to become progressively less extreme as you move into the center interior areas of the canvas. The Editor control panel settings for the 2 ip ops used to create the diffuse border effect is shown below.
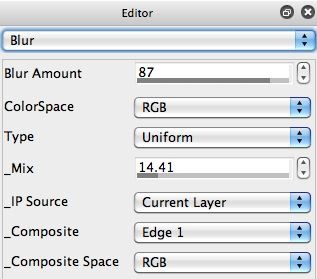
The final action step in the PASeq is a typical finishing step I use, where I edit the Blur ip op to use the Edge1 Composite setting so that the blur effect becomes a sharpening effect to boost the final canvas edge rendition and contrast a little.
A different approach would have been to use an Adaptive Filter effect that blurs the entire canvas, and then masked the ip op action with a select mask that selects the border areas while leaving the interior of the canvas unselected. Building the border effect this way will work, but the effect itself will just fade as you move to the interior of the canvas as opposed to self modulating the amount of blur which the above approach detailed in this post does do. This following image is done with the border blur preset in Image Ops.

