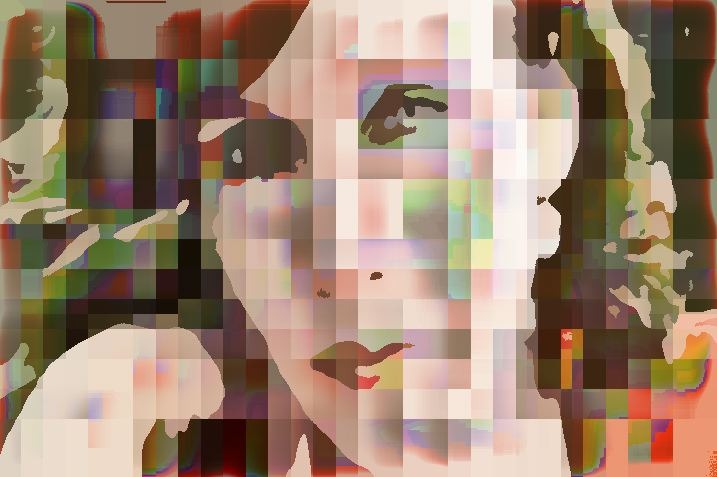
Yesterday’s post described an approach that can be used to build stylized blocky abstraction effects. Today’s post will continue an exploration of this kind of effect, but the technique we will use is somewhat different. How the blocks and source features embedded in them are generated is different than yesterday’s post. The colorization of the blocky abstraction does use the same technique described yesterday, which was the Flat Region Colorize ip op.
Please Note: There are a lot of Block Effect Presets in Image Operations > Blocks
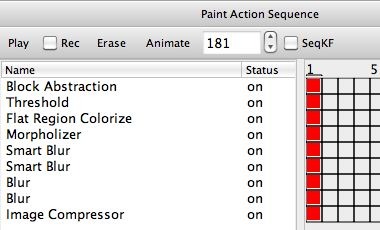
The paint action sequence (PASeq) below was used to generate the stylized effect above. Note that the first 2 action steps are different than yesterdays PASeq, while the 3rd and 4th action steps are similar. The first 2 action steps work to build the adaptive blocks and the source features embedded in them.
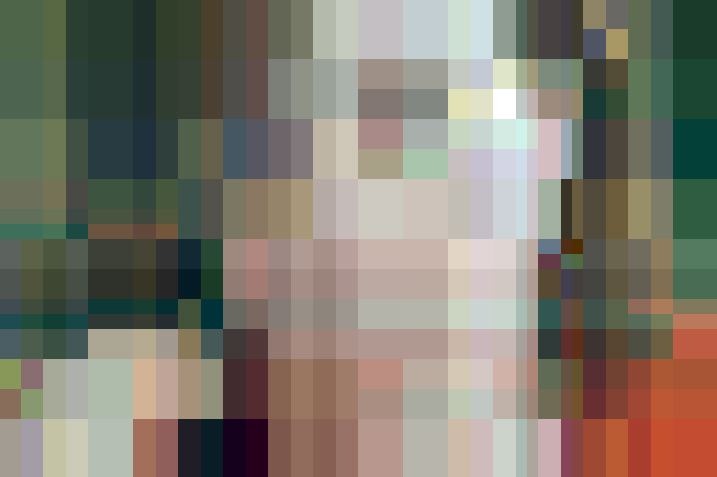
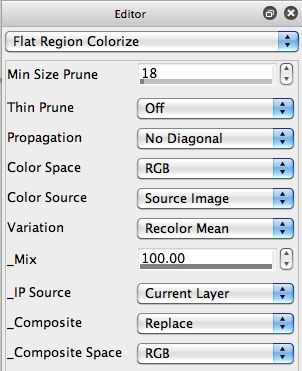
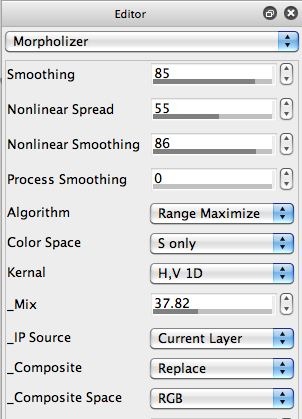
The image gallery below shows the output of the first 4 action steps. The associated Editor control panels for the individual image processing effects used in the action steps are also included in the image gallery.
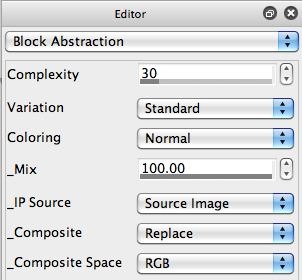
The first Block Abstraction ip op action step generates the adaptive blocks. By lowering the Complexity control you can reduce the number of generated blocks.
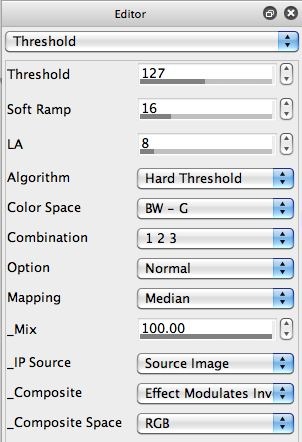
The second Threshold ip op action step introduces source features into the blocks representation already existing in the canvas. A Hard Threshold operation is critical for the approach taken to build the overall effect, since the input to the Flat Region Colorize ip op needs to consist of flat color regions with no smooth shading. Note that the Composite parameter is set to Effect Modulates Inversion, so rather than the threshold effect being directly placed in the canvas, the threshold effect is used to modulate the inversion of the existing blocky canvas.
The 3rd and 4th action steps are similar to yesterday’s post. The Flat Region Colorize ip op is used to colorize the stylized blocky abstraction so the individual regions in the canvas match the source coloring. The Morpholizer ip op was then used to introduce to smooth color shading variation to the flat color regions.
The final action steps in the PASeq again are used to add some subtle cleanup and enhancement to the finished stylized abstraction effect.
So the basic idea behind this stylized abstraction is similar to yesterday’s post, but the specifics of how the abstraction was put together was different. In both cases, the goal is to build a blocky abstraction of the source image that consists of flat color regions, and that the individual blocks are broken up in a way that encodes the source image features into the individual blocks.
Inversion was used in both examples, but differently. In yesterdays post, block inversion was used to add the individual rectangular blocks to an existing flat color source feature stylization. In today’s post, inversion was used to add source features into an existing blocky abstraction.
In both examples, the Flat Region Colorize ip op was used to re-colorize small flat color regions to match the source image. There are other coloring options available for this ip op ( check out the Variation control options), so feel free to experiment.


