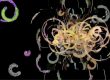
I was asked why a paint synthesizer particle pen mode paint preset had very different drawing behavior and associated appearance when used manually vs when run with the Action button. The answer is that it’s all a function of how the preset is programmed in the paint synthesizer. Understanding the differences in behavior and how to edit it to be consistent will help you gain a better understanding of how the paint synthesizer works internally.

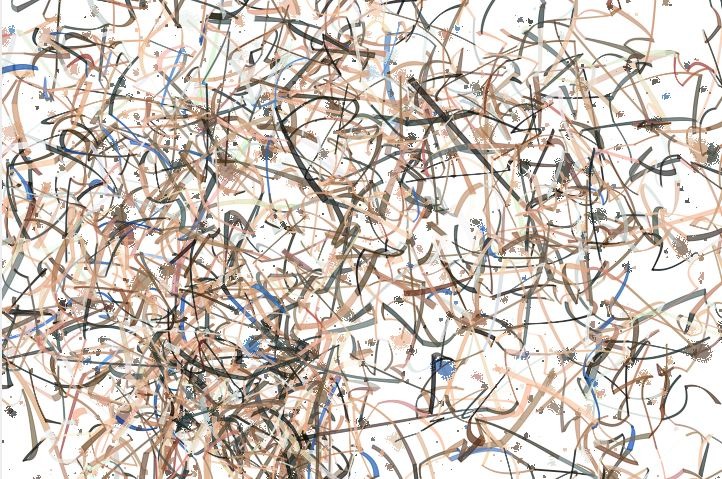
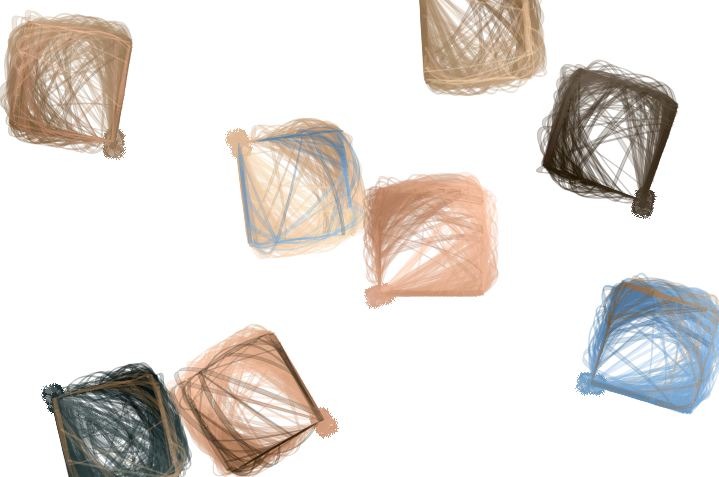
The image at the top of the post shows off auto-painting with a ‘blobby’ particle pen preset. If I just use the mouse or pen to manually draw from a static point I get the following appearance.
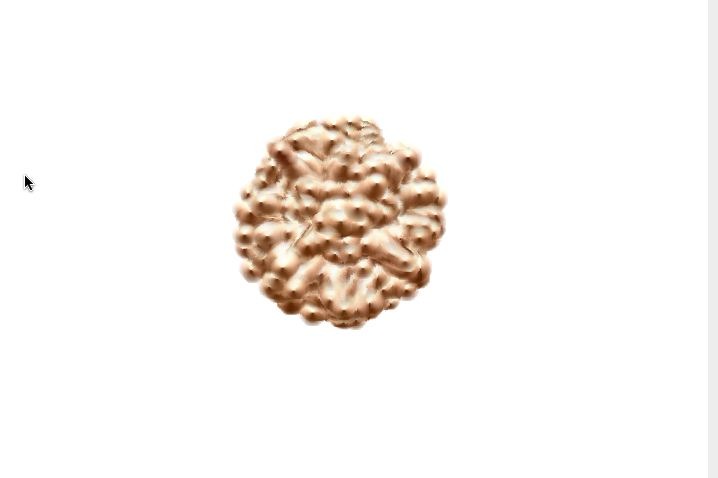
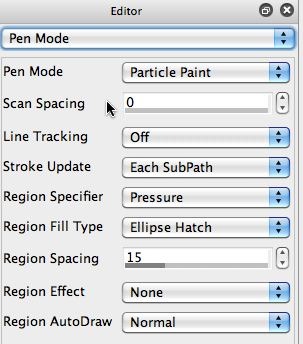
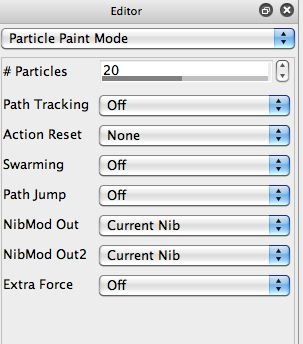
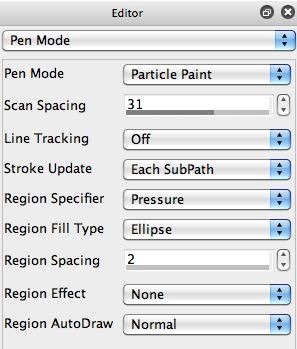
The 2nd gallery image of the pen mode control panel shows that the Pen Mode is set to Particle Paint. Particle Paint has it’s own special control panel (Particle Paint Mode control panel) that controls the behavior of the live particles that emanate from the pen tip when you manually paint with this pen mode (3rd gallery image). These are the basic default particle pen settings. Note that the # Particles is set to be 20.
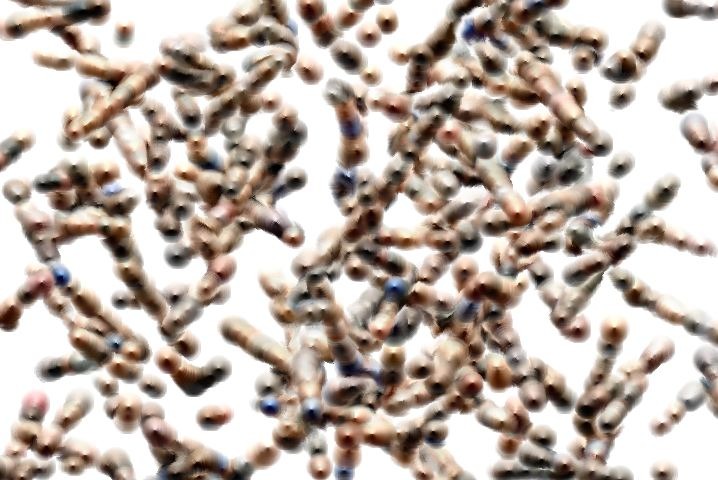
The 4th gallery image shows what happens when you press the action button to auto-paint with the original default particle pen preset (not the one used to generate the image at the top of the post). Note that the appearance of the paint is very different than the focused globby buildup seen at the top of the post. And also different from the paint buildup drawn manually in the first gallery image above.
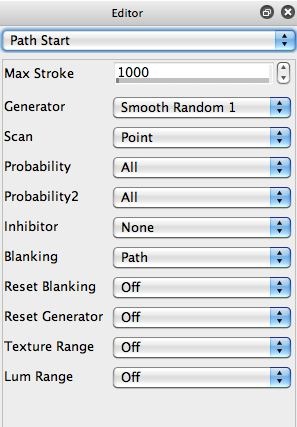
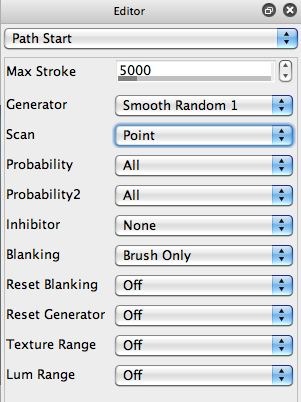
So what’s going on here. Well, the first thing to do is to observe the settings in the Path Start control panel (5th gallery image above). Note that the Scan parameter is set to the Point setting. This means that a single path start position chosen by the Generator is used to draw a single paint path.
But if you think about how the Particle Paint pen mode works, a continuous stream of particles is drawn from the pen tip from the moment you press the cursor down on the canvas until you release the cursor. The point being that many multiple paint strokes emanate from the fixed cursor position. So we need to simulate this behavior in the auto-painting if we want the auto-drawn particle paint preset to look similar to the appearance of the manually drawn particle paint preset.
The way to do this is to use the Repeat Start setting for the Scan parameter in the path start control panel. I used a setting of 140 for the Scan Repeat parameter to try and emulate the appearance of the blobby shape and drawing behavior created when manually drawing with the cursor. What this setting will do is repeat 140 individual paint paths emanating from a single path start point (the repeat start) before a new path start point is chosen.
What you set this value to is going to depend on the particular particle pen preset you are working with. Sometimes a Scan Repeat value of 20 will work fine. The point being that you need to repeat multiple paint strokes emanating from a single path start point to emulate the manual behavior of a particle pen paint preset when used with Action painting.
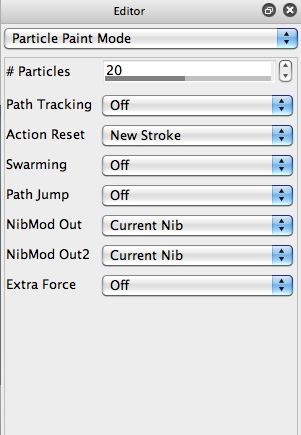
Here’s an example below sent in by a user. The first gallery image shows off manual drawing behavior for the paint preset. The second shows Action painting for the preset. Note that they look very different, so he wanted to understand why that was the case.