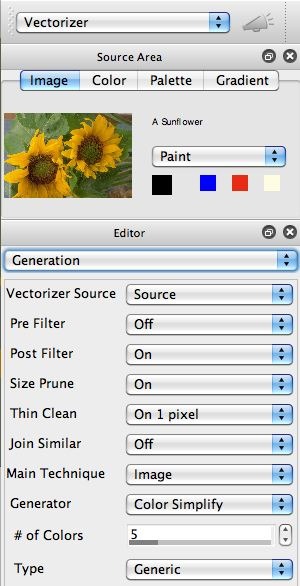
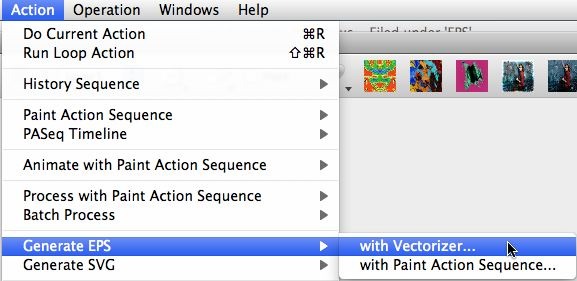
To output a vectorizer preset effect as an EPS vector file, you just run the Action : Generate EPS : with Vectorizer menu command (2nd gallery image above). This brings up a standard file dialog that lets you name your output eps file. You don’t need to add the eps extension to the file name, Studio Artist will do that for you.
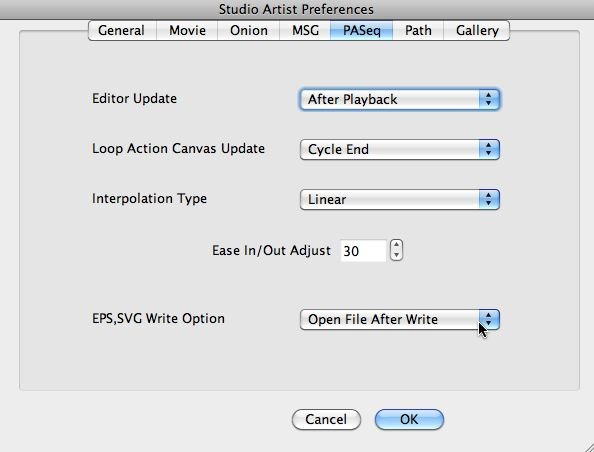
As a convenience feature, if you have the EPS,SVG Write Option preference (under the PASeq preference tab) set to Open File After Write, then after an EPS or SVG file is written out Studio Artist will pass it off to the standard application on your computer to open that particular file type (3rd gallery image above). On my computer, I have Preview setup as the default eps application file, and Safari as the default SVG application file.
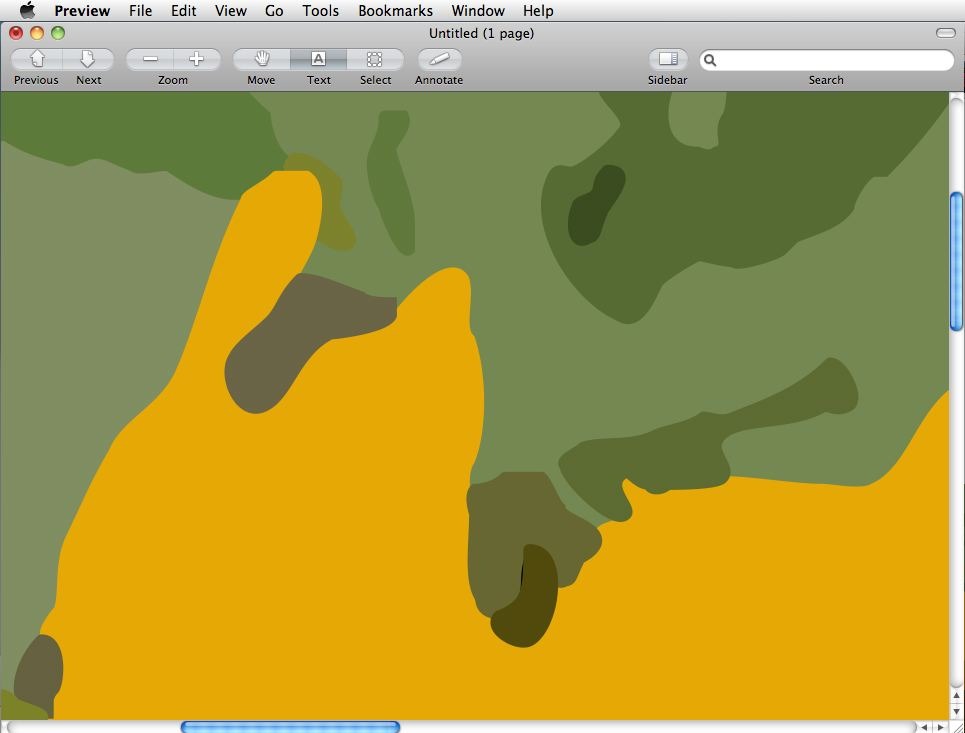
The 4th gallery image above shows the vectorizer EPS file output opened in Preview and zoomed in on several times to show the smooth resolution independent features you get with vector file output.
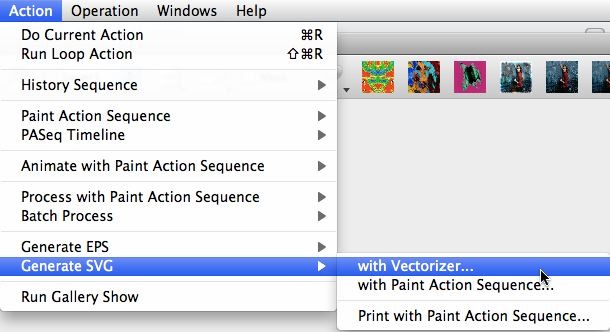
If you want to output a vectorizer effect as a SVG vector file, then you run the Action : Generate SVG : from Vectorizer menu command (5th gallery image above). This brings up a standard file dialog that lets you name your output svg file. You don’t need to add the svg extension to the file name, Studio Artist will do that for you.
Since I had my EPS,SVG Write Option preference set to Open File After Write, then after generating my vectorizer svg output file it automatically opened in Safari (as shown in the 6th gallery image above).
Working to Generate Vector Output
You may have noticed that generating vector file output is different than running a normal Studio Artist action. I didn’t press the action button to run the vectorizer effect and render it into the raster canvas. I had to run a specific Action menu command to generate vector output. This is because any effect in Studio Artist that has the capability to generate vector output needs to be run, and then while the internal vector drawing commands are being executed, they are also sending out vector information into an open eps or svg vector file.
The Studio Artist canvas is a raster based canvas. So you can’t just take what is in the canvas (whihc is a raster image) and print it out as a vector file. You need to run a specific Action command that runs the vector effect(s) and outputs the individual vector information the effect(s) generate in real time as the effect runs.
You can use the Vectorizer or a paint action sequence (PASeq) to generate vector file output. The vectorizer is unique in that you can directly generate vector output from it. Anything else in Studio Artist that has the capability to generate vector file output needs to be recorded as action steps in a PASeq, and then the PASeq needs to be played back while running one of the Action commands that saves the PASeq as an eps or svg vector file.
So generating vector files from Studio Artist is a little inconsistent with how you normally use the program, normal use being directly building effects into a raster frame buffer that you will then output using a save command. Vector files are generated by running an Action command that plays back the effect and spools vector information out to a file in real time as the effect plays back. Note the distinction in the 2 different ways of working.
Perhaps we will have a complete vector layer option for Studio Artist in the future, but that’s not the case right now. Each raster layer does have a vector path frame, but the vector path frame is really about storing bezier paths associated with painting as opposed to a working layer you build up a vector effect in like you do with raster layers in Studio Artist.
Again, the current state of vector file output in Studio Artist is a function of the historical development of the program. The first releases of Studio Artist were really oriented at raster image processing or paint effects. You could use bezier paths internally for resolution independent paint paths, but the program was really a raster paint and effects program.
With the introduction of the Vectorizer in Studio Artist 3, Studio Artist started developing into a program that also directly generated vector effects. Typically people used the vectorizer to generate a raster layer image, but since the effects themselves were generating vector output we added a way to output eps vector files at that point in time.
Over time, the paint synthesizer then developed several different ways to directly paint with vector painting as opposed to raster digital painting. So, we then allowed for those vector painting options to drive eps file output as well. Studio Artist 4 introduced additional vector painting effects and also introduced svg vector file output as well. So over time, the range of effects you are capable of generating as vector output in Studio Artist has increased quite a bit. But due to the historical way the program was developed, vector output is kind of a separate thing requiring a slightly different working approach discussed above than the normal Studio Artist usage, where you build up effects into the canvas via running different Action commands, and then print the resulting raster canvas when you are finished.
Tomorrow we’ll look at how to use the paint synthesizer in a PASeq to build vector file output.




After reading all these vector file output posts someone found a vectorizer EPS file output bug in version 4.03 where if you have the EPS Region Type parameter set to the Bezier Loose option in the Drawing control panel of the vectorizer, then EPS vector file output is broken. So if you have a vectorizer preset that uses that setting, change it to the Bezier option to fix the problem. We’ve already added a code fix to the 4.04 beta builds that fixes this, so once 4.04 is released the problem will be solved.